2013 March 19: Install the flywheel and clutch
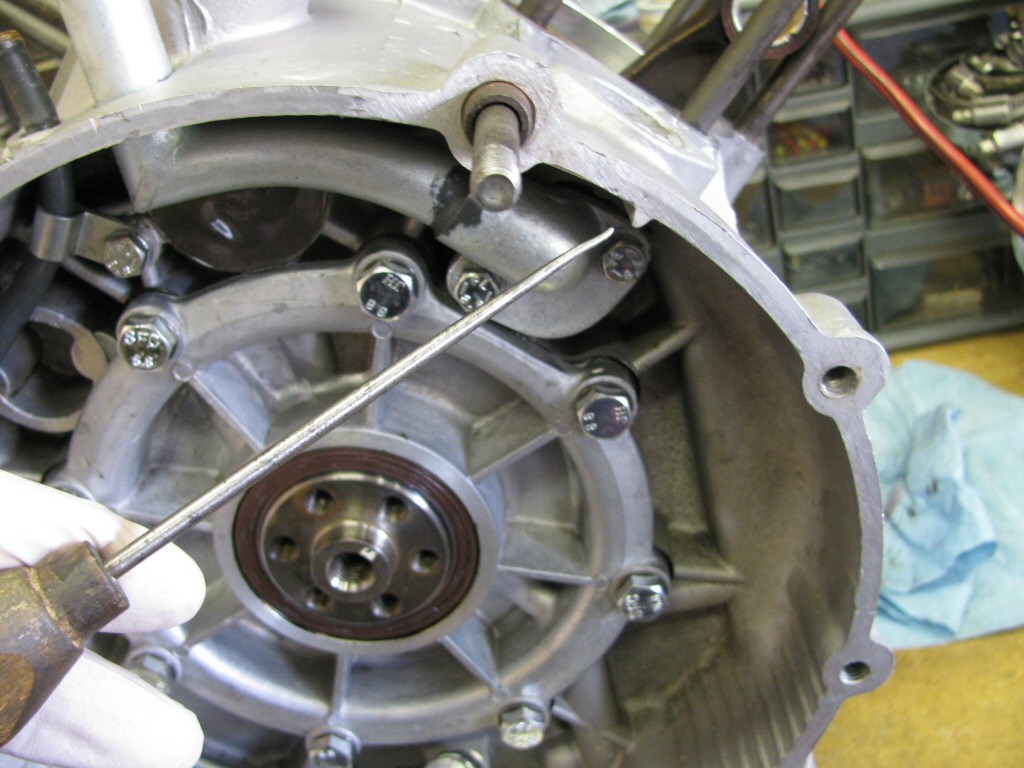
Photo courtesy of Gregory Bender.

Photo courtesy of Gregory Bender.

Photo courtesy of Gregory Bender.
Photo courtesy of Gregory Bender.
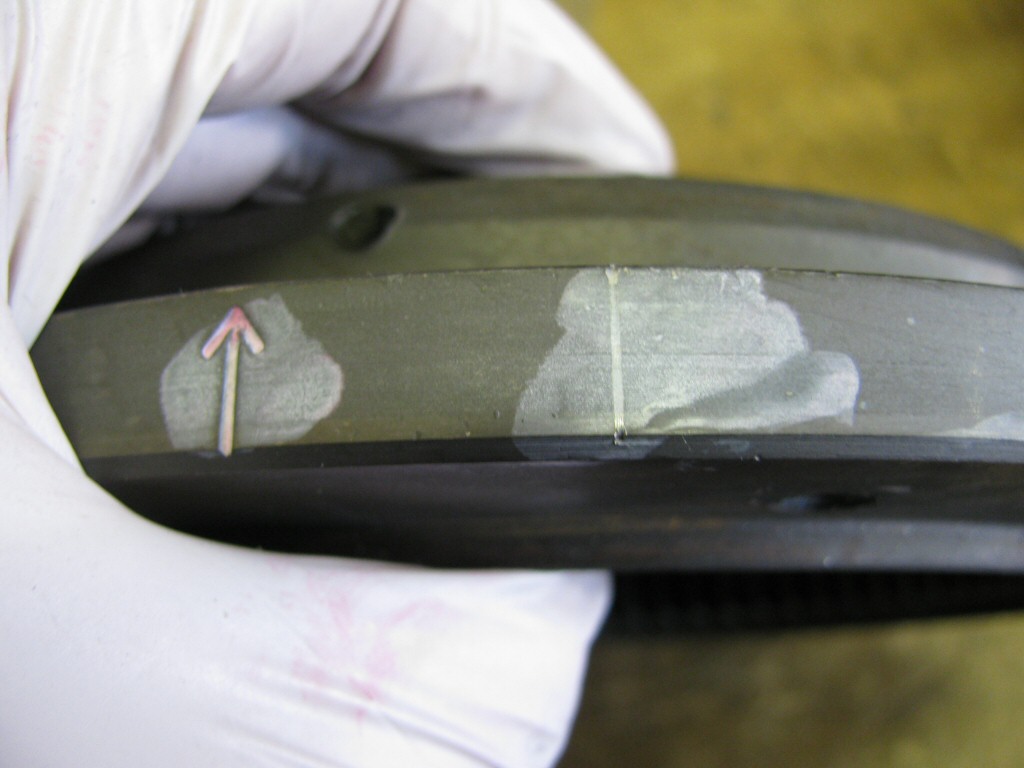
Photo courtesy of Gregory Bender.
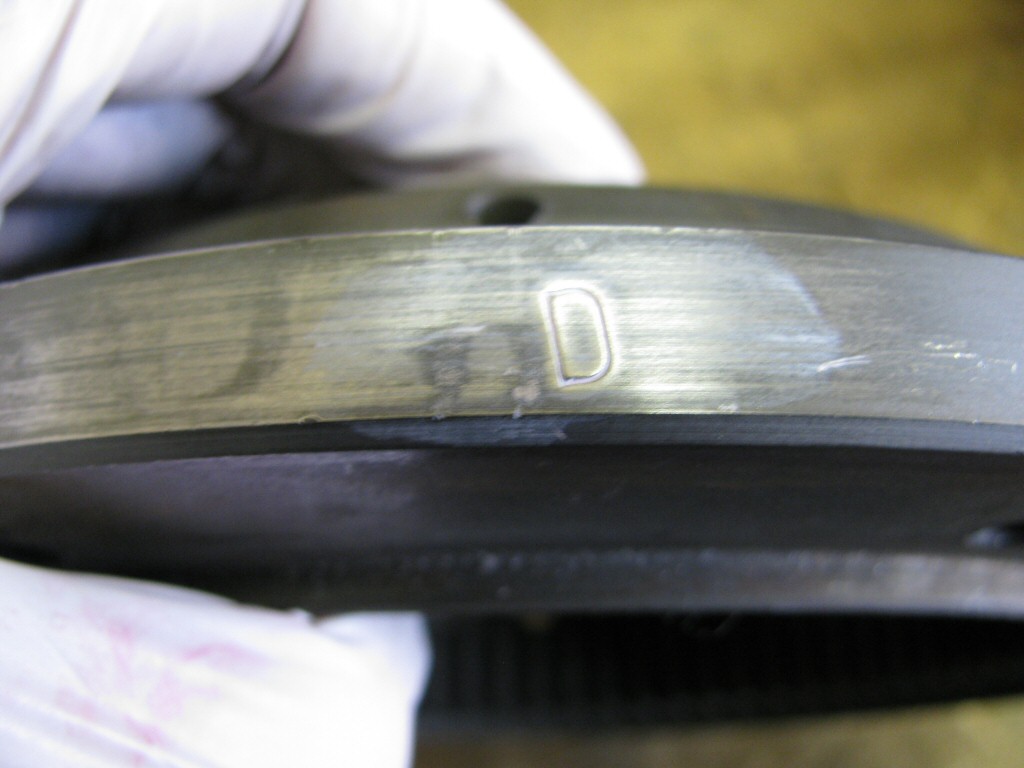
D.
Photo courtesy of Gregory Bender.
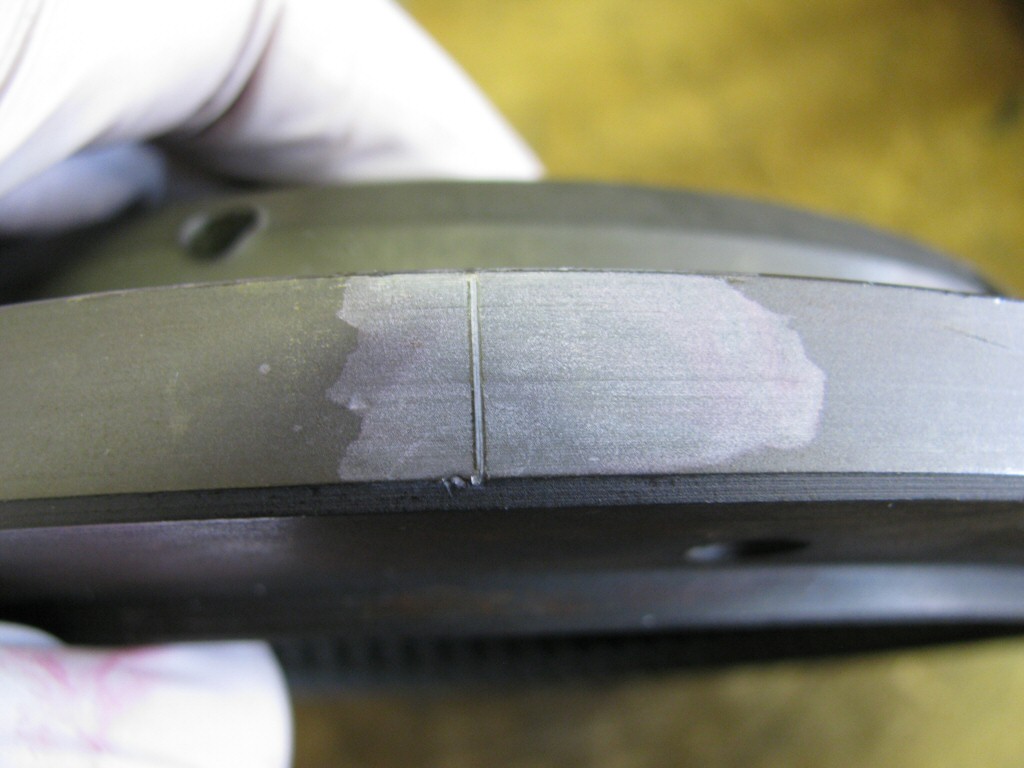
Photo courtesy of Gregory Bender.
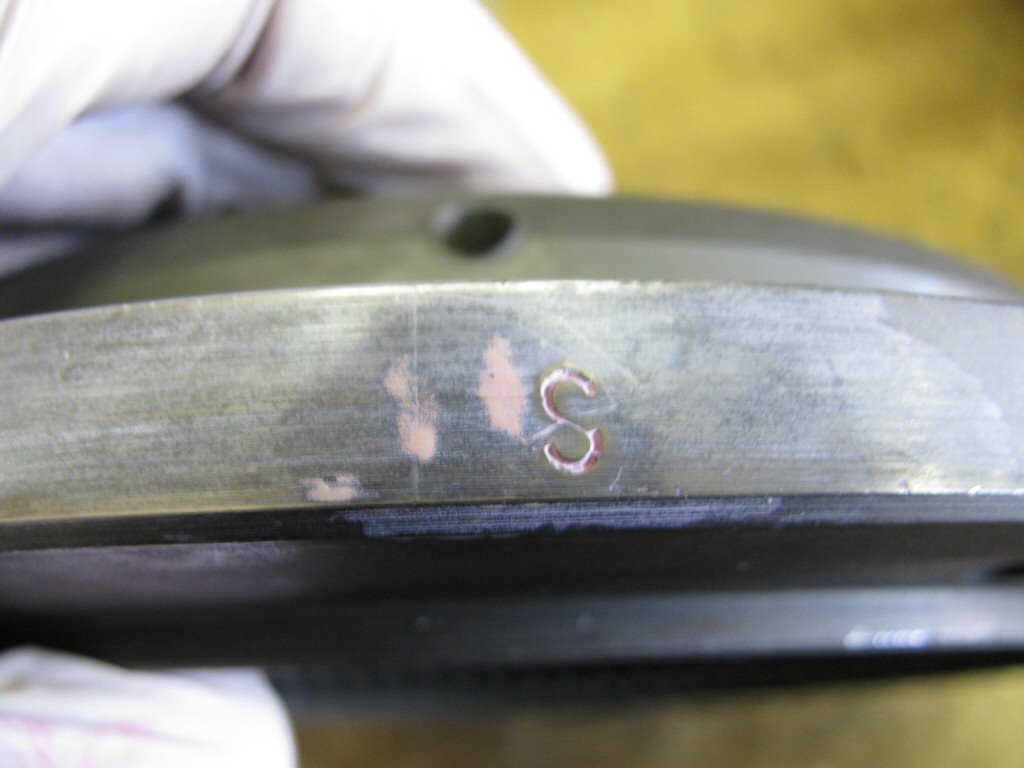
S.
Photo courtesy of Gregory Bender.
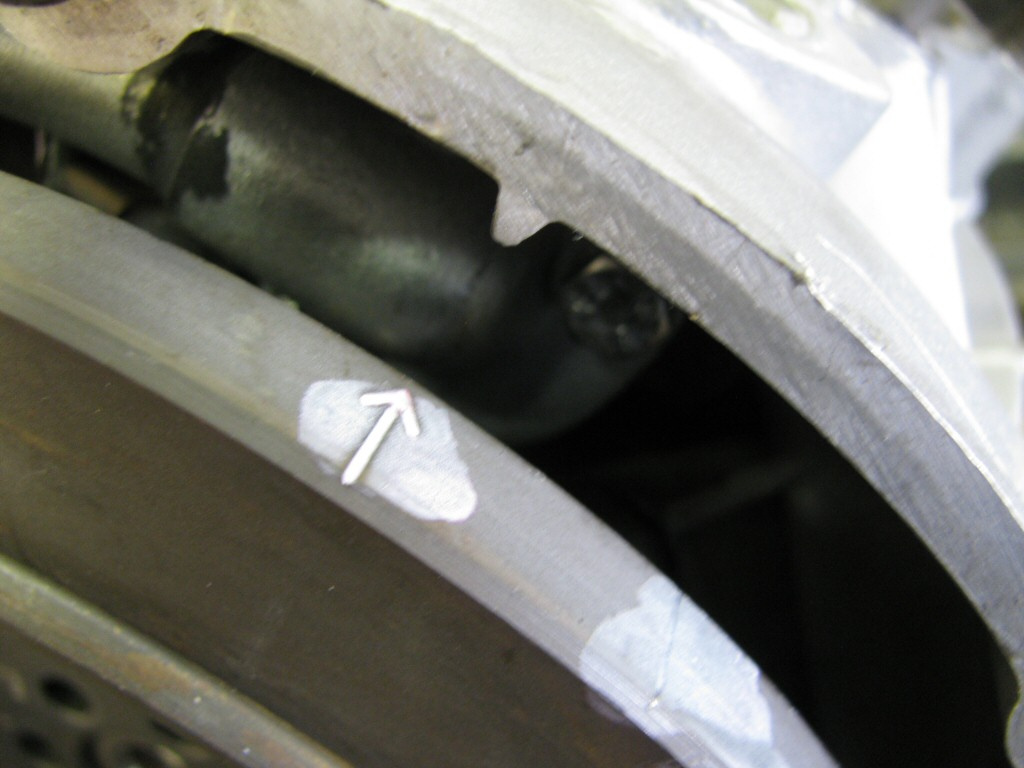
Photo courtesy of Gregory Bender.
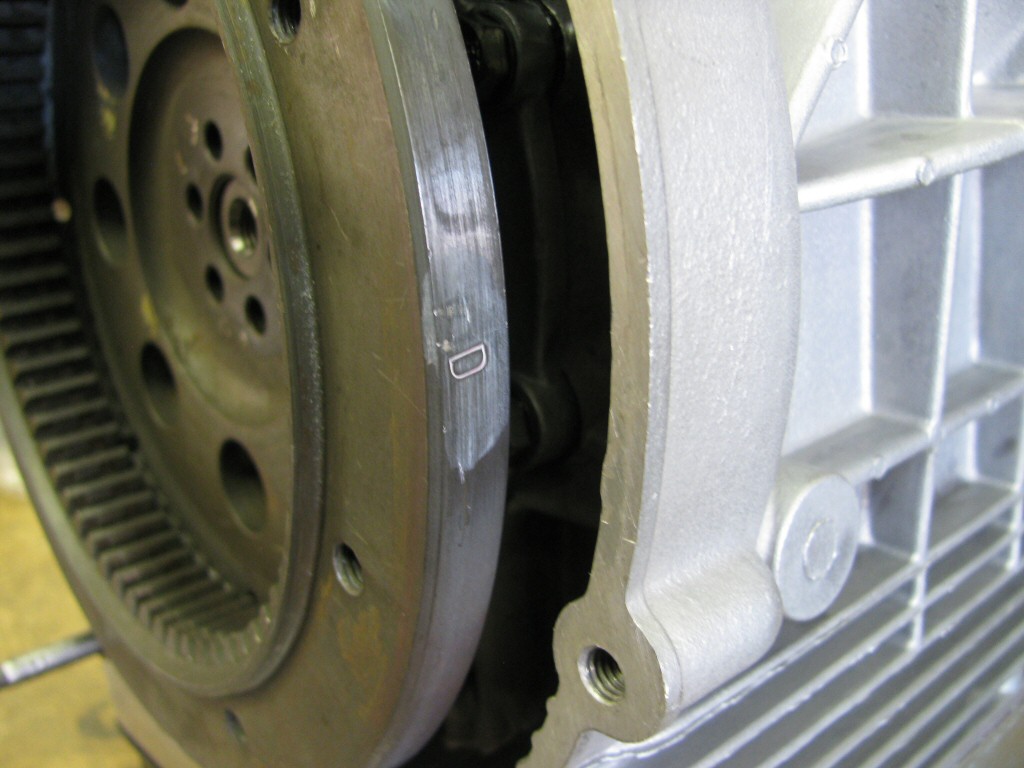
Dwill be visible through the corresponding hole in the transmission - very useful when setting the ignition timing!
Photo courtesy of Gregory Bender.
Photo courtesy of Gregory Bender.
Photo courtesy of Gregory Bender.
Photo courtesy of Gregory Bender.
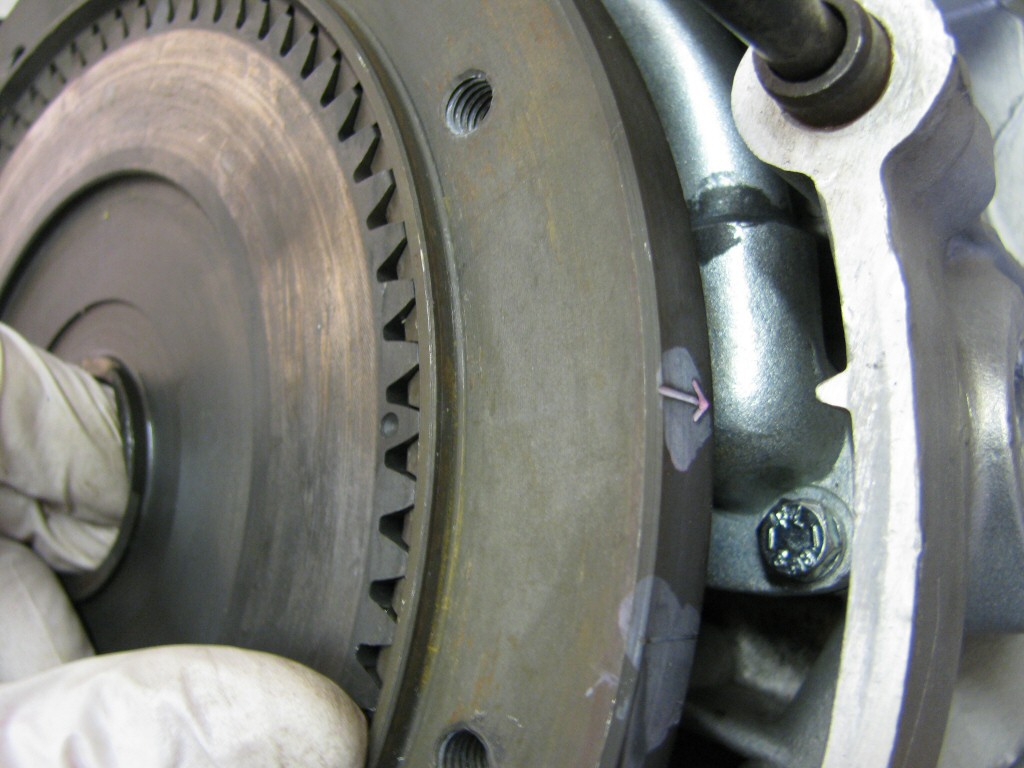
Photo courtesy of Gregory Bender.
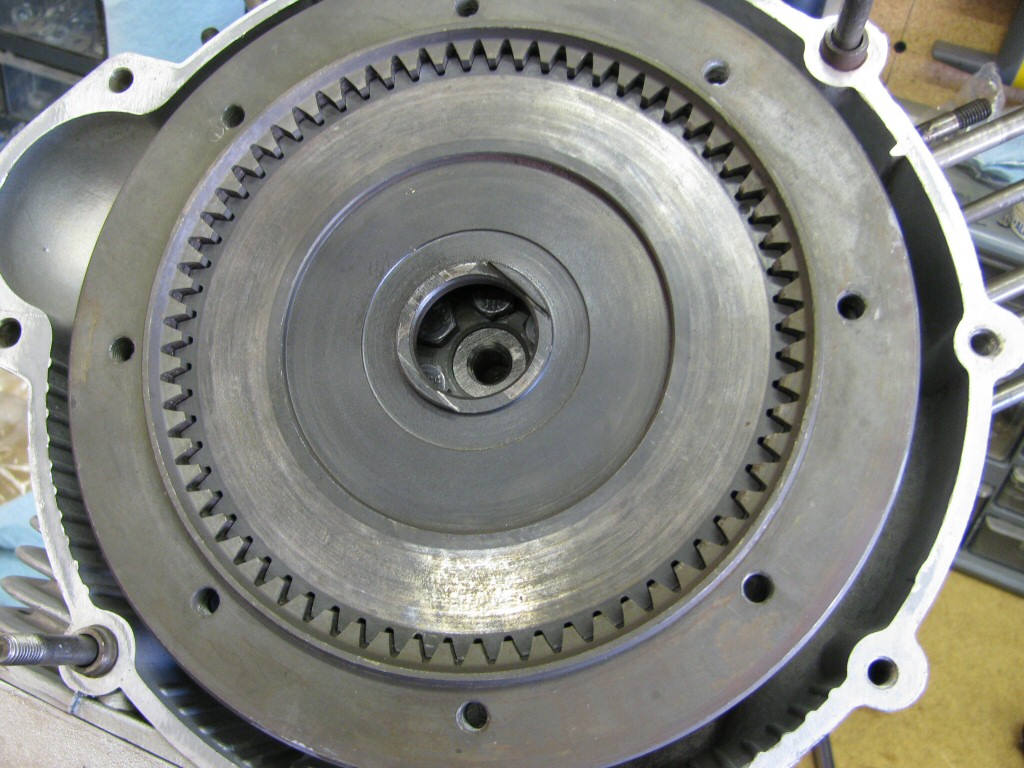
Photo courtesy of Gregory Bender.

Photo courtesy of Gregory Bender.
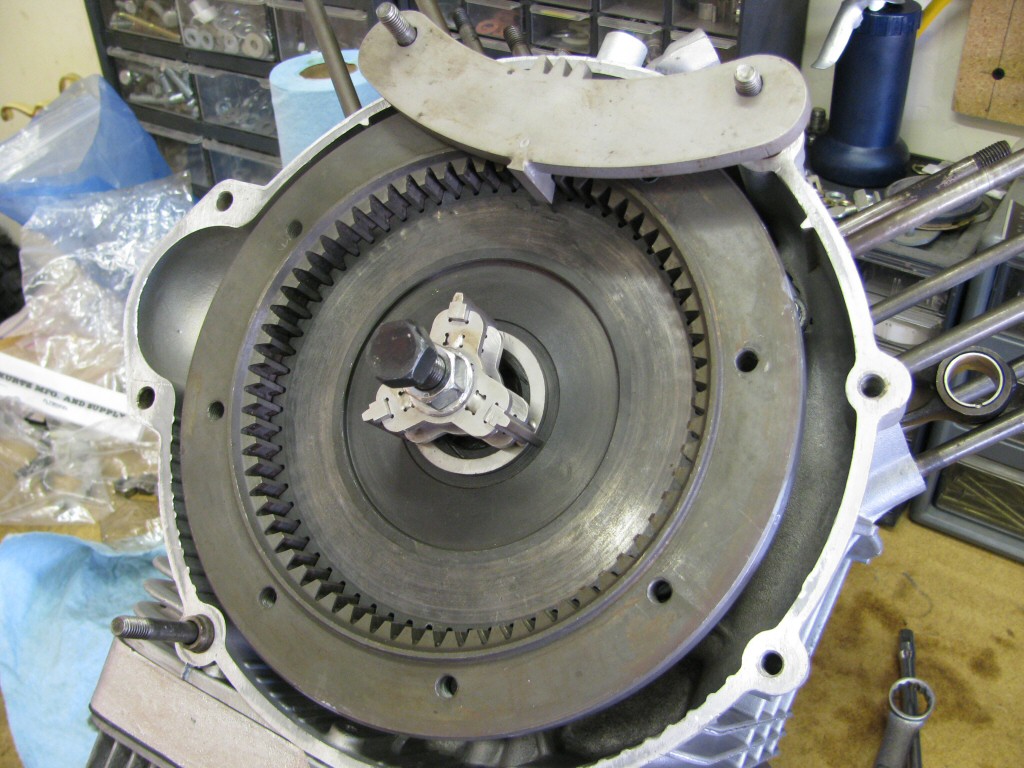
Photo courtesy of Gregory Bender.
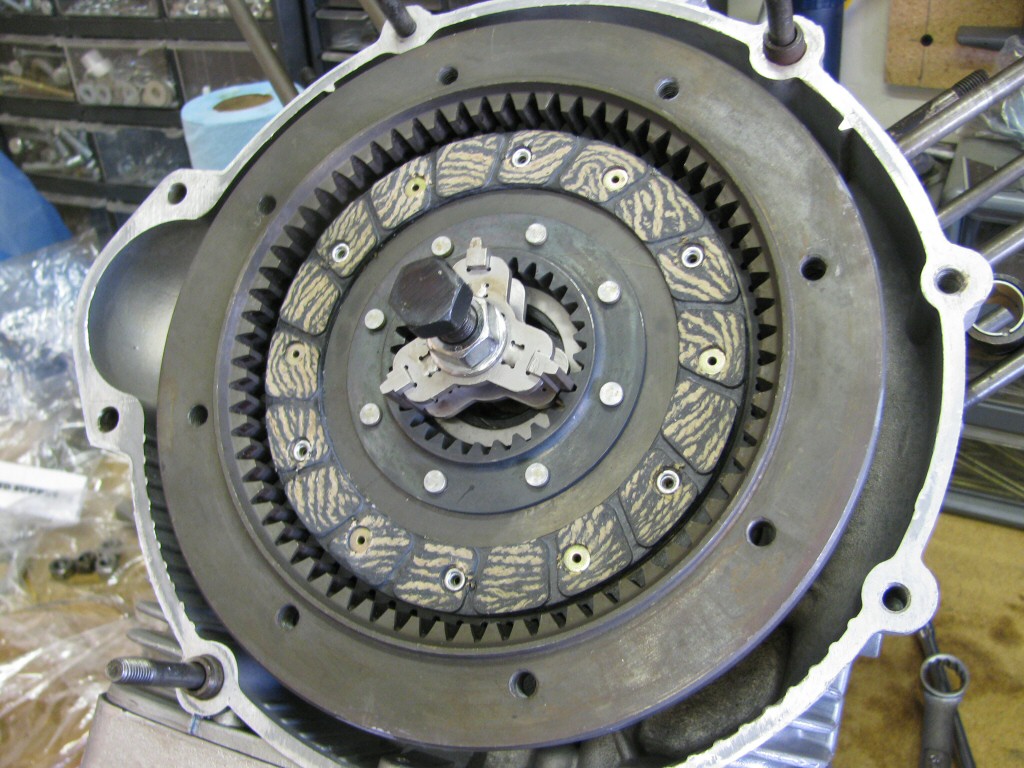
Photo courtesy of Gregory Bender.
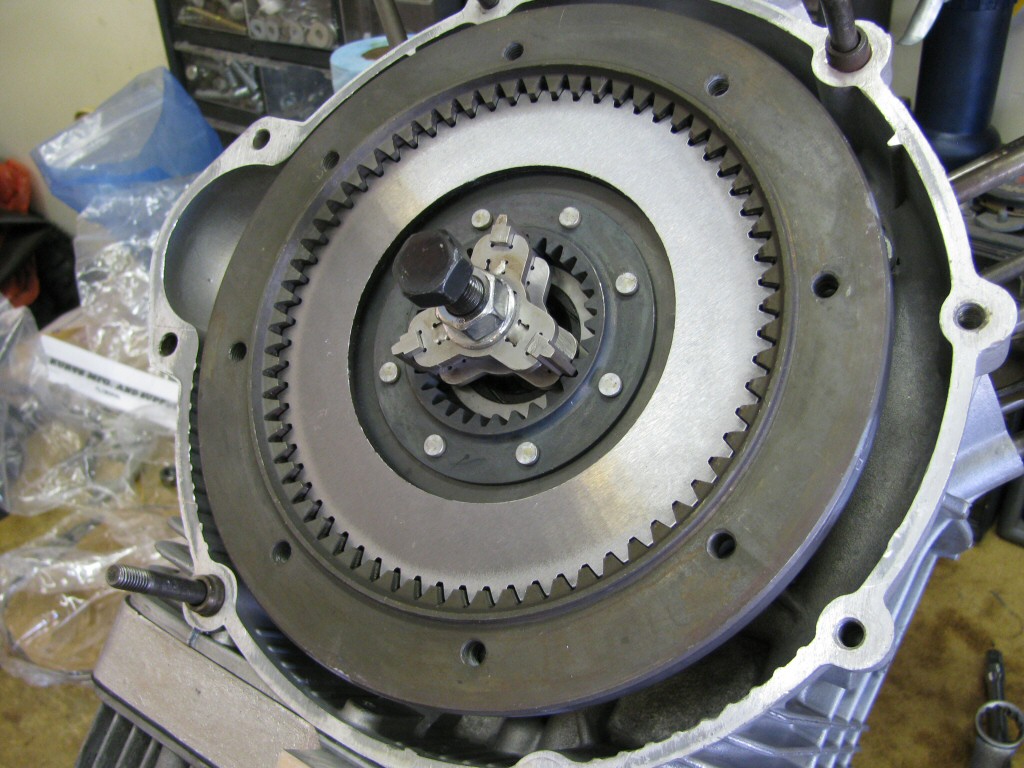
Photo courtesy of Gregory Bender.

Photo courtesy of Gregory Bender.
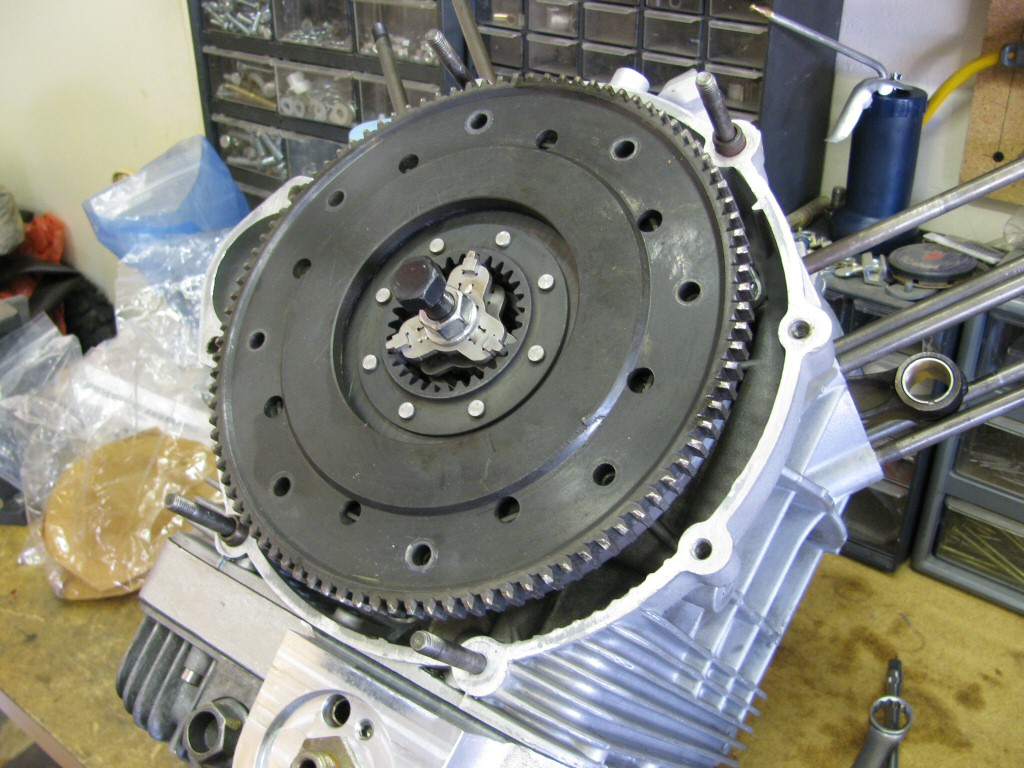
Photo courtesy of Gregory Bender.
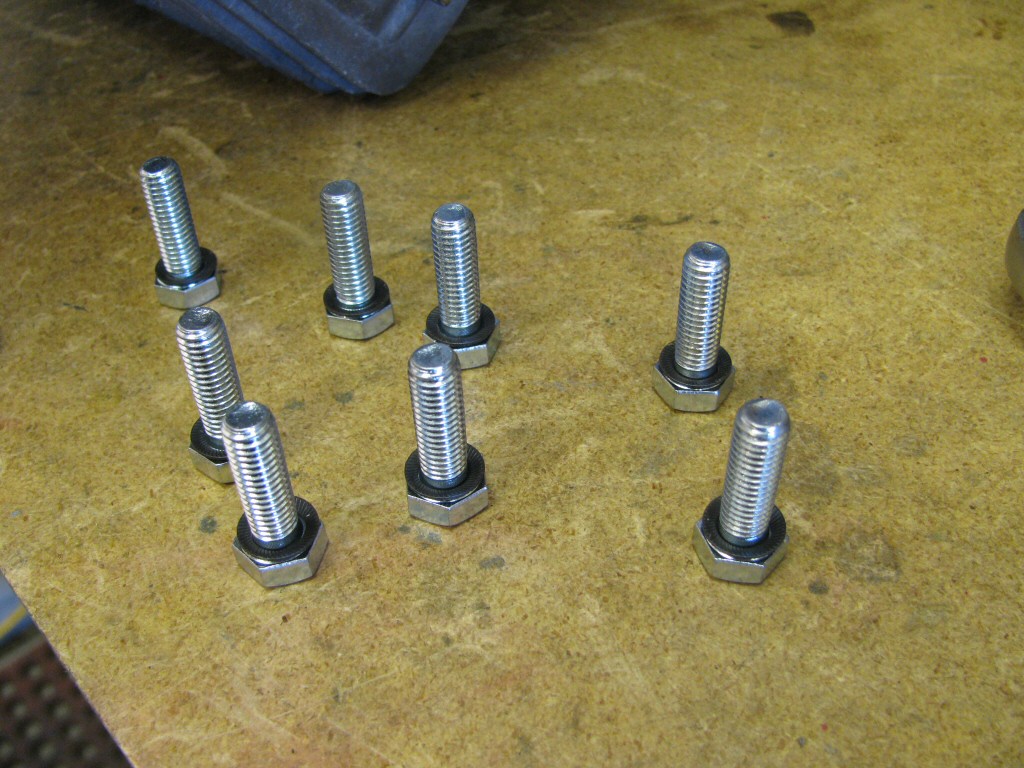
Photo courtesy of Gregory Bender.
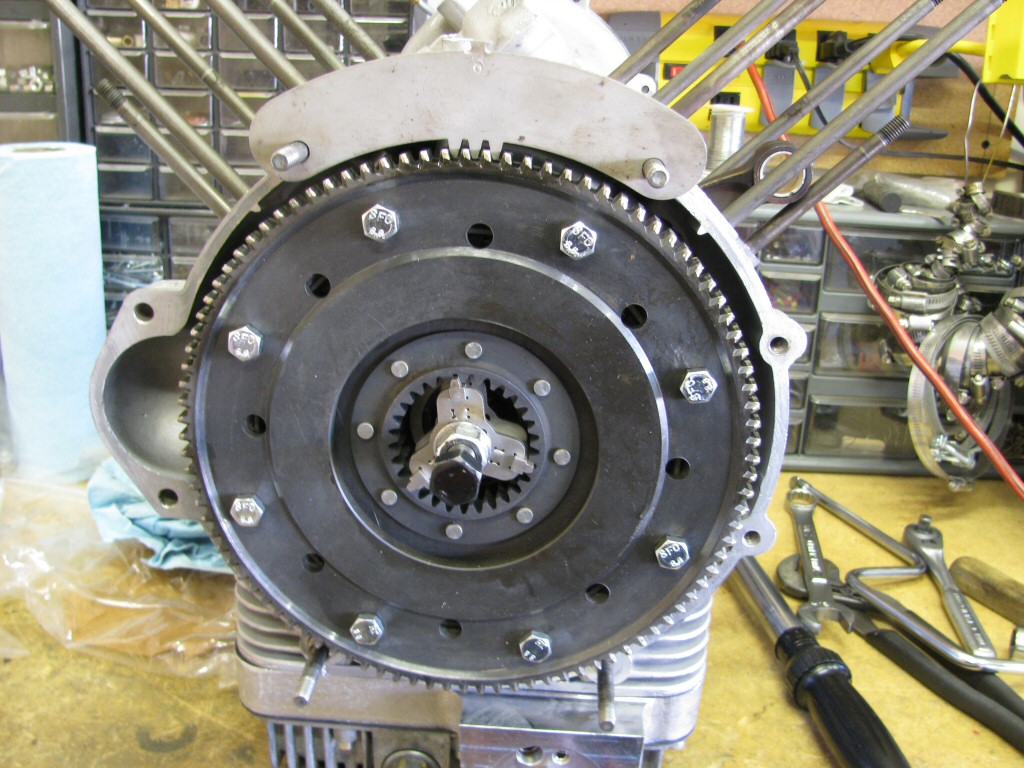
Photo courtesy of Gregory Bender.
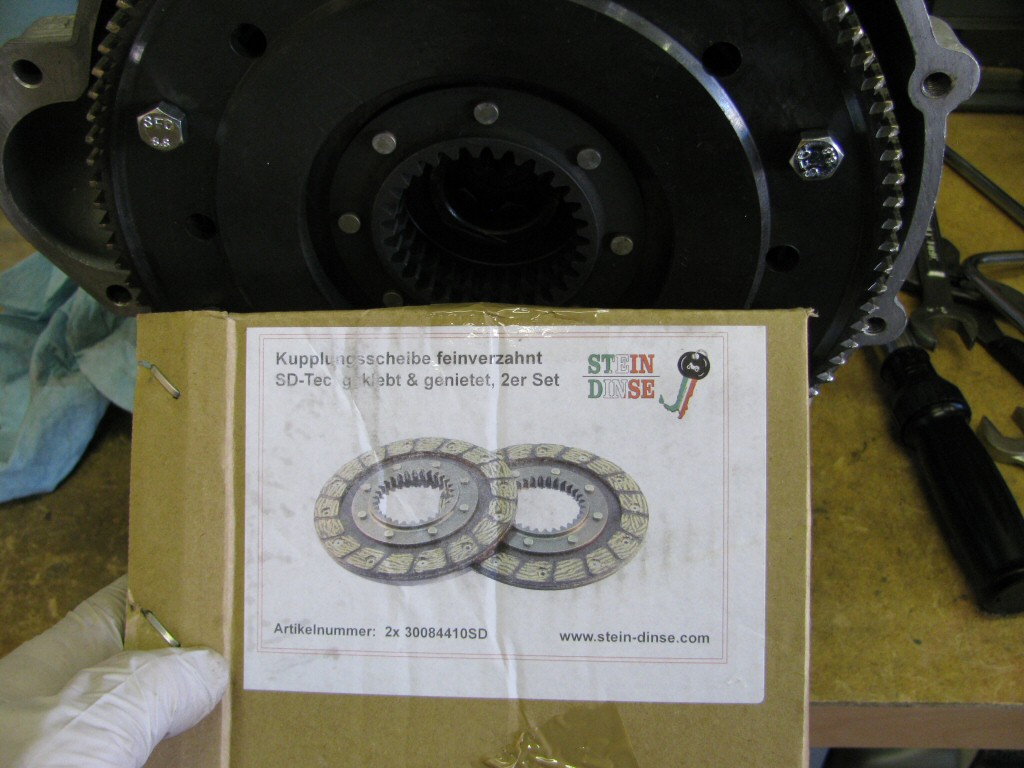
Photo courtesy of Gregory Bender.
Photo courtesy of Gregory Bender.