2013 March 19: Install the rear main bearing
Created:
Updated:
First entry|Previous entry|Next entry|Last entry
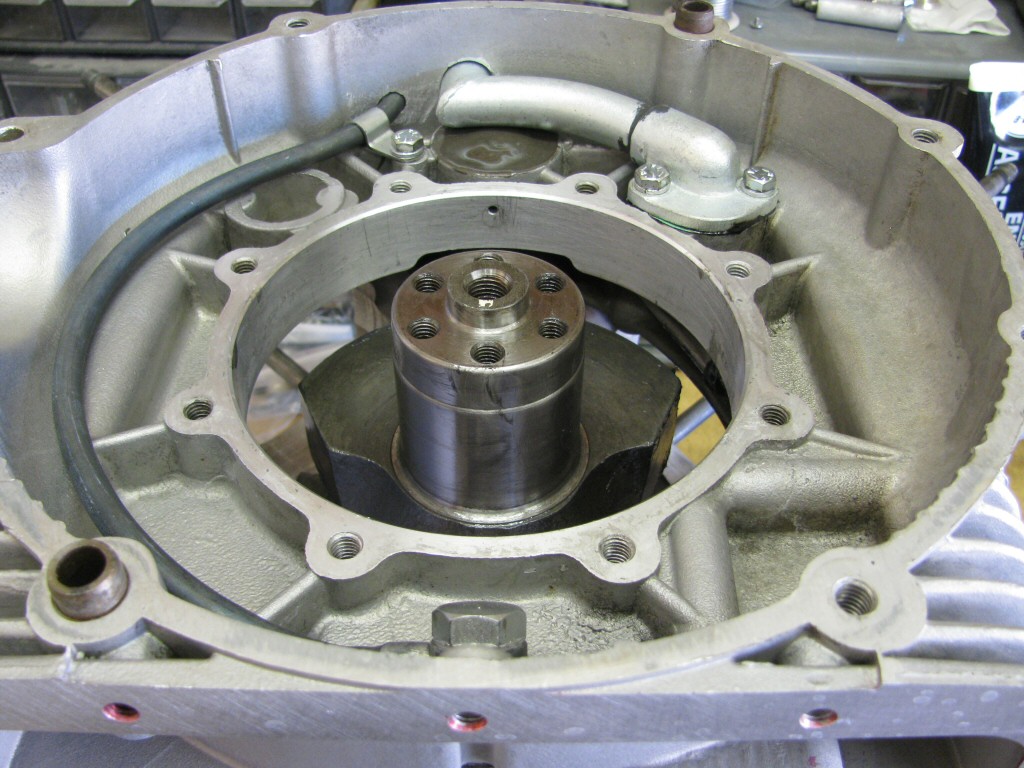
Photo courtesy of Gregory Bender.
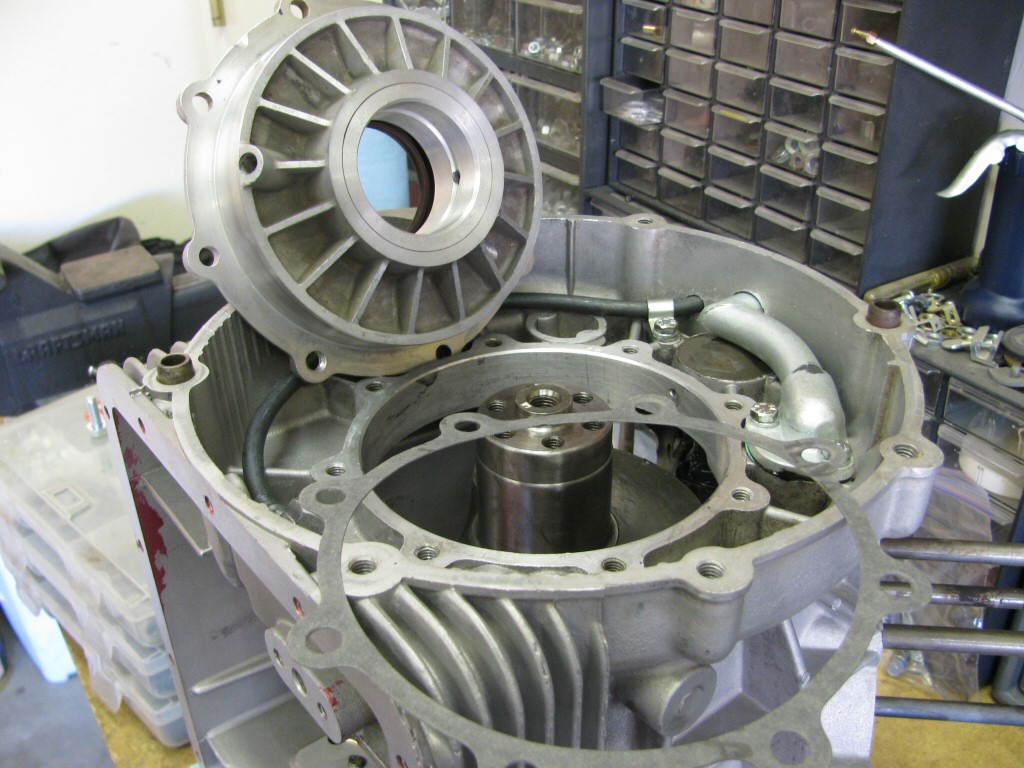
Photo courtesy of Gregory Bender.
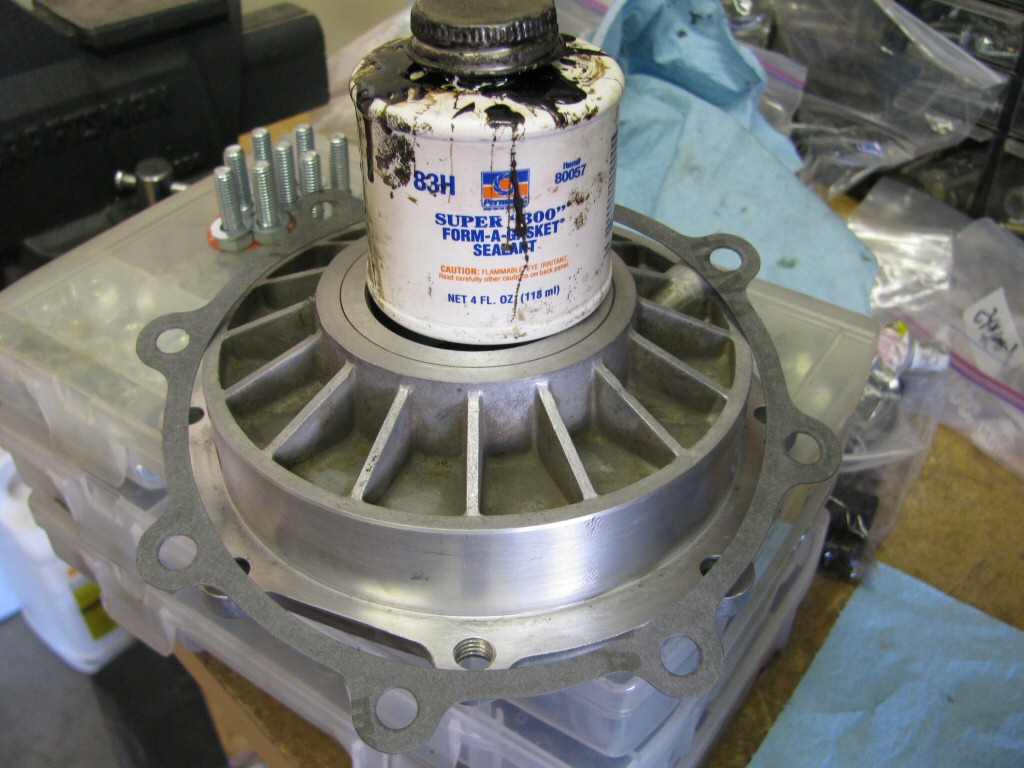
Photo courtesy of Gregory Bender.
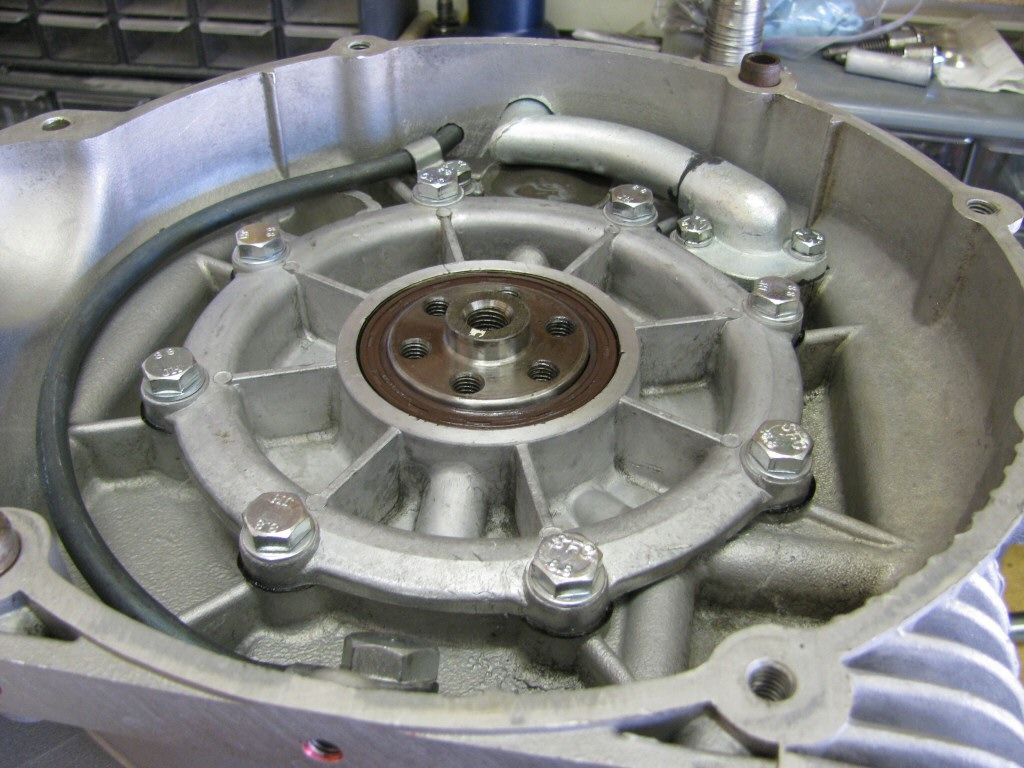
Photo courtesy of Gregory Bender.
Created:
Updated:
First entry|Previous entry|Next entry|Last entry
Photo courtesy of Gregory Bender.
Photo courtesy of Gregory Bender.
Photo courtesy of Gregory Bender.
Photo courtesy of Gregory Bender.