Custom 3: Sub-harness to greatly ease installation of wiring on the rear brake light switch
Created:
Updated:
Applicable to these part numbers:
At the rear brake light switch
Connect the two splitters to the rear brake light switch, one to each terminal. Four other wires with male bullet terminals will then plug into the sockets.
Connect wire from main harness
Brake light switch: Plug the black wire (with male bullet terminal) into one of the sockets.
Connections - brake light switch
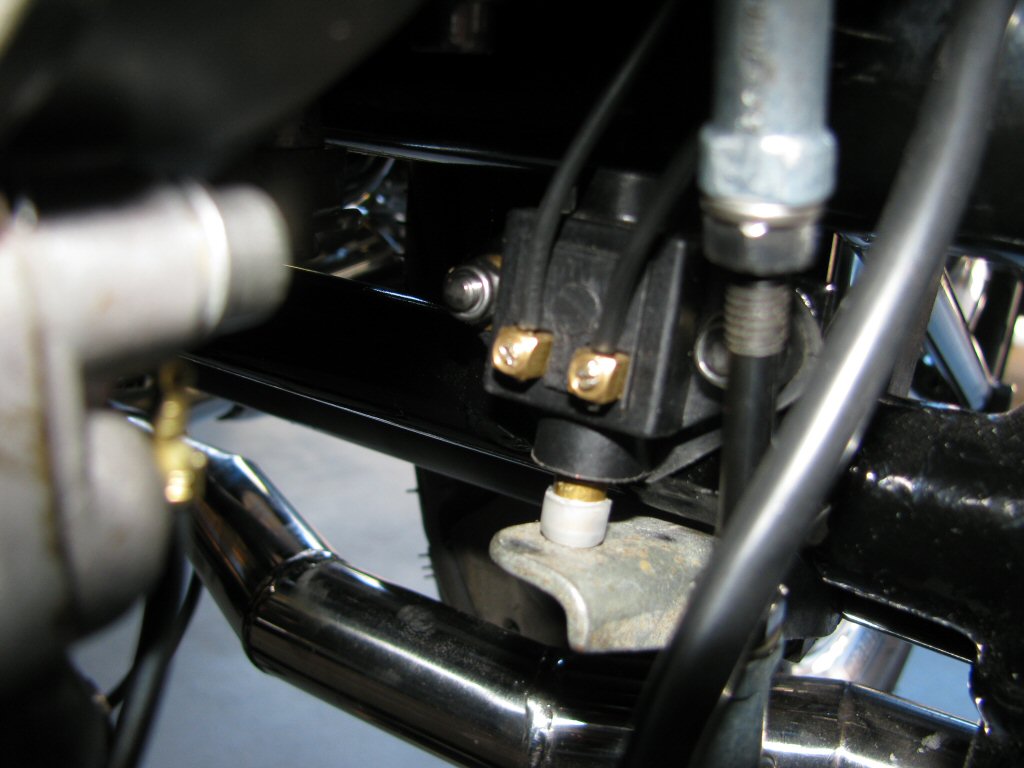
Photo courtesy of Gregory Bender.
Connect wire to tail light
- Plug the black wire (with male bullet terminal) into one of the sockets (but not the same one as above).
Connections - brake light switch Photo courtesy of Gregory Bender.
- Route the wire to the tail light. There is a hole in the front of the fender (on the left side). Route the black wire through that hole. Route the wire through the hole in the rear fender nearest the tail light. Don't take the time to secure the wire in place within the metal retaining clips, I do that after everything is in place.
- Connect the other end of the black wire with the 4 mm male bullet terminal to the corresponding black wire with the 4 mm female bullet terminal at the tail light.
Connect wires from front brake light switch
- Route the wires along the left side of the frame from the steering neck back to the rear brake light switch. I always route these wires between the battery tray and the rear fender in the little
triangle
space that is available there. I route the wires straight down behind the swing arm member, and then route them forward toward the starter area. - Plug each black wire (with male bullet terminals) into each of the sockets. It does not matter which wire is fit to which socket, just plug one to each socket.
- Connect both 6.3 mm spade terminals to the front brake switch. It does not matter which wire is fit to which terminal, just connect one to each terminal.
Civilian models
If you purchased a main harness from me:
- Connect the black wire to the positive terminal of the coil.
- Plug the connector into the alternator.
- At the alternator, connect the red wire with the 6 mm ring terminal to the post on the alternator.
If you purchased a separate alternator harness from me:
- Connect the black wire to the positive terminal of the coil.
- Identify the red wire that was connected to your old generator. This is the wire that goes to the dash console to illuminate the charging light. Crimp on the provided terminal to this red wire. Then, insert this terminal into the connector next to the black wire.
- Plug the connector into the alternator.
- At the alternator, connect the red wire with the 6 mm ring terminal to the post on the alternator.
- At the battery, connect the red wire with the 6 mm ring terminal to the battery positive terminal.