Step 1A: Lay out the harness
Lay out the harness along the left side of the motorcycle. The end with the long yellow wire goes to the rear. There is no need to tape or zip-tie anything in place at this time, though you can certain do so if you want to. I always wait to tape or zip-tie until after I've gotten everything installed. The basic routing is shown in the following photos.

Photo courtesy of Gregory Bender.
Photos of original main harness routing on an Ambassador without turn signals
Thanks to Kevin Kelly for sending me these photos in a private email. In Kevin's own words:
These are the pictures of my 1969 Moto Guzzi 750 Ambo. I have owned it since 1975. I never took it apart until 2010 and doubt if anyone else ever has.
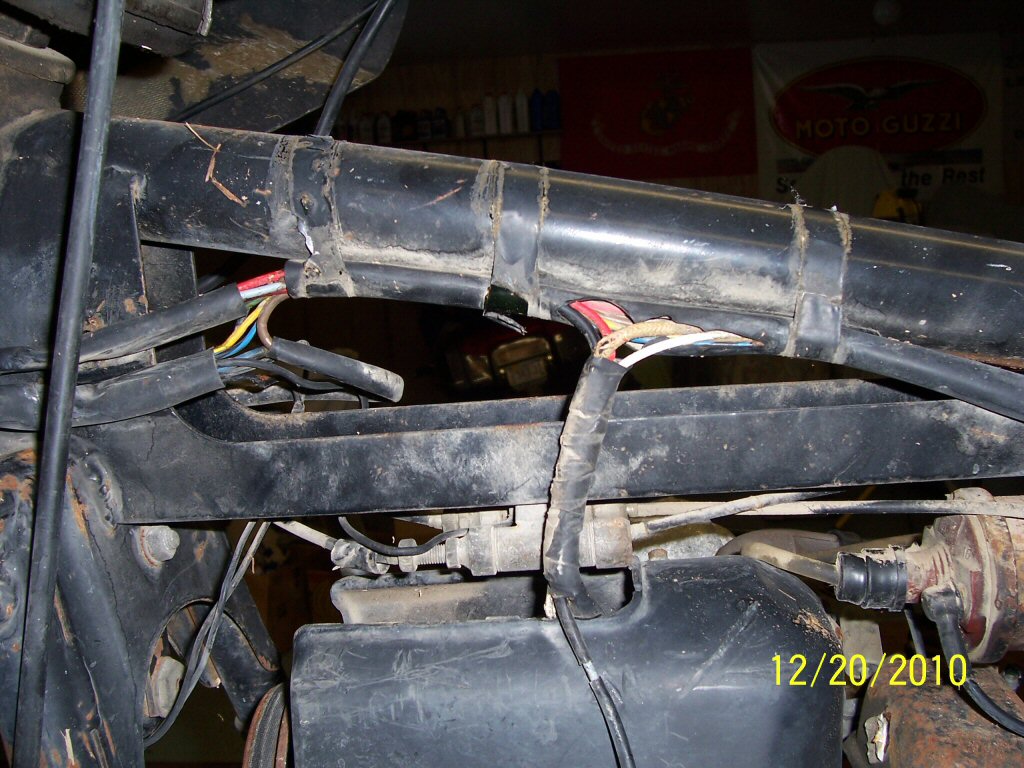
Photo courtesy of Kevin Kelly.
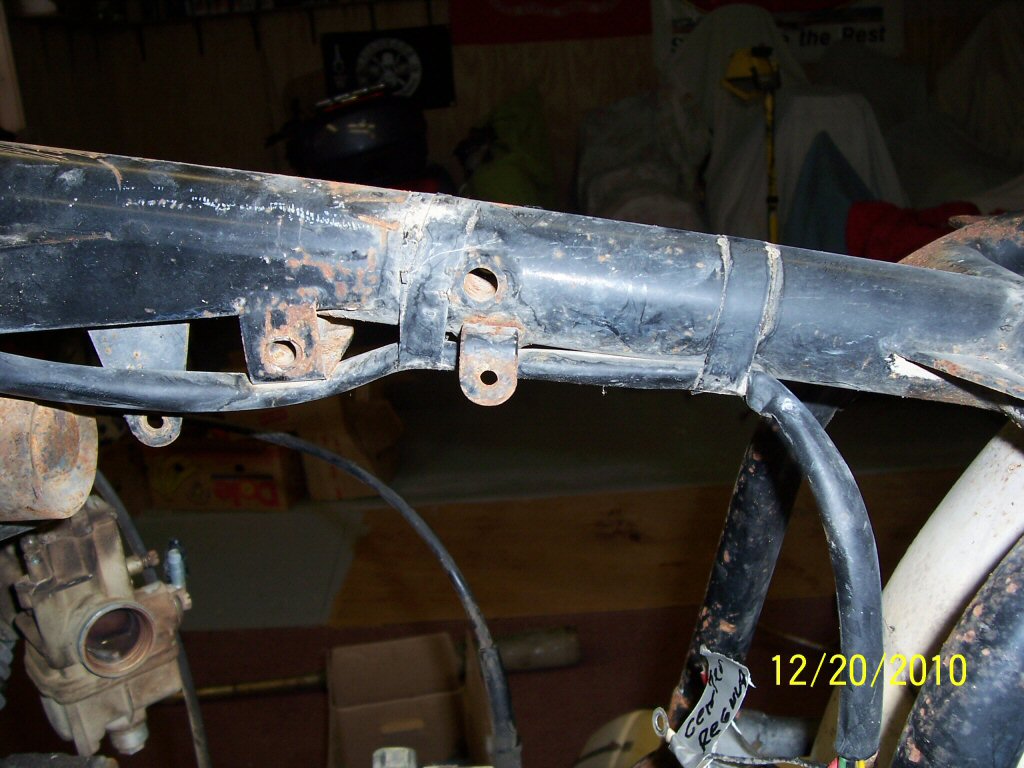
Photo courtesy of Kevin Kelly.
Photos of original main harness routing on an Eldorado with turn signals
Thanks to Charlie Mullendore of Antietam Classic Cycle for sending me these photos in a private email.
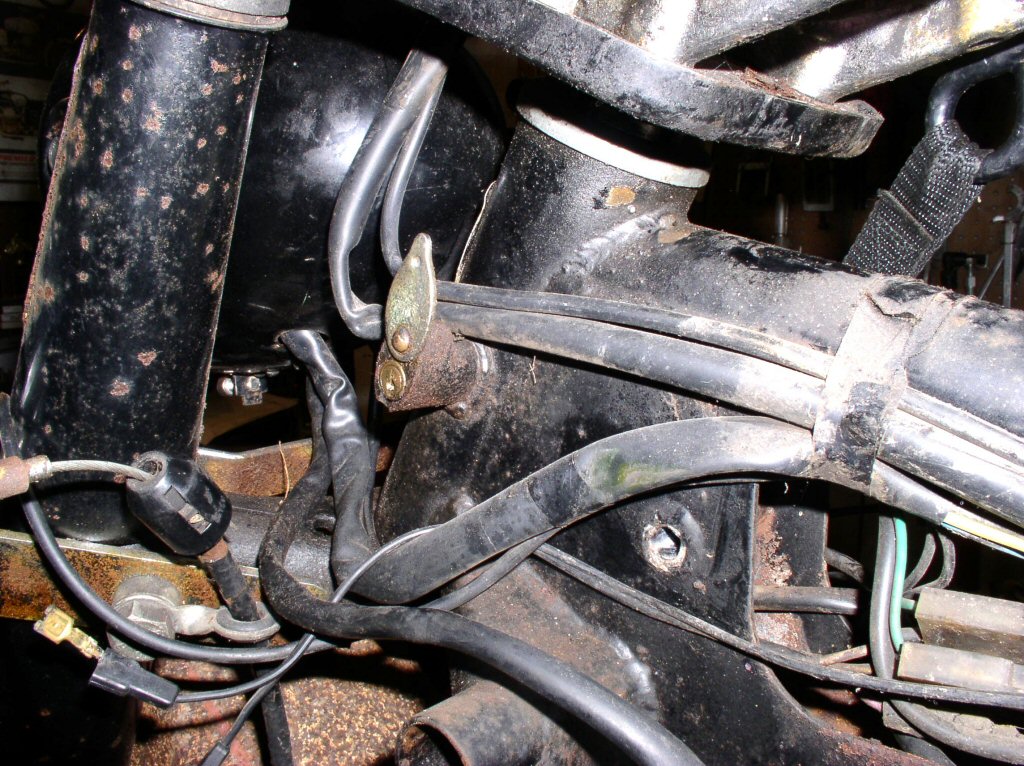
Photo courtesy of Charlie Mullendore of Antietam Classic Cycle.

Photo courtesy of Charlie Mullendore of Antietam Classic Cycle.
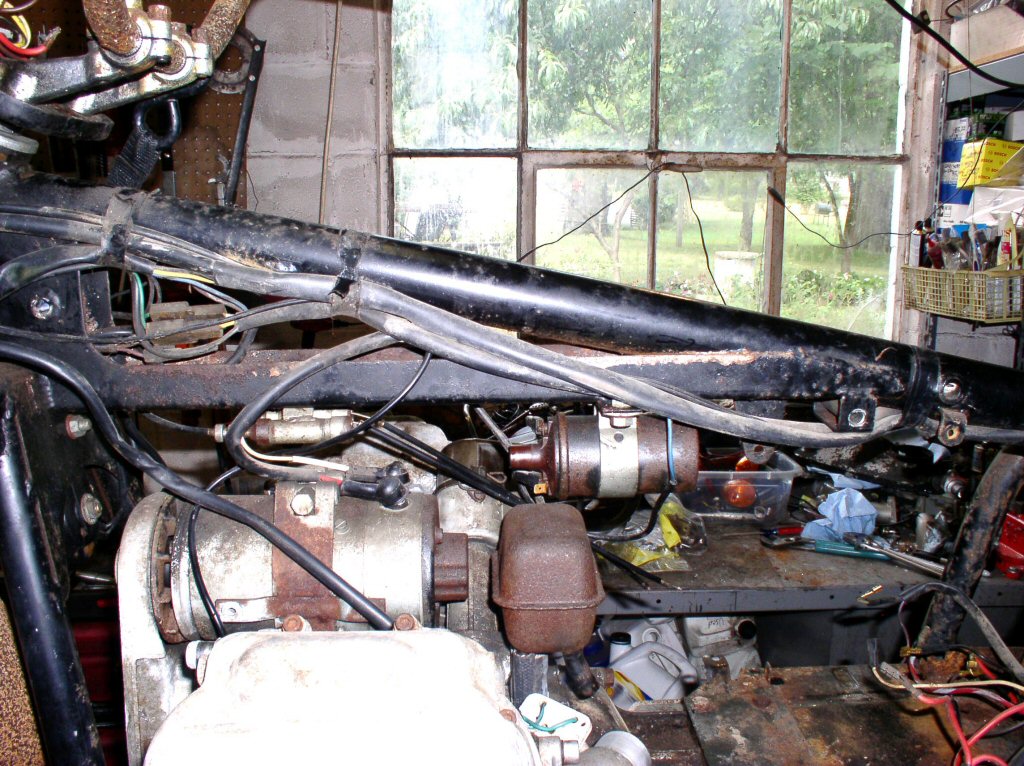
Photo courtesy of Charlie Mullendore of Antietam Classic Cycle.