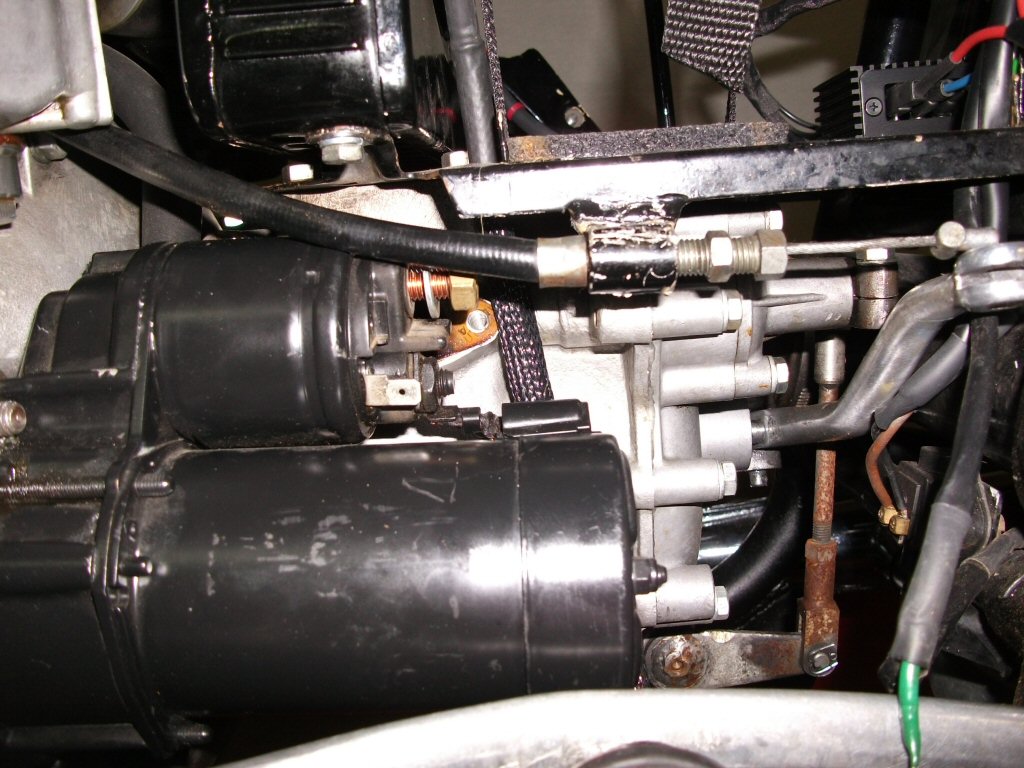
The Problem of a replacement is that the first loop frame models had the solenoid below the starter housing and at later models it was/is mounted on top of the starter housing. So it's not possible to replace the old starter with one of a new model (Bosch or Valeo) without any changes. The solenoid of the Valeo intersects with the neutral sensor during assembly and your clutch cable. The Bosch is even larger than the Valeo, so I didn't try that one out.
The second issue is that the early models have a stud on the top and a screw on the bottom at the starter flange, whereas later models have both screws. This means that all later starters have threaded holes on Top, which will not work with the studs at the engine.
1st step:
Disconnect the battery and remove your old starter.
2nd step:
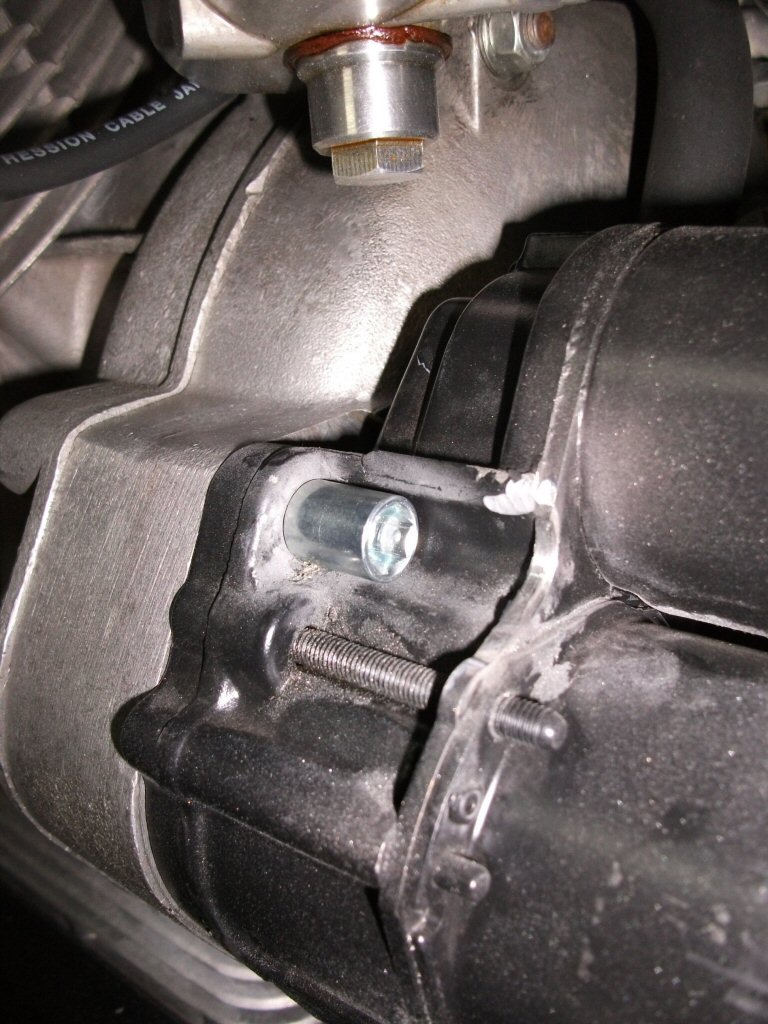
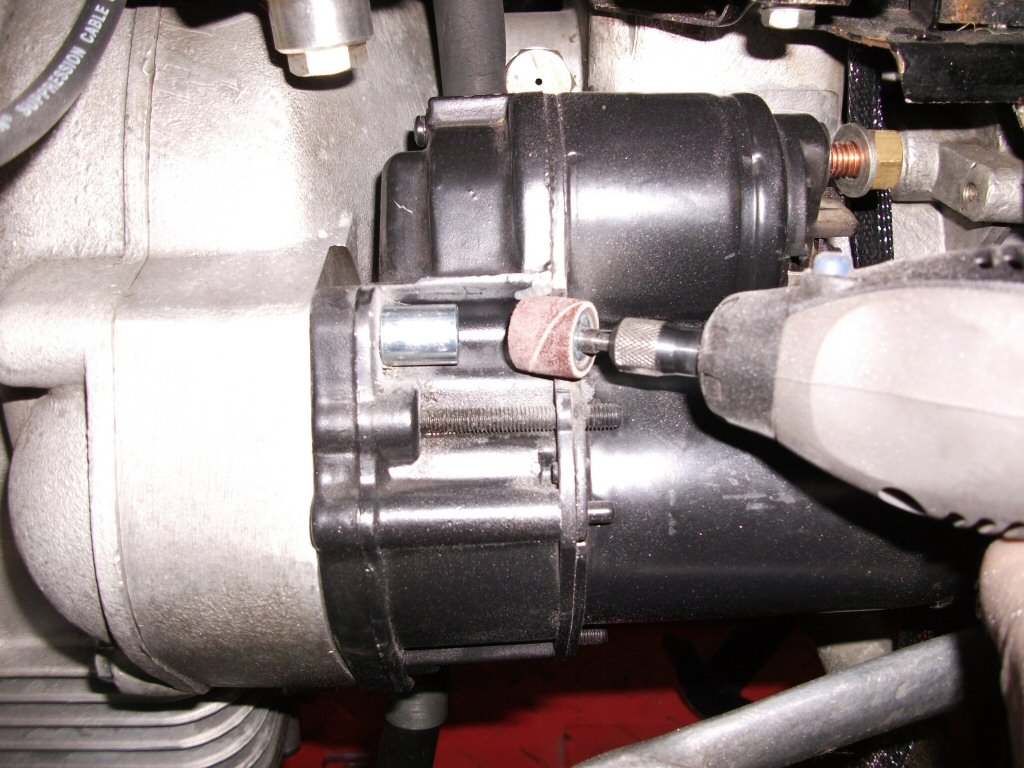
Drill the 8 mm thread on top of the Valeo to an 8 mm or 8.5 mm hole.
Remove the rib opposite to the hole you just widened. Just as much as you need for good access to the nut.
I used my Dremel tool with a small sand grinder attachment.
Maybe you have to remove the paint where the nut is going to be (I had). If so, use the tip of a sharp knife or even better a small chisel (don't tell your carpenter...)
Photo courtesy of Sven Stepan.
Photo courtesy of Sven Stepan.
Photo courtesy of Sven Stepan.
3rd step:
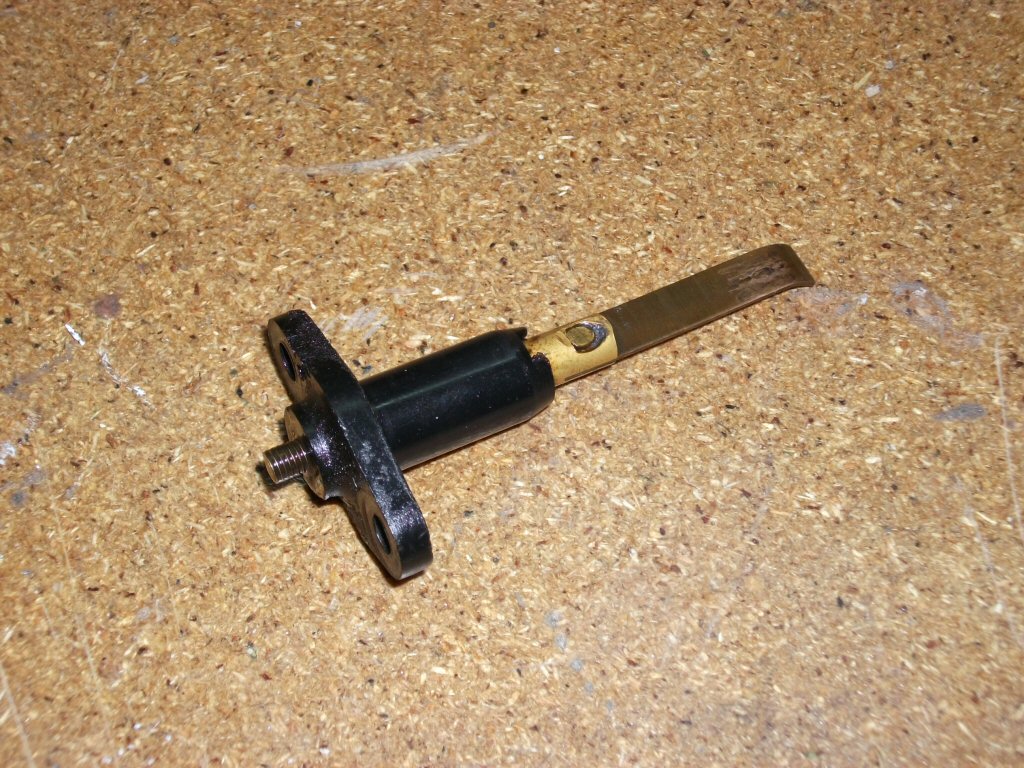
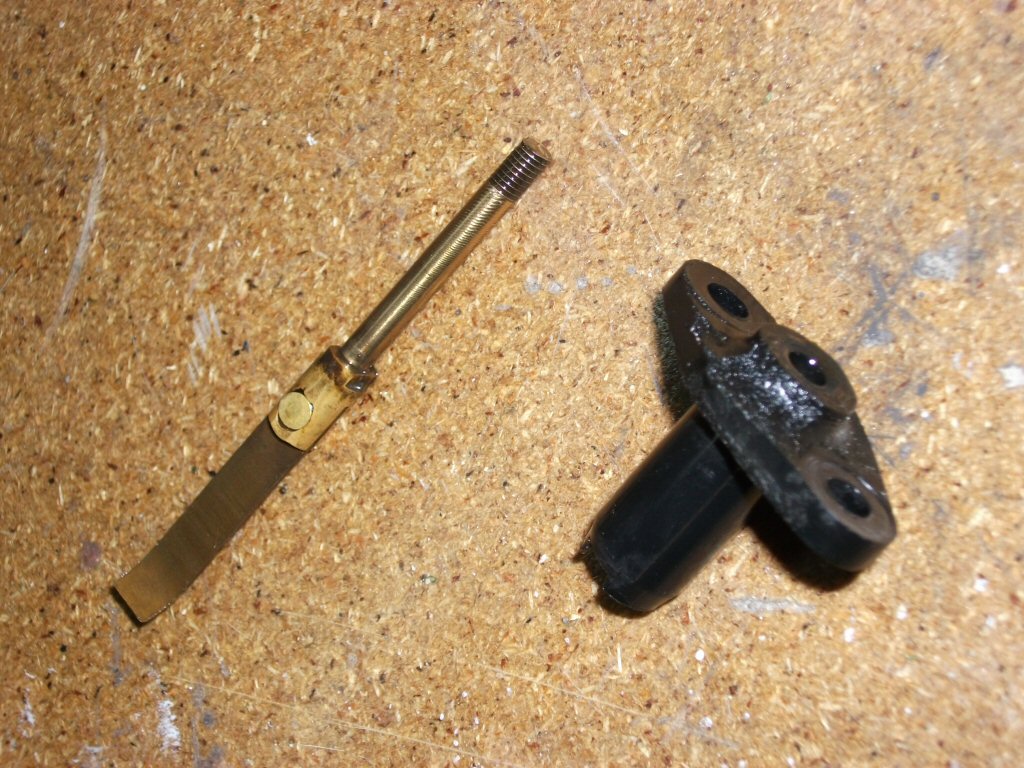
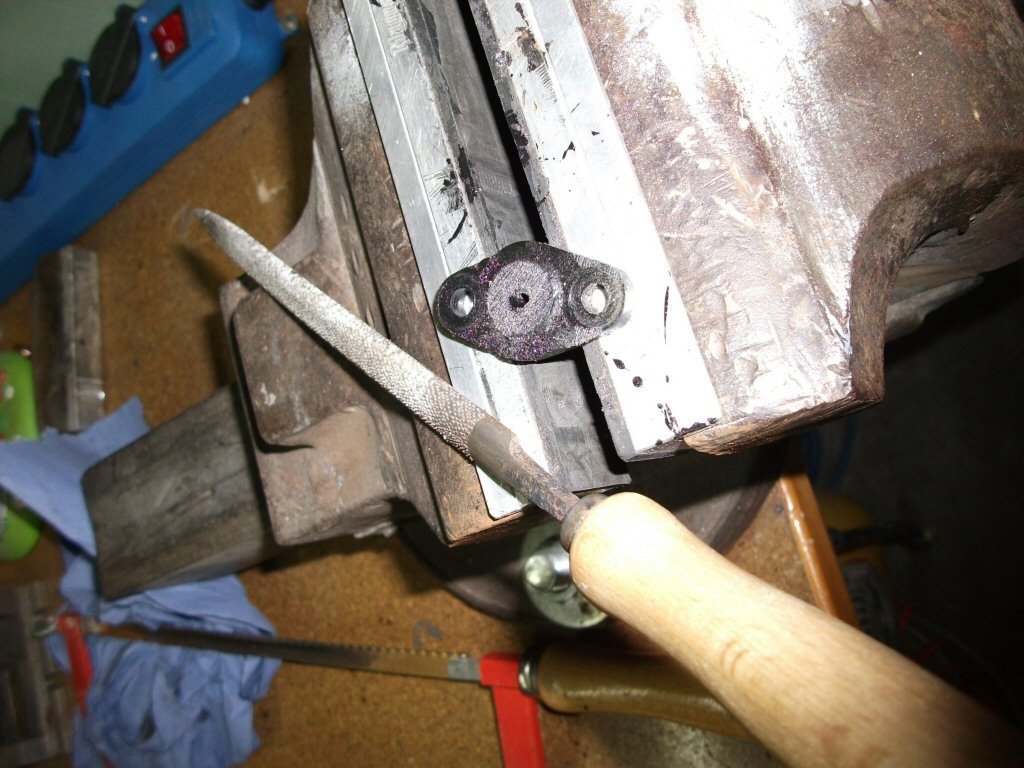
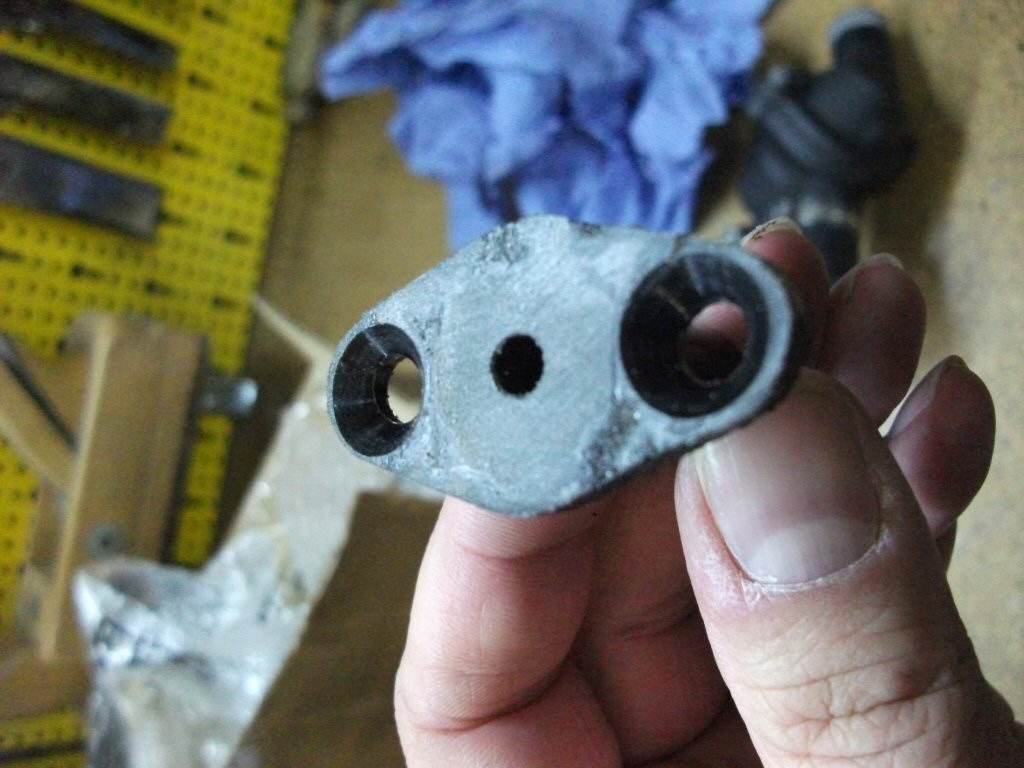
Remove the neutral sensor from the gearbox. Soon you've cleaned it you can pull out the brass insert in inside direction. Be sure that the nut on the outside is removed. Now remove the bump in the middle of the flange with a standard wood rasp (you can also use a sander, but that's not necessary because the flange is a soft plastic part) until the surface is flat. Then countersink the screw holes to the diameter of your screw heads. Carefully! The last step is to elongate the thread of the brass insert and to shorten the insert, so that it will endure appr. 6 mm - 8 mm. If this is all done, reassemble the sensor, using a new sealing and the new flat head screws. Don't fix the neutral cable yet.
Photo courtesy of Sven Stepan.
Photo courtesy of Sven Stepan.
Photo courtesy of Sven Stepan.
Photo courtesy of Sven Stepan.
4th step:
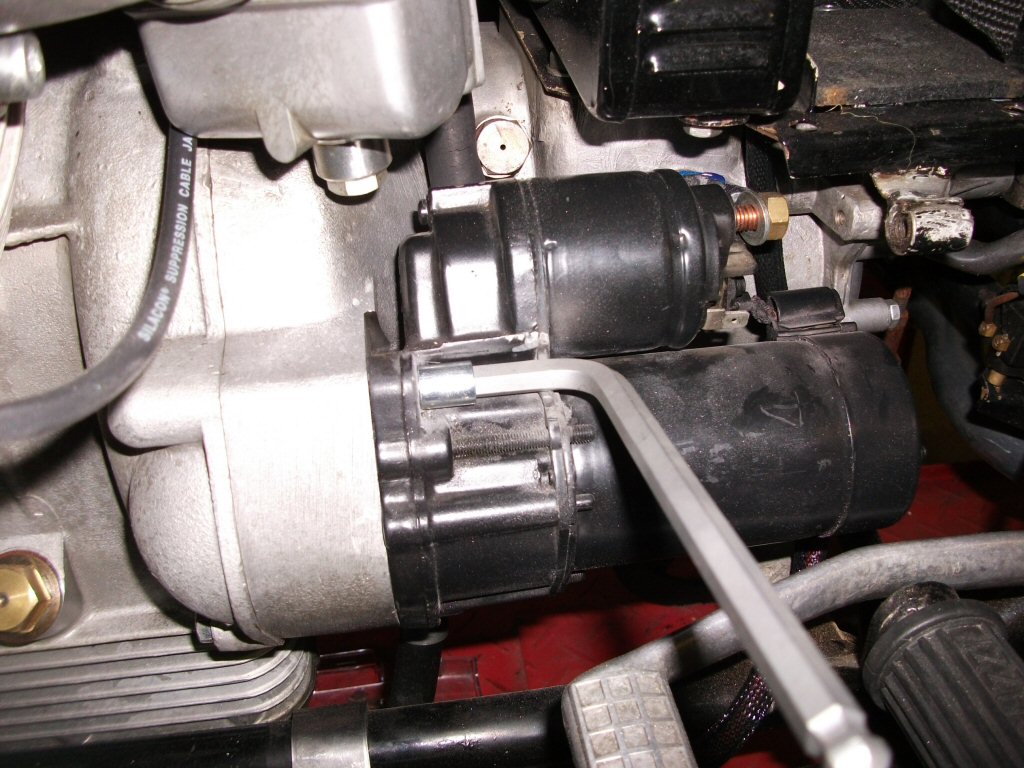
Detach the clutch cable. Heat up the cable bracket with a torch, carefully. Use a pipe wrench to bend the bracket 90° sideward. This gives the cable the necessary clearance. After the metal cooled down, paint it new.
Photo courtesy of Sven Stepan.
Photo courtesy of Sven Stepan.
5th step:
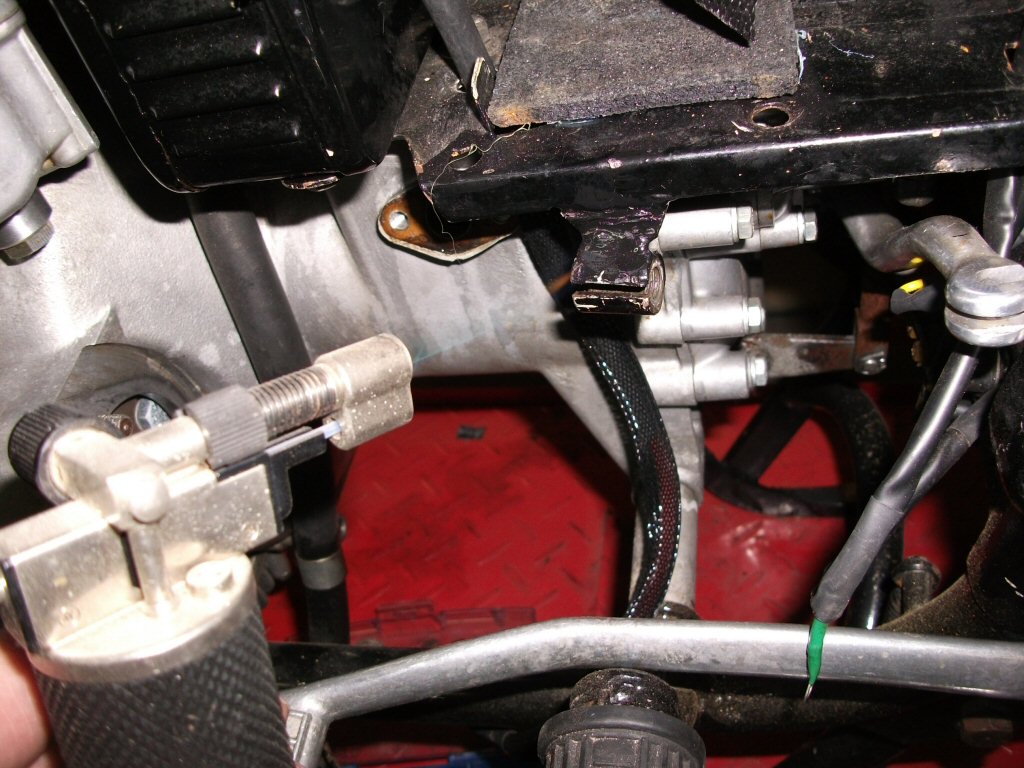
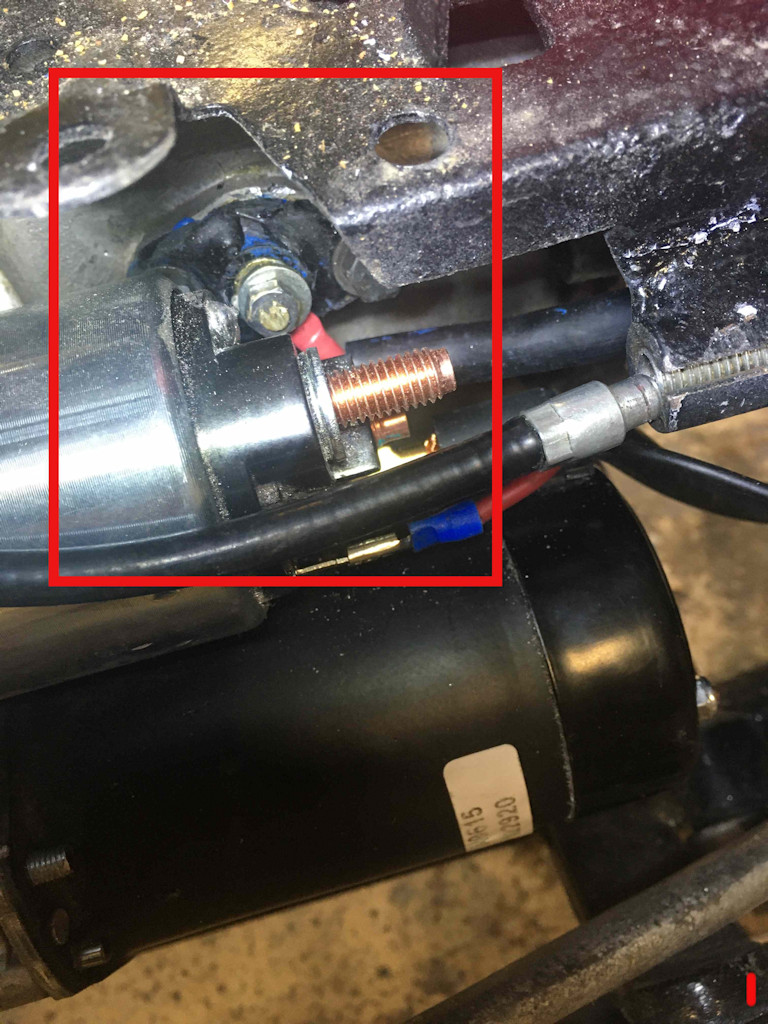
Reassemble. When you mount the starter, let the brass part of the neutral sensor slip in a little bit. That will give you the necessary freedom for the starter. On top you use the hexagon socket nut and on bottom the old screw. After the starter is fixed, fasten the neutral cable, and both starter cables. Last step is to connect the battery again and fire it up!
Don Warren sent me some additional information regarding his experience with installing this starter. In Don's own words and photos:
I bought a new starter from CG Motorcycle (Alternate Starter GU30730710 Big Twin) and basically followed your instructions to install it. I removed quite a bit of material to get the nut to go on the top stud. Later I was thinking that an Allen head bolt might have worked. So I got an 8 mm Allen head and used it. I am not 100% sure it would have worked without removing metal but I think it would. This starter is somewhat smaller and lighter and the solenoid is about 1 1⁄2 inch shorter which makes it a bit easier to install. It does not require a ground wire - only a hot lead. It uses permanent magnets for the field so no power for the field coils. I also eliminated the starter relay - I don't think is is necessary. I used a automotive style key switch with a momentary on to start.
So far it works well. My neutral switch setup was not like yours - it was flat on the top and I just trimmed about 1⁄4 inch off the top of the threaded shaft.
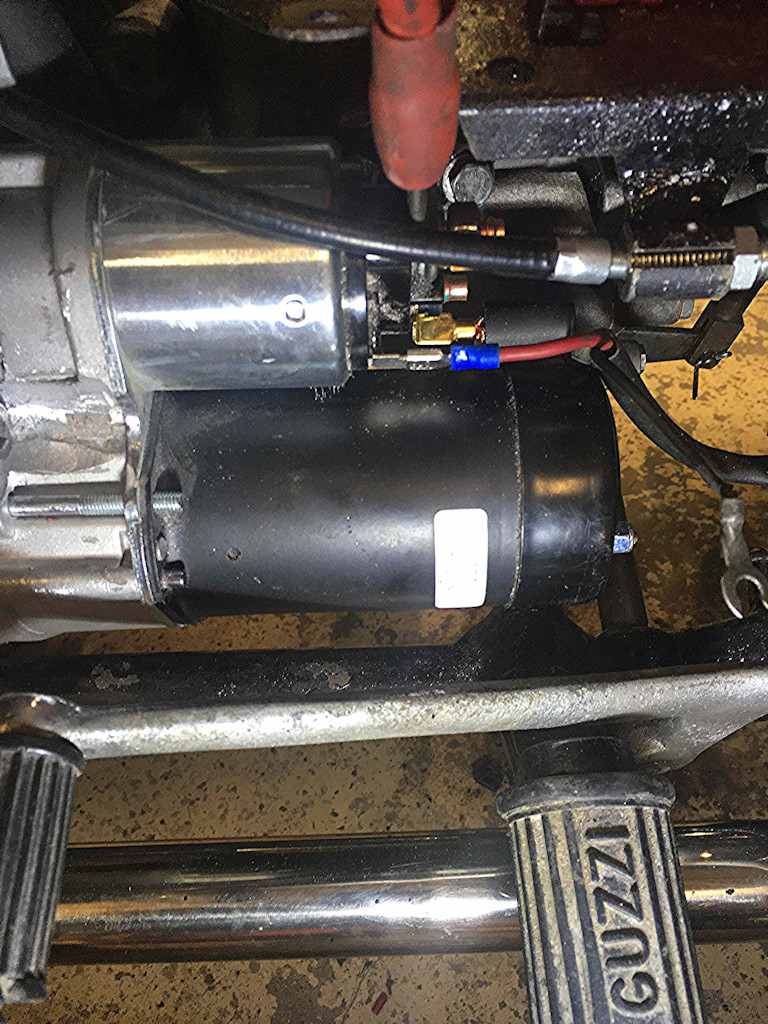
Starter in place.
Photo courtesy of Don Warren.
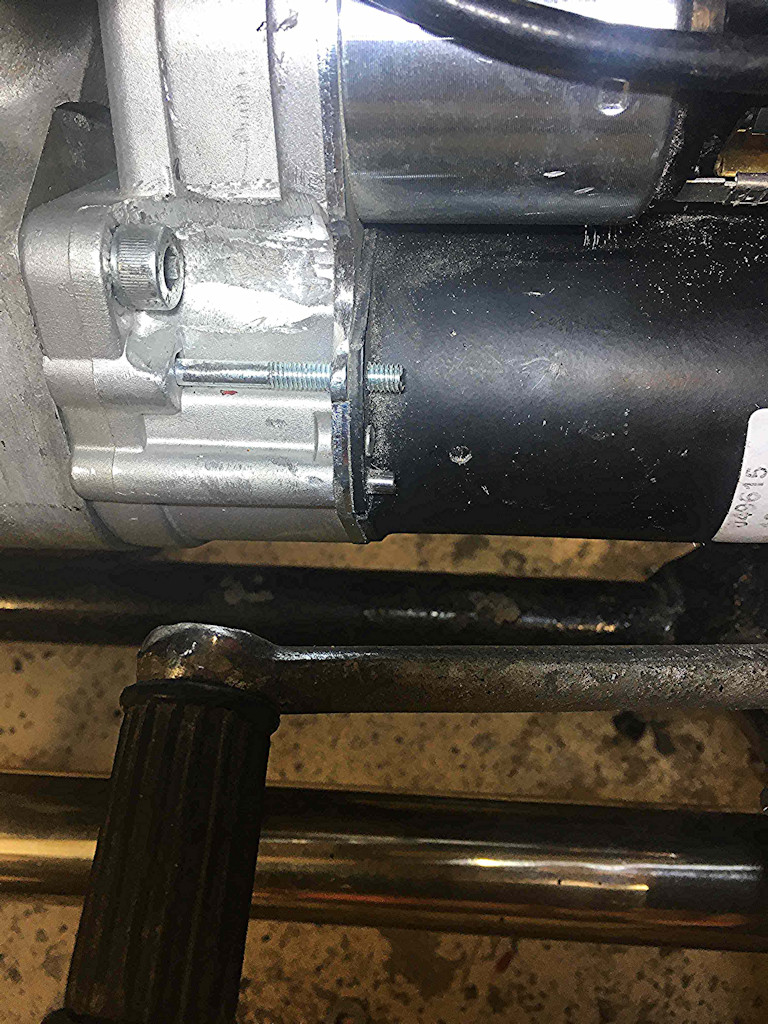
8 mm Allen head bolt used to secure the top starter mount.