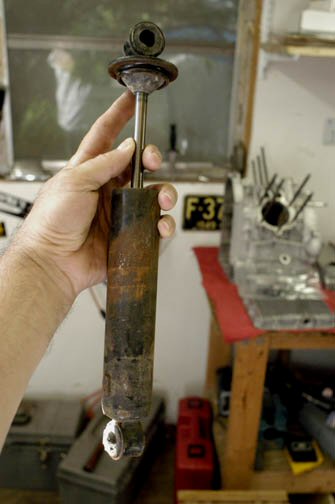
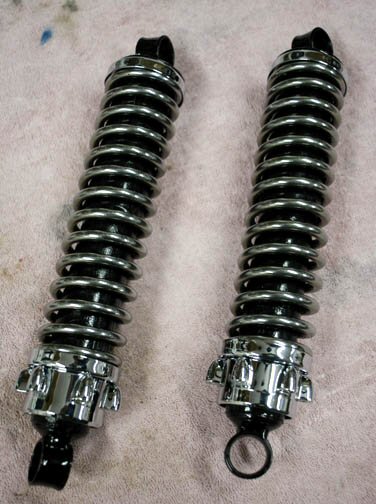
Shocks - Tear down and rebuild of the stock shock step 1: outer
Moto Guzzi V700, V7 Special, Ambassador, 850 GT, 850 GT California, Eldorado, and 850 California Police models
Updated:
The following procedure is applicable to the commonly fitted original equipment rear shocks.
I extracted this information from Ray Hale on the old Yahoo! Loopframe_Guzzi news group (which has now moved to Groups.io). In Ray's own words:
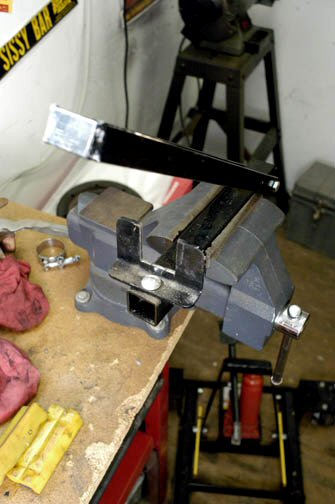
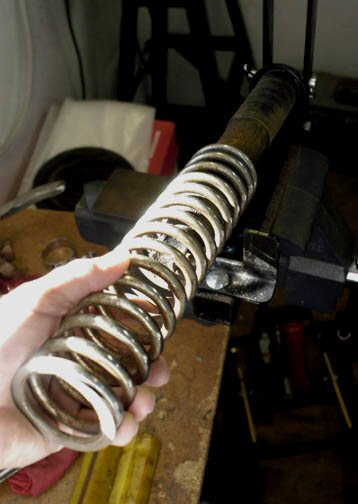
Shock spring compressor from MG Cycle. I cut the notch on the bottom piece about twice as wide so it would fit over the big Guzzi spring. The tear down is an easy one-man job if you put the compressor in a vise. The top piece pulls downward to compress the spring when the shock is in place.
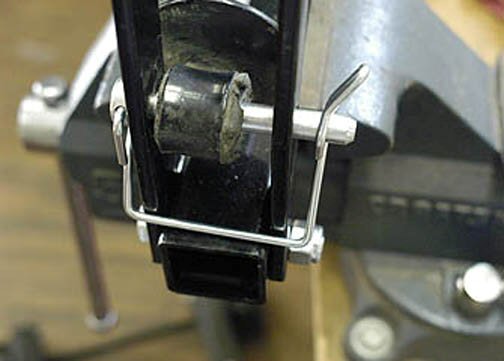
The top end of the shock fits into the hinged end of the compressor, using this pin through the hole in the upper shock mount. Leave the old grommets intact for a better fit.
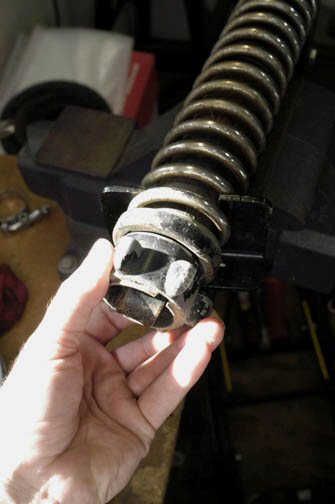
Fit the bottom of the shock spring into the widened slot on the bottom arm of the compressor. Pull down on the top compressor arm, compressing the spring, and twist the lower shock adjusting collar. You might tap with a mallet to loosen.
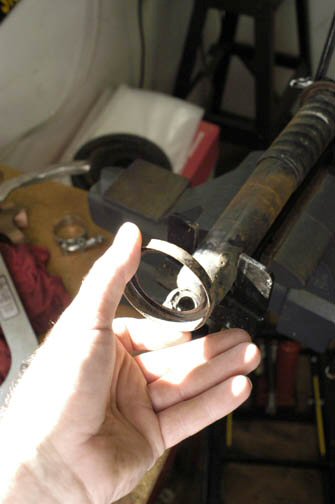
While twisting, when you line up the slot in the adjustment collar with the tab on the shock body, the collar will slip off the bottom end of the shock. This is done by feel, turn and pull, although you can see in the bottom of the collar with a flashlight.
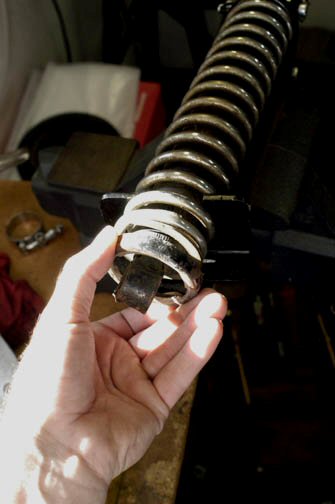
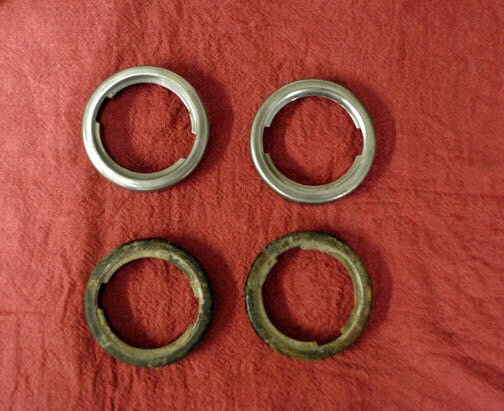
Next comes the bottom cup. It also might need help with the tapulator and a little loose-juice. Remember these parts are getting hard to find. Don't rush and ruin what you have.
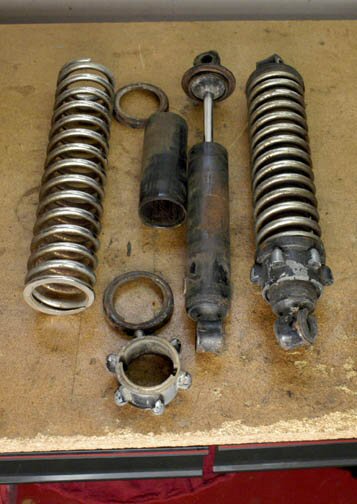
Now the spring is free to come off the shock body. Release the compressor top handle and lift the spring out of the tool. Don't be too disheartened by its appearance. Mine cleaned up pretty damn nice.
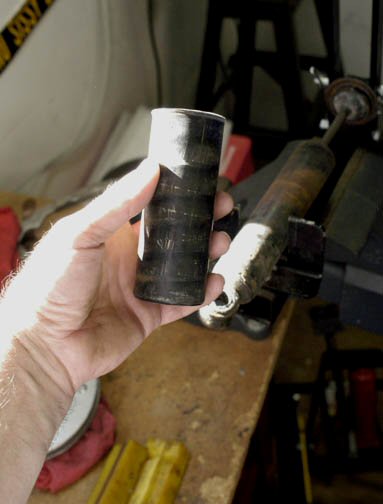
The plastic tube is a bit of a challenge. It has to clear two tabs on the shock body. Gently squeezing it will distort it and allow passage. Down and off. Maybe twisting some on the way. It'd be fairly easy to rip them if you're not careful. Put on some tunes. Music helps! For me it was vintage Frank Marino.
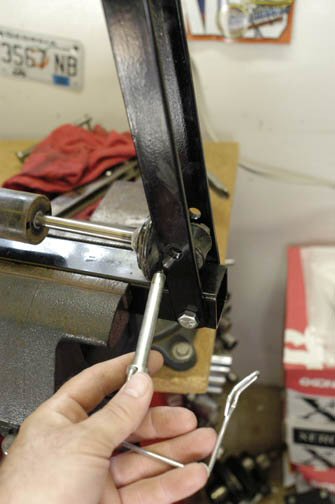
Shock body as far as I could figure out how to disassemble. Anyone know if this can be taken apart further and re-oiled? If so, please post to the looplist or to me at ray.hale@sfcc.edu.
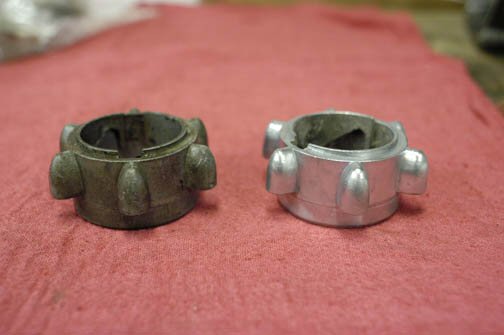
Adjustment collars. They clean up nicely with some grunt and groan. I am trying some stuff from Eastwood called Nyalic clear coat in an attempt to preserve the polish.