Intake manifold modification to support vacuum balancing
Moto Guzzi V700, V7 Special, Ambassador, 850 GT, 850 GT California, Eldorado, and 850 California Police models
Created:
Updated:
Personally, I am not a fan of modifying the original intake manifolds to support vacuum balancing because I generally don't like to irreversibly alter original parts. That being said, here are a couple of ways to perform this modification.
Thanks to Patrick Hayes for posting this information on the old Yahoo! Loopframe_Guzzi news group (which has now moved to Groups.io) and on the Wild Guzzi forum. In Patrick's own words:
You can't use a vacuum measuring tool until you can access to the vacuum space of the intake manifold. While the manifolds with factory original ports are stronger and better, it is possible to carefully machine modify the older manifolds for ports as well. The only tricks are to first make a flat surface for the bolt head to seal against, and second to shorten the bolt so it does not protrude in and interfere with air flow. Careful, you only get a few turns of thread and easy to strip out.
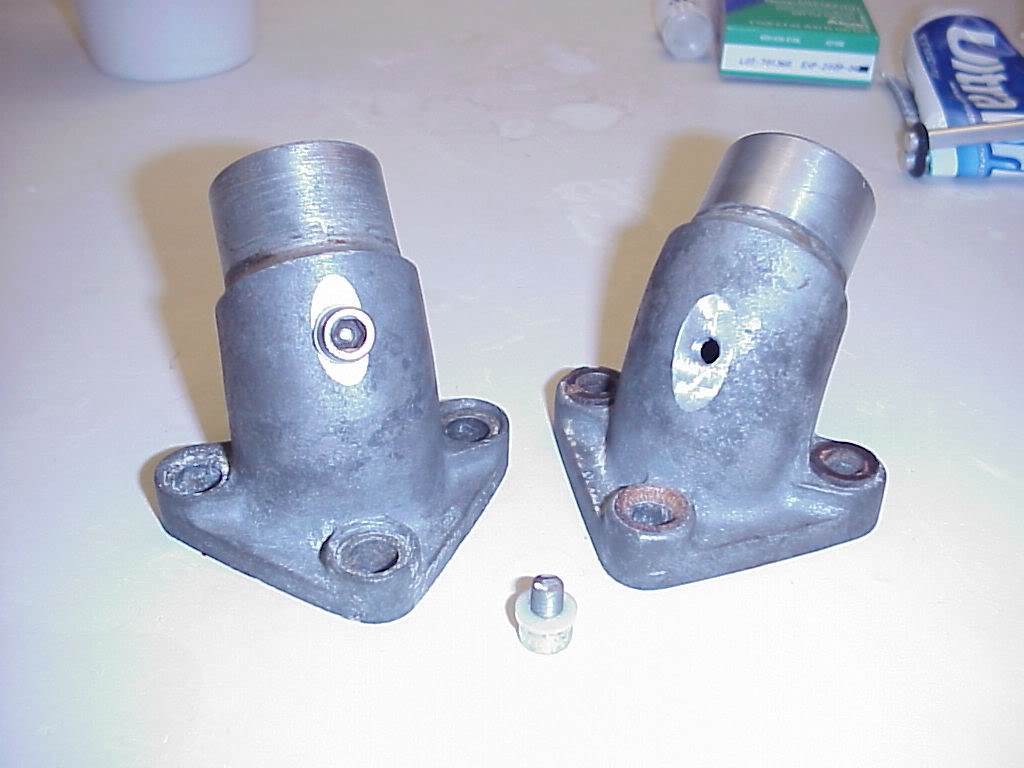
Intake manifolds modified to support vacuum balancing.
Port adapters for attaching the tool tubing can be had from MotionPro.
More details from Patrick:
First, don't try to do it on the bike.
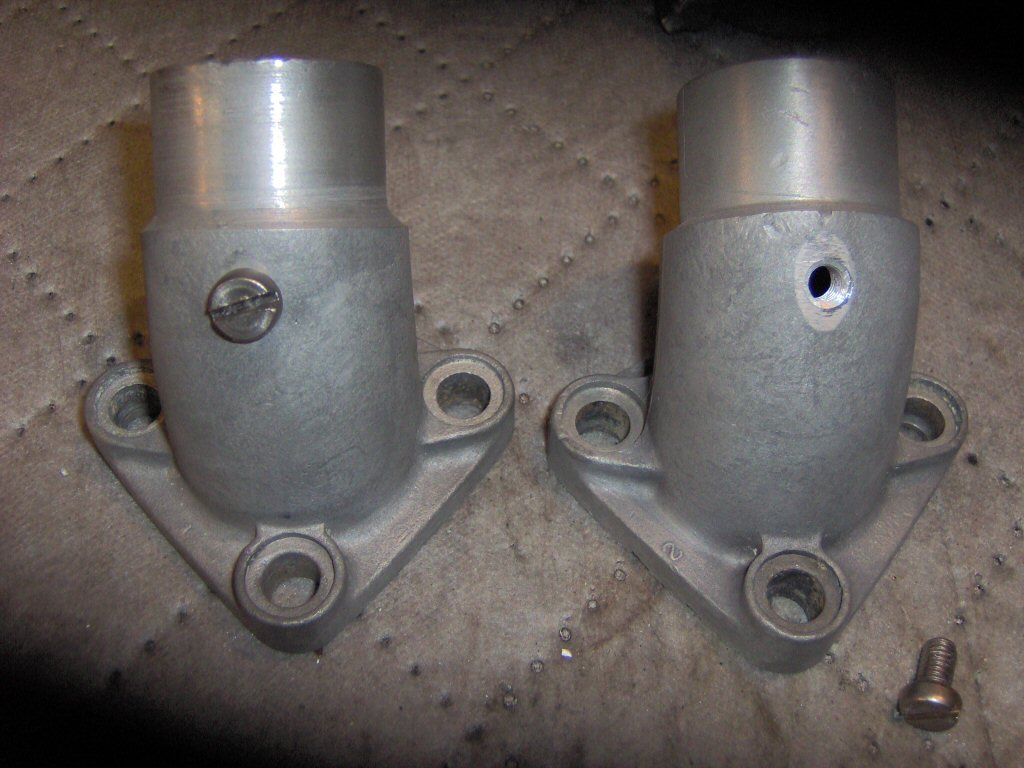
Second, note very carefully that the left and right manifolds are dimensionally different. The base of the casting will have a D for the right manifold (destro) and an S for the left manifold (sinistro).
Third, yes, the wall is very thin and you will only get a few turns of thread. So, be VERY gentle with anything you screw in there.
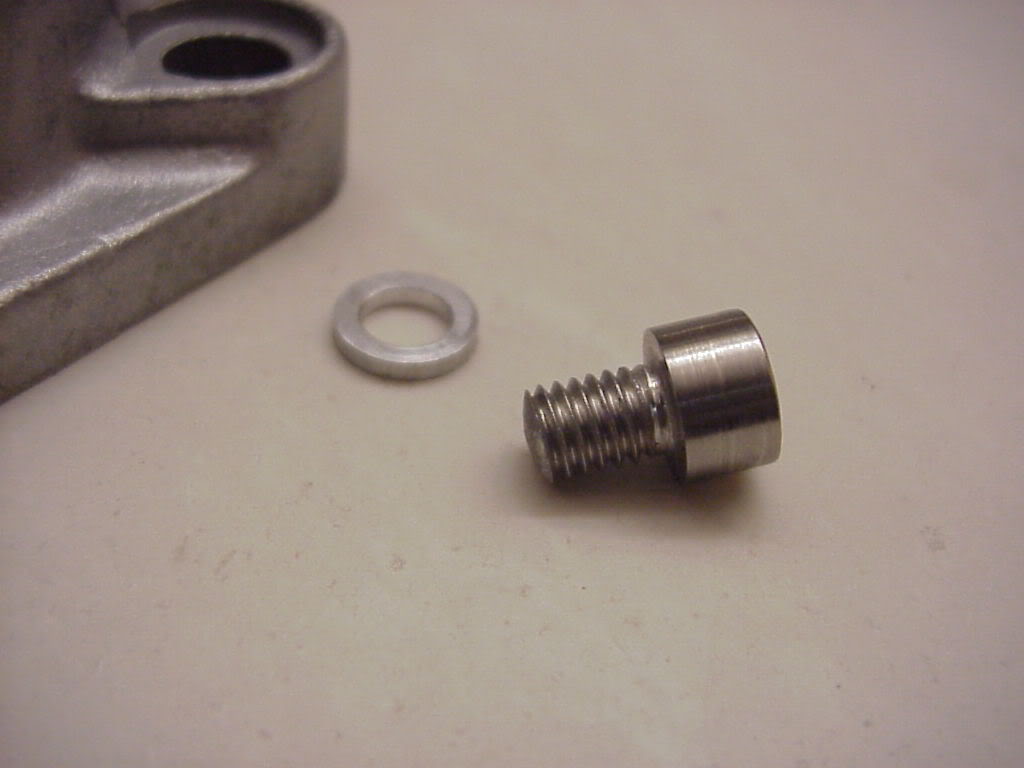
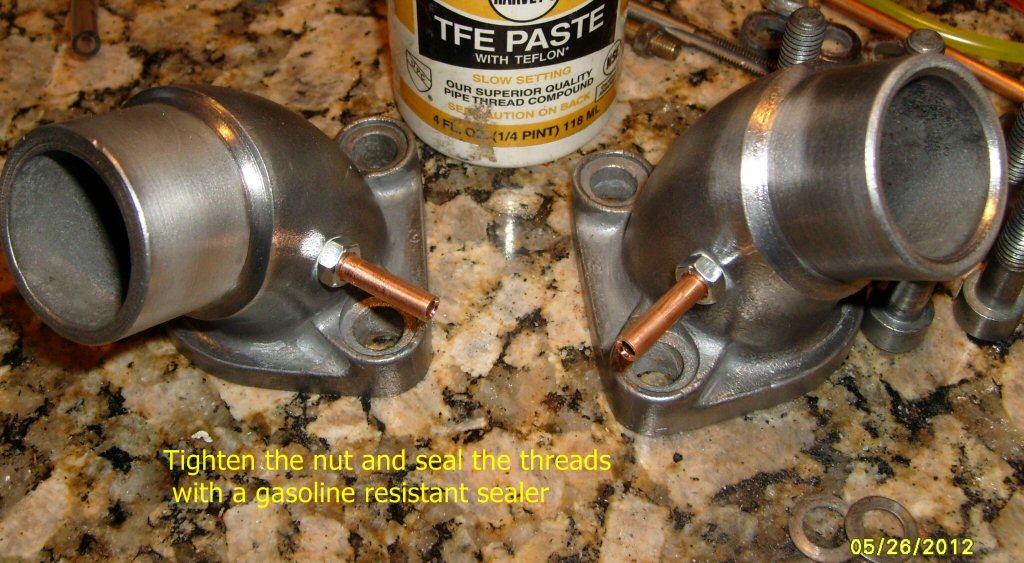
Fourth, do make sure that your fitting and/or your final sealing screw do not protrude far into the air stream.
Fifth, if you use a final sealing screw, you should machine a small flat area on the surface to allow for adequate sealing with an aluminum or nylon sealing washer.
Sixth, the later manifolds had a big boss welded onto their surface to allow for a much longer, deeper threading.
Seventh, opinions vary but IMHO the vacuum balance is best for a smooth running loop motor.
Thanks to John Webster of Churchill Restorations for sending me this information via private email. In John's own words:
You might like to pass this tip on to other guzzi owners regarding an adaptor to fit a carb balancer hose to the intake manifold.
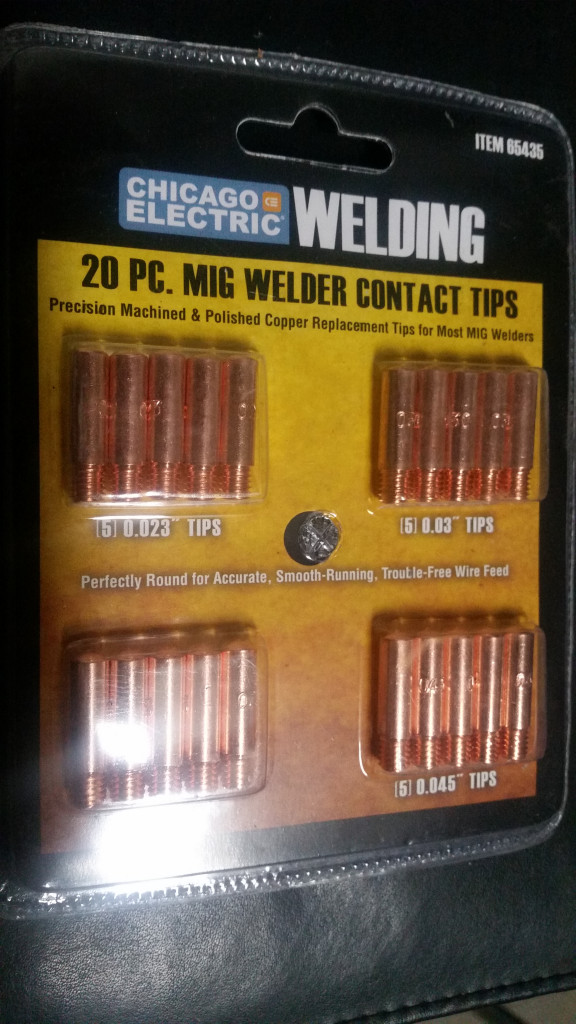
I have found that a mig welding tip will screw directly into the manifold and the balancers hose will slip on easily.
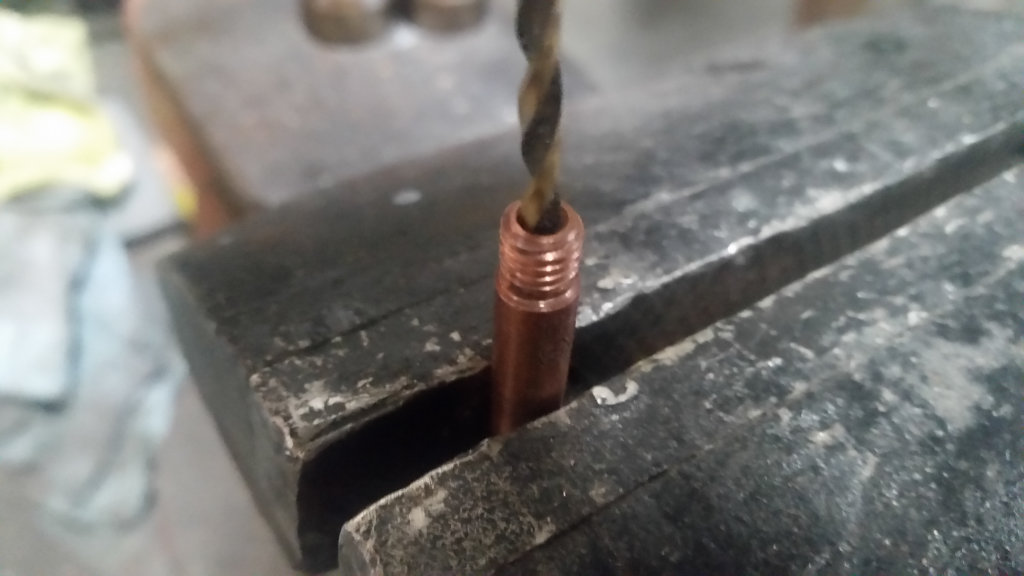
The only thing required is that a 7⁄64 inch drill is used to open up the hole in the tip and this should be done from the threaded end.
Most hardware stores carry these tips which you can buy in packs of two. Alternatively if you know someone with a welder you could ask for their used ones.
This has to be a lot easier than trying to thread copper tube.
Harbor Freight part number 65435. Welding tips thread perfectly into intake manifolds on Moto Guzzi V700, V7 Special, Ambassador, 850 GT, 850 GT California, Eldorado, and 850 California Police models.
Photo courtesy of John Webster of Churchill Restorations.
Harbor Freight part number 65435. Welding tips thread perfectly into intake manifolds on Moto Guzzi V700, V7 Special, Ambassador, 850 GT, 850 GT California, Eldorado, and 850 California Police models.
Photo courtesy of John Webster of Churchill Restorations.
Enlarging tip with a 7⁄64 inch drill bit. Welding tips thread perfectly into intake manifolds on Moto Guzzi V700, V7 Special, Ambassador, 850 GT, 850 GT California, Eldorado, and 850 California Police models.
Photo courtesy of John Webster of Churchill Restorations.
Enlarging tip with a 7⁄64 inch drill bit. Welding tips thread perfectly into intake manifolds on Moto Guzzi V700, V7 Special, Ambassador, 850 GT, 850 GT California, Eldorado, and 850 California Police models.
Photo courtesy of John Webster of Churchill Restorations.
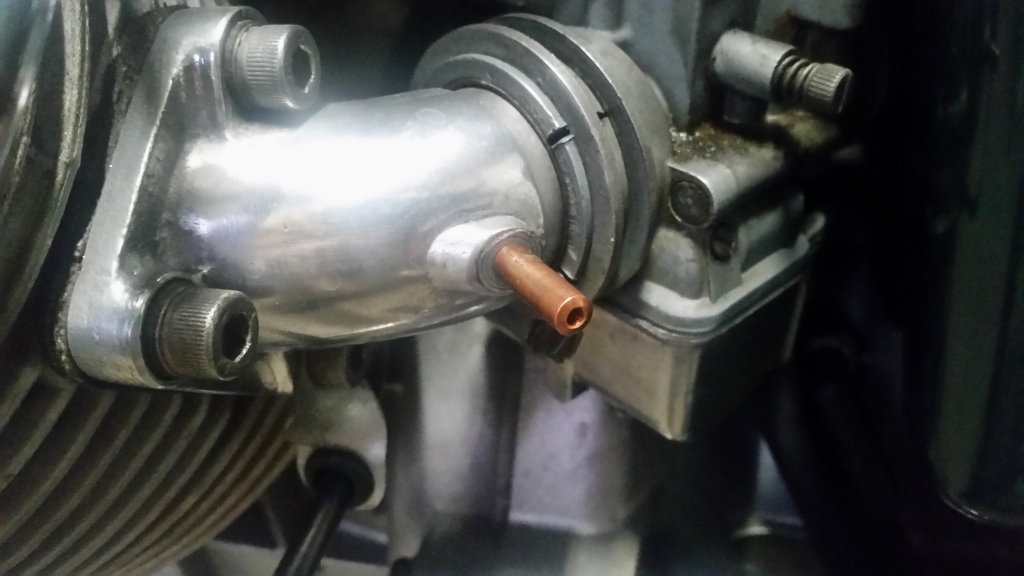
Fit to the intake manifold. Welding tips thread perfectly into intake manifolds on Moto Guzzi V700, V7 Special, Ambassador, 850 GT, 850 GT California, Eldorado, and 850 California Police models.
Photo courtesy of John Webster of Churchill Restorations.
Fit to the intake manifold. Welding tips thread perfectly into intake manifolds on Moto Guzzi V700, V7 Special, Ambassador, 850 GT, 850 GT California, Eldorado, and 850 California Police models.
Photo courtesy of John Webster of Churchill Restorations.
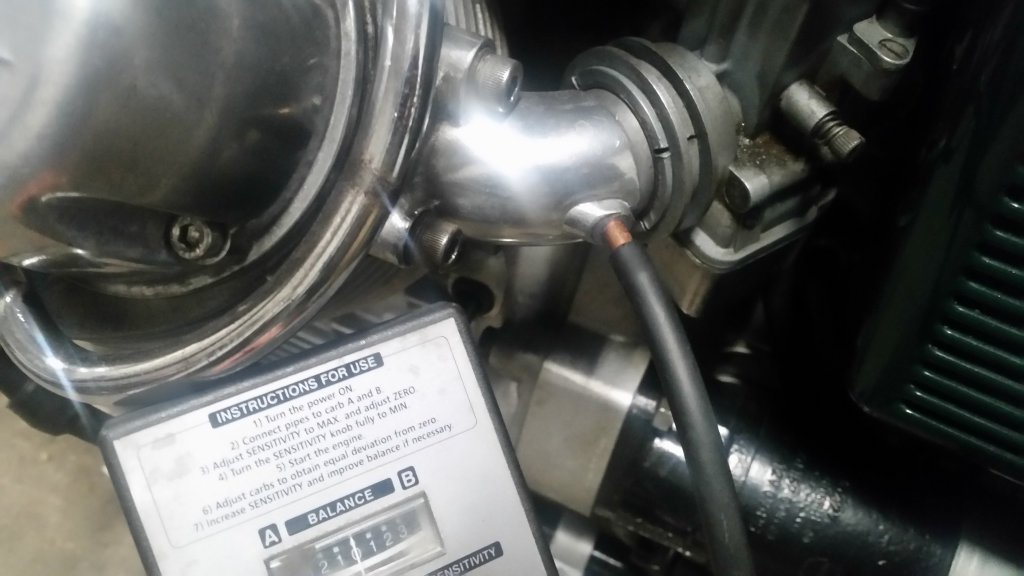
Hose from vacuum balancer fit. Welding tips thread perfectly into intake manifolds on Moto Guzzi V700, V7 Special, Ambassador, 850 GT, 850 GT California, Eldorado, and 850 California Police models.
Photo courtesy of John Webster of Churchill Restorations.
Hose from vacuum balancer fit. Welding tips thread perfectly into intake manifolds on Moto Guzzi V700, V7 Special, Ambassador, 850 GT, 850 GT California, Eldorado, and 850 California Police models.
Photo courtesy of John Webster of Churchill Restorations.
Thanks to Daniel Howe for sending me this information via private email. In Daniel's own words:
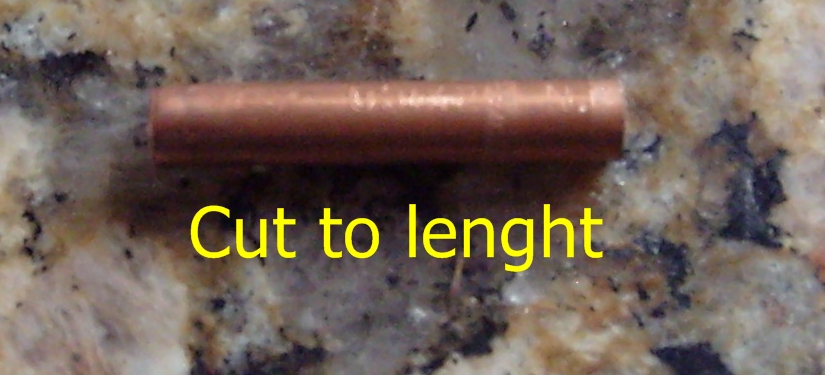
I spent most of the day in my cramp garage working on the carb intakes. I am real happy with the results and thought I would send you the info to put on your site. Problem with this old bike is you can't use a vacuum port to sync the carbs, so I made some. I use a Cycle Pro mercury carb stick, it has adapters that are threaded 5 mm × 0.8 mm thread pitch. I purchased a tap, die, one foot of 3⁄16 inch copper tubing, one foot of 1⁄4 inch hose and did made adapters and drilled and taped the intakes.
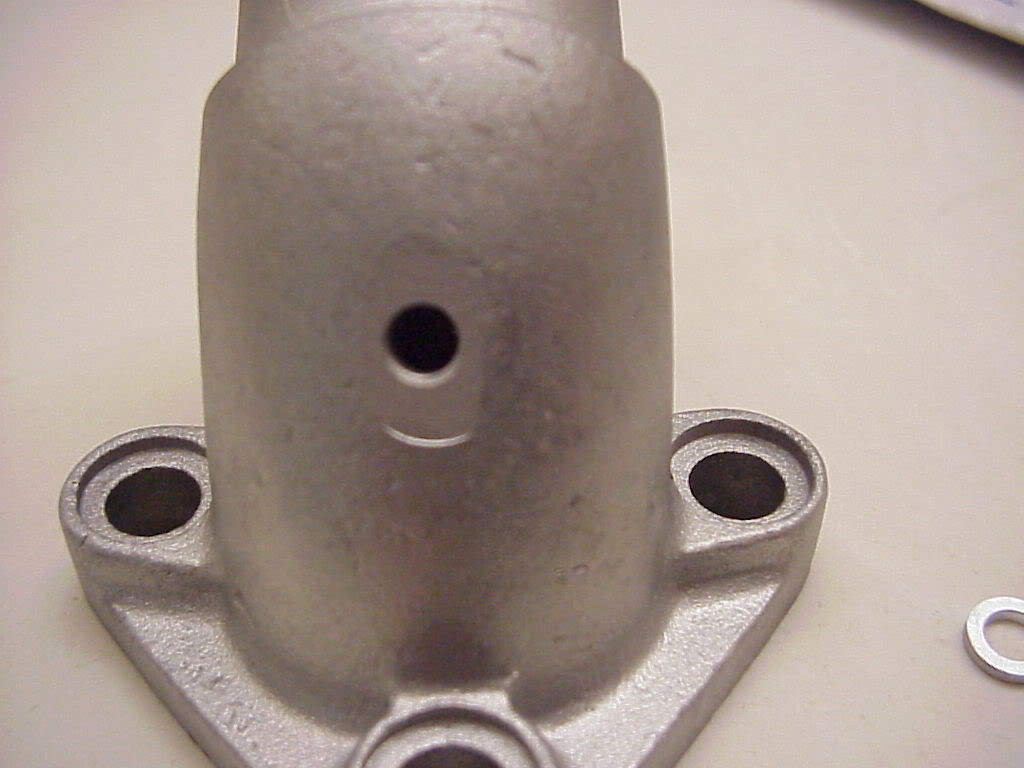
Instead of putting the vacuum adapters on the outside I put them on the top. I don't believe it will affect the use of the carb stick and will look cleaner when I'm done. The vacuum adapters or barbs will be permanent. Once they are balanced I will put a piece of hose between the two carbs so they will stay balanced all the time and give me a better idle. attached are photos showing how to make the hose barbs and drill the intake. Just a note you don't need a hose clamp on the hose barb, it is a tight enough fit that they will seal and with age they shrink so no problems there.
I forgot to mention another advantage to putting the ports on the top is the manifold is 0.232 inch thick at that point. Plenty of material there for your threads.
The casting of the manifold is thickest there, so you'll have an adequate number of threads to hold. I drill and tap for 6 mm × 1 mm (can't remember the drill size right off - 7⁄32 inch? , it says what size to use on many taps). I use an 6 mm × 10 mm stainless steel cheese-head cap screw (shortened) with fiber or aluminum crush washer to plug the hole when not in use, my ancient Carb Stix came with 6 mm × 1 mm adapters.
I had to do one customer's on the bike due to a seized manifold bolt, but it's very tricky to do that way. Best to remove them and utilize a drill press.