Moto Guzzi V700, V7 Special, Ambassador, 850 GT, 850 GT California, Eldorado, and 850 California Police models
Updated:
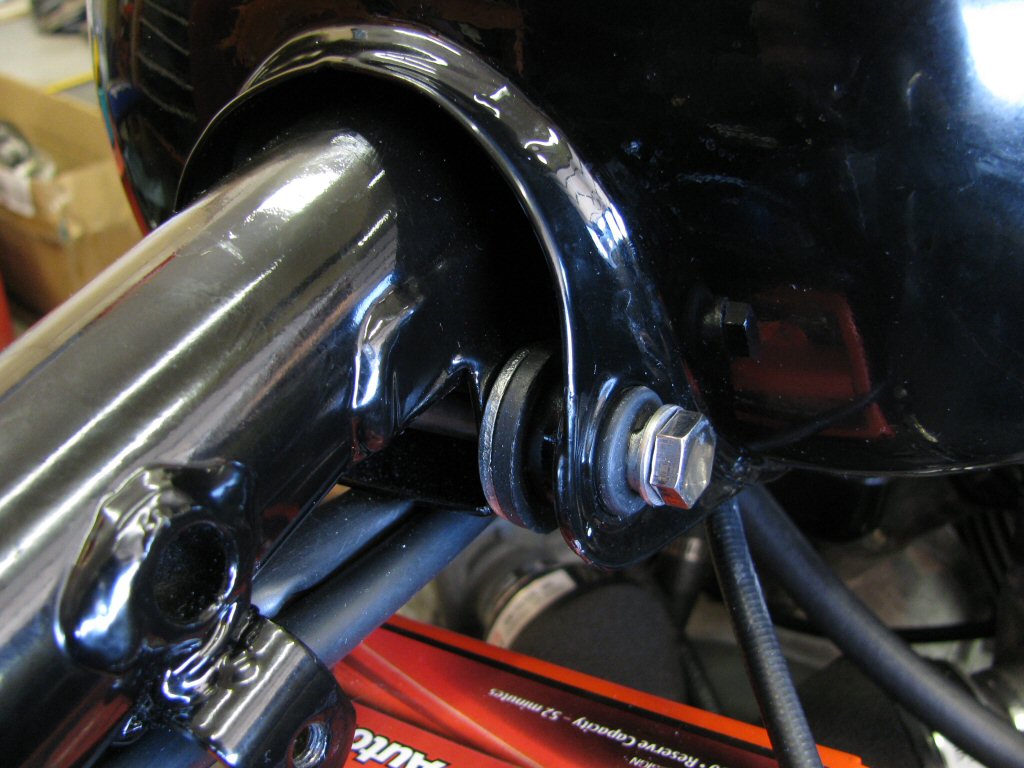
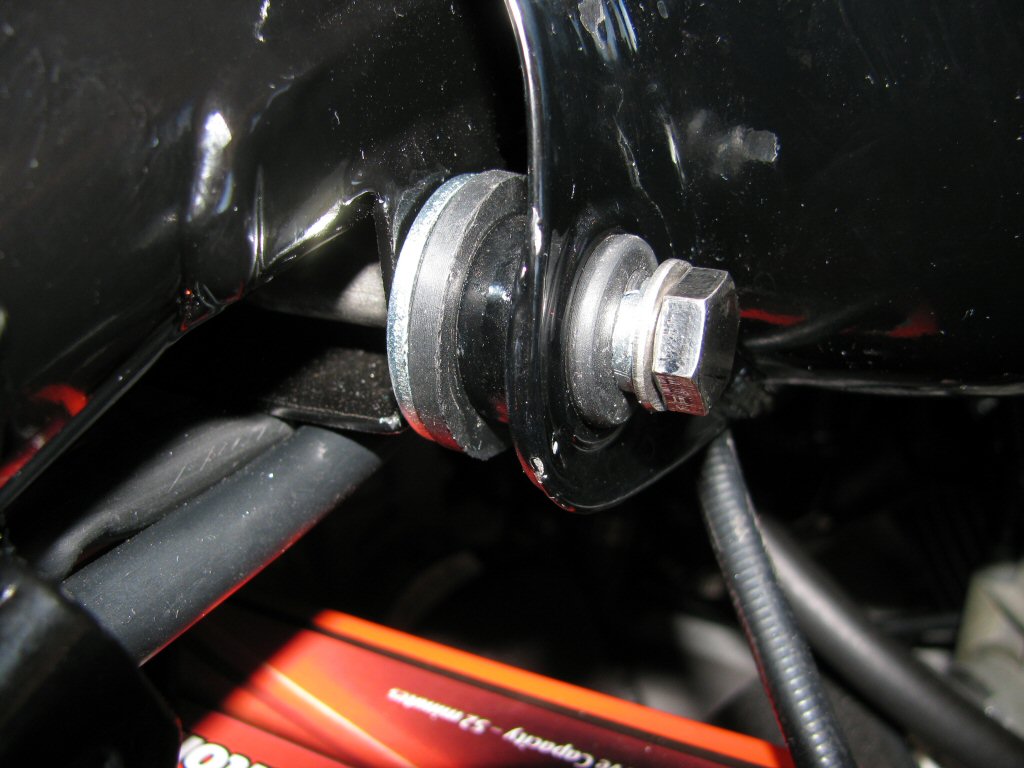
The fuel tank is secured to the frame using two long bolts: one at the front and one at the rear. While these bolts pass through T shaped steel bushings, the steel bushings are vibration insulated from the tank using corresponding T shaped rubber mounts.
Lubrication is your friend
When installing the rubber and steel T shaped pieces, I do so as follows:
Fully lubricate all surfaces of both the rubber and steel pieces. I use WD-40 or a silicone spray lubricant.
Insert just the tip of the rubber piece into the tank.
Insert just the tip of the steel piece into the rubber piece.
Push both pieces into place.
Wipe off any excess lubricant.
Done.
Do not bend the tank!
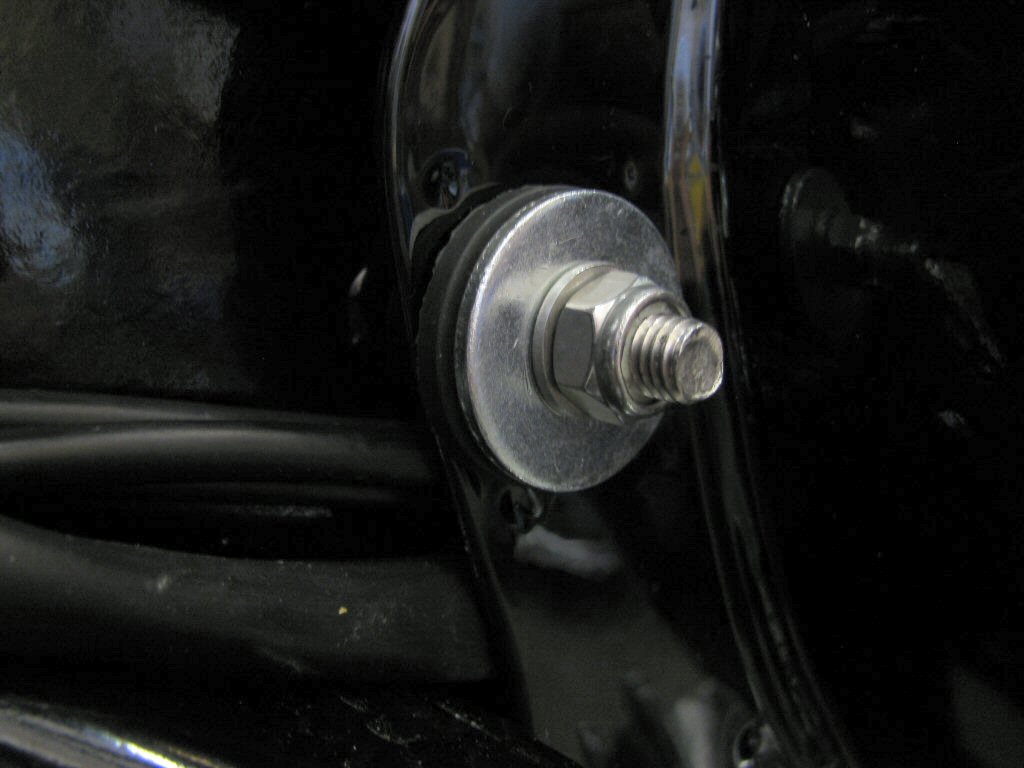
I believe the original design intent was that both the rubber bushing and the steel bushing be inserted from outside of the tunnel of the tank. Once the tank is fit to frame, the steel bushings should be in contact with the frame mounting points. The long bolts can then be inserted and fully tightened in place.
Fuel tank bushing installed from outside of the tunnel.
However, I have seen numerous tank fitment examples where the steel bushings do not make contact with the frame mounting points when inserted from the outside. If fully tightened in this scenario, the tank itself is forced to bend in order for the steel bushings to make contact with the frame mounting points. It should go without saying that bending the tank to secure it to the frame is a very bad idea. Nevertheless, I've seen a bunch of bent tanks due to this exact root cause.
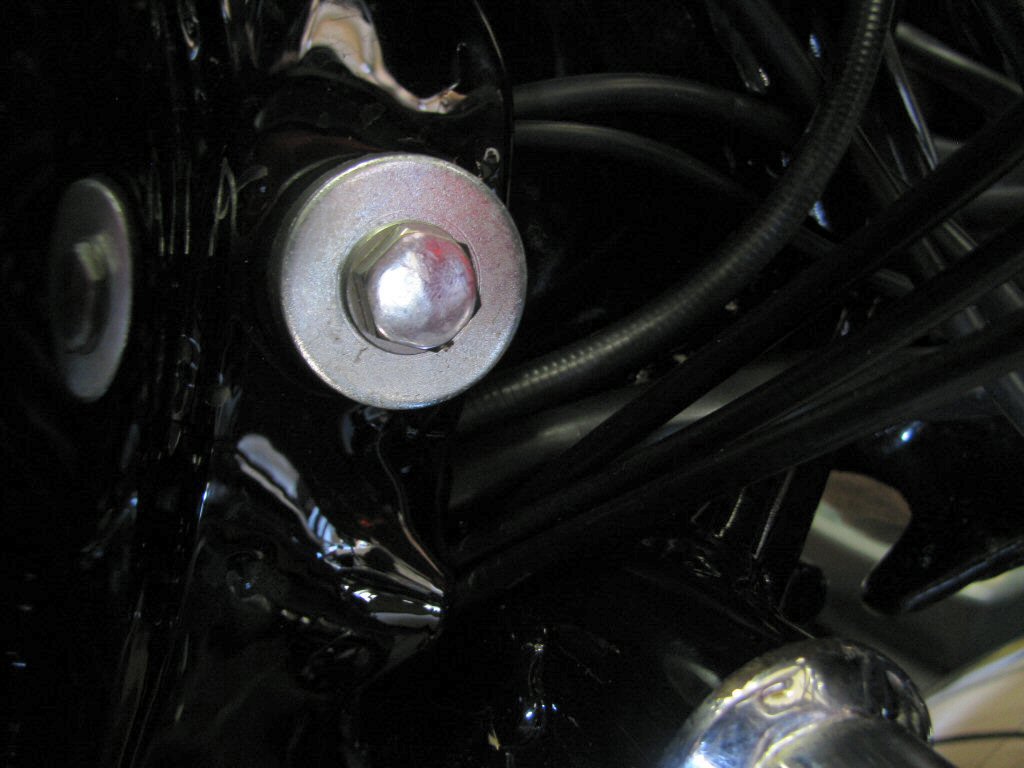
My preferred fix is to simply insert both the rubber bushing and the steel bushing from inside the tunnel of the tank. I've found that this takes up the excess free space and permits the bolts to be securely tightened without any deformation of the tank.
Fuel tank bushing installed from inside of the tunnel.
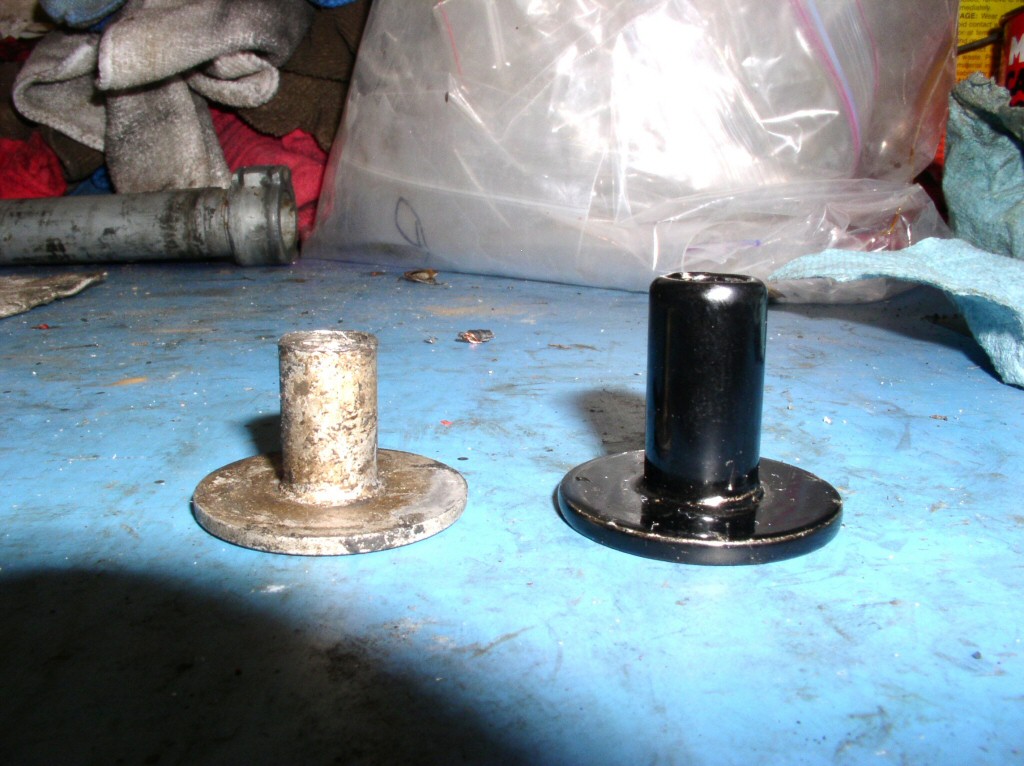
There are (at least) two different metal top hats. Those for the V700 style tank are approx. 1⁄4 inch shorter and are constructed of thinner wall tubing.