Fork rebuilding
Moto Guzzi V700, V7 Special, Ambassador, 850 GT, 850 GT California, Eldorado, and 850 California Police models
Fork removal
- Jack up the front end of the motorcycle.
- Remove the front wheel.
- Remove both front fender stays and the front fender.
- Place a container under both fork legs and remove the drain plugs. If nothing comes out, you may need to push a small pick in there to dislodge the sludge.
- Remove the four allen-head bolts that secure the dash to the top triple tree plate. Depending on how much slack there is in the wires, you may be able to position the dash out of the way. Best to wrap it in a towel to protect it or what it rests on. If there is insufficient slack in the wires, document where each one connects and remove them. Be careful, some of the wires that connect to the ignition switch are hot! In doubt? Disconnect the battery ground wire.
- Loosen the 36 mm plug on the top of each fork tube.
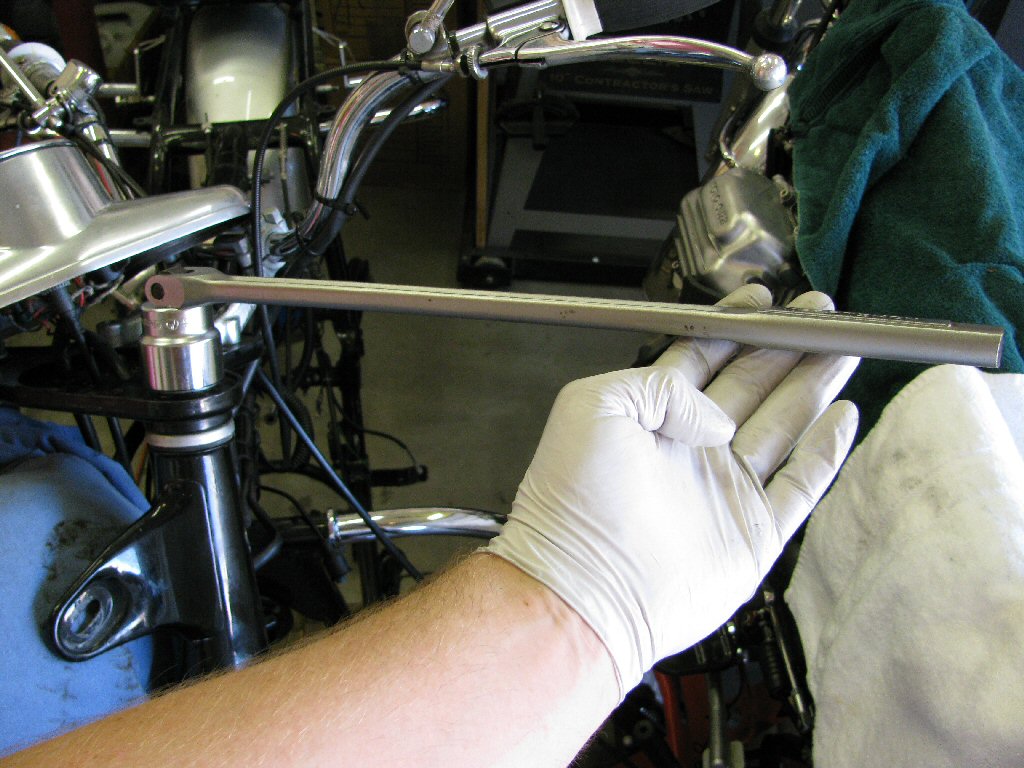
Photo courtesy of Gregory Bender.
- Unscrew it about 3 turns, but no more. We want to keep most of the plug threads engaged.
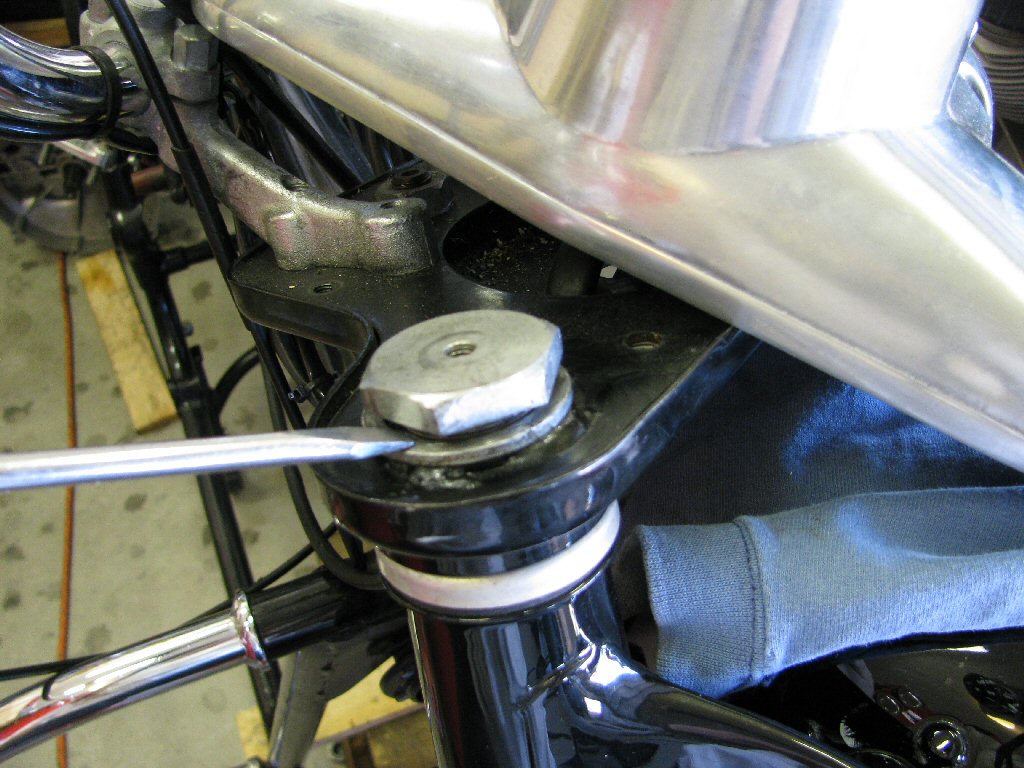
Photo courtesy of Gregory Bender.
- Loosen the 12 mm pinch bolt (using a 19 mm wrench) on the lower triple tree plate for both fork legs.
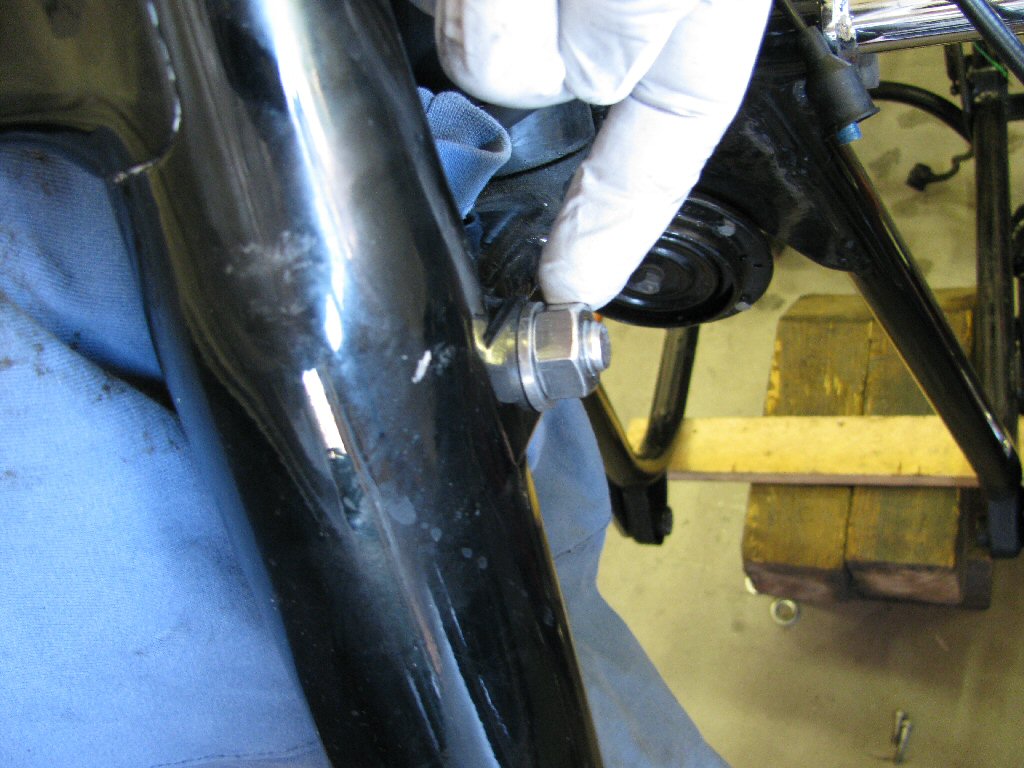
Photo courtesy of Gregory Bender.
- Using a great walloping dead-blow hammer (rubber or plastic), give the top 36 mm plugs a really good hard wack. Don't have a dead blow hammer? Use a block of wood to protect the plug and hit it with a small sledge. The fork tube should move and drop down. If it doesn't, hit it again. If a few hits don't dislodge it, CAREFULLY drive a chisel in the slot in the bottom triple tree plate near the pinch bolt. The chisel will serve to open up the bottom triple tree plate just a bit and should ease removal.
I have had to remove some fork tubes from the upper triple tree plate that were very, very tight. In those circumstances, I use a two-jaw puller.
Sometimes I've needed to place great tension with the two-jaw puller, then smack the center of the puller with a small sledge hammer. That kind of sudden force combined with the tension of the puller has been very effective in removing the very stubborn ones. Be sure to hang on to the puller when you hit it with a hammer - you don't want it falling down and damaging things.
Thanks to Bryan Hest for posting this information on the old Yahoo! Loopframe_Guzzi news group (which has now moved to Groups.io). In Bryan's own words:
When I have a stuck fork tube the easiest way I have found to remove is use a air impact hammer with a flat smoothing attachment. Place it on the loosened fork cap and pull the trigger. It will knock it loose in a couple seconds. No hammering needed. And no accidental sledge hammer damage ;-)
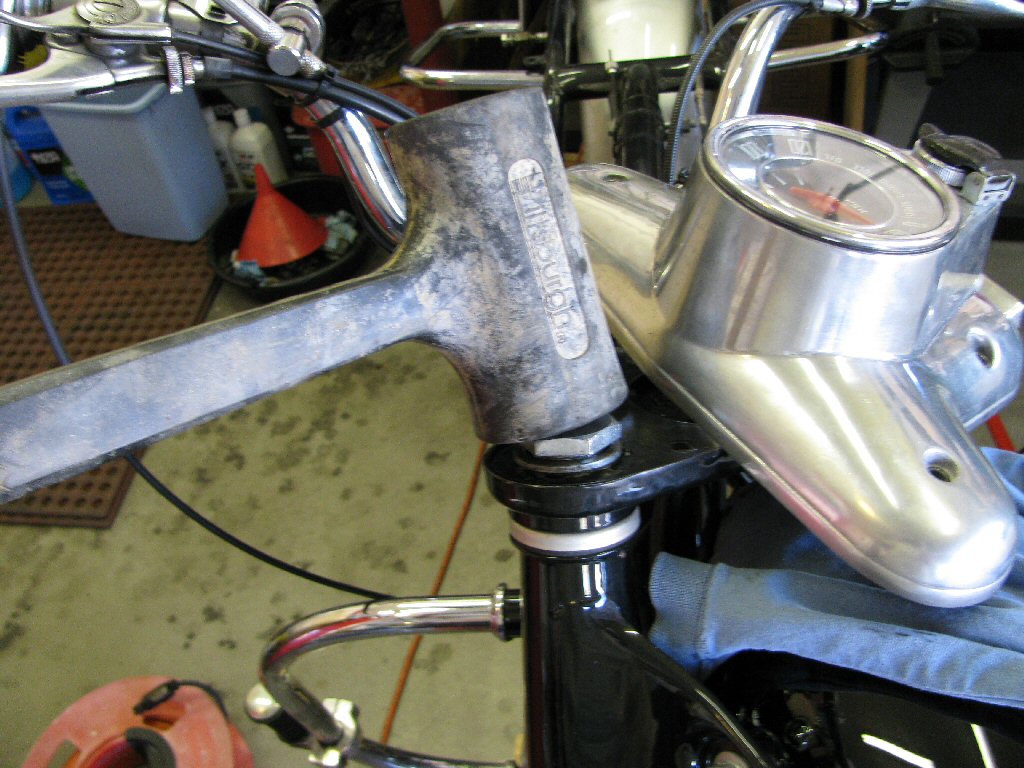
Photo courtesy of Gregory Bender.
- Remove the 36 mm plug and withdraw the fork leg.
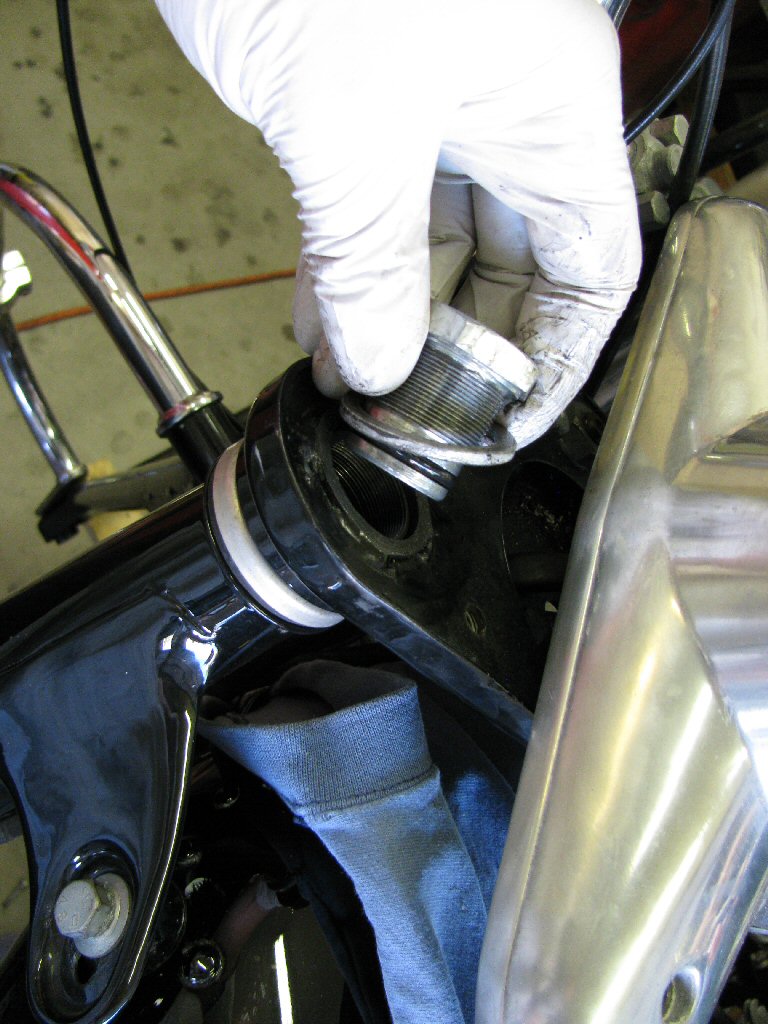
Photo courtesy of Gregory Bender.
- You may wish to remove the fork shroud, but there is no need to do so. Just make sure it doesn't come loose and make some horrific paint-scratching, multi-dent sound as it bounces onto the garage floor.
Fork disassembly
- Remove the O-ring from the 36 mm fork plug.
- Remove the spring from the fork.
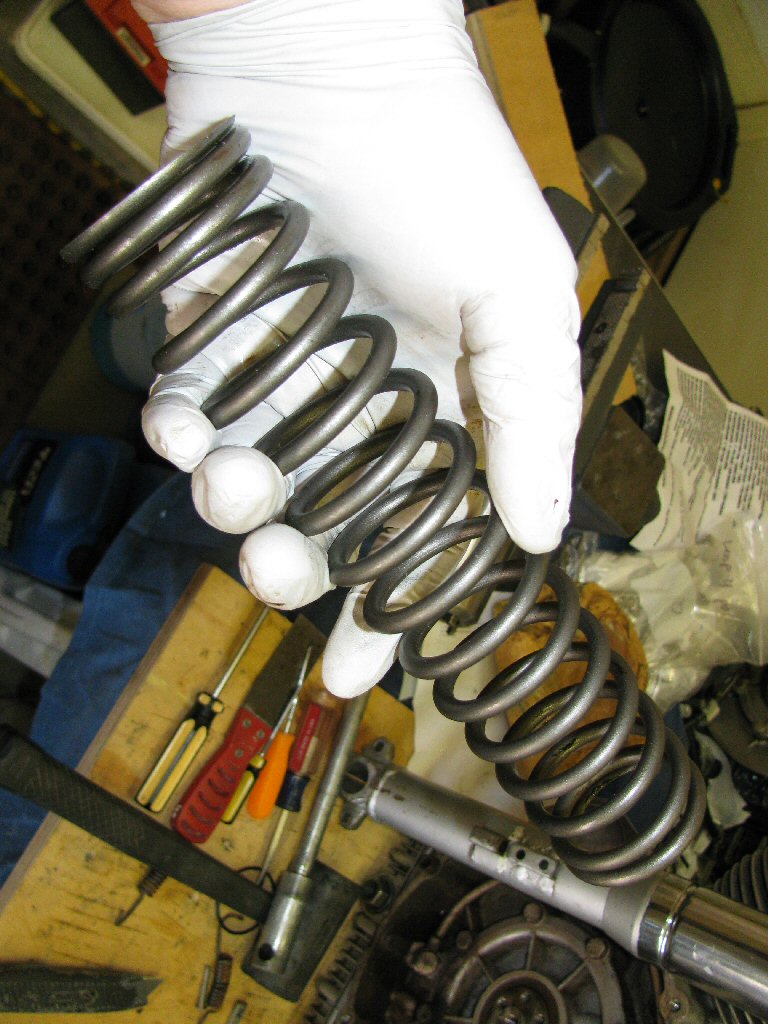
Photo courtesy of Gregory Bender.
- Thoroughly clean the top of the fork tube (the part that is always above the fork seal). Thoroughly degrease and remove any surface rust with 0000 steel wool or a 3M pad. Do not use 0000 steel wool or 3M pads on the portion of the leg that goes past the seal. That part of the leg should not need cleaning and I'd protect it using masking tape or similar.
- Using a fork collar removal tool, remove the chrome fork collar. My tool does not have handles, so I mount the tool in my bench vice, fit the fork leg to the tool, and then use and axle or similar prying device to turn the fork lower using the axle hole for leverage.
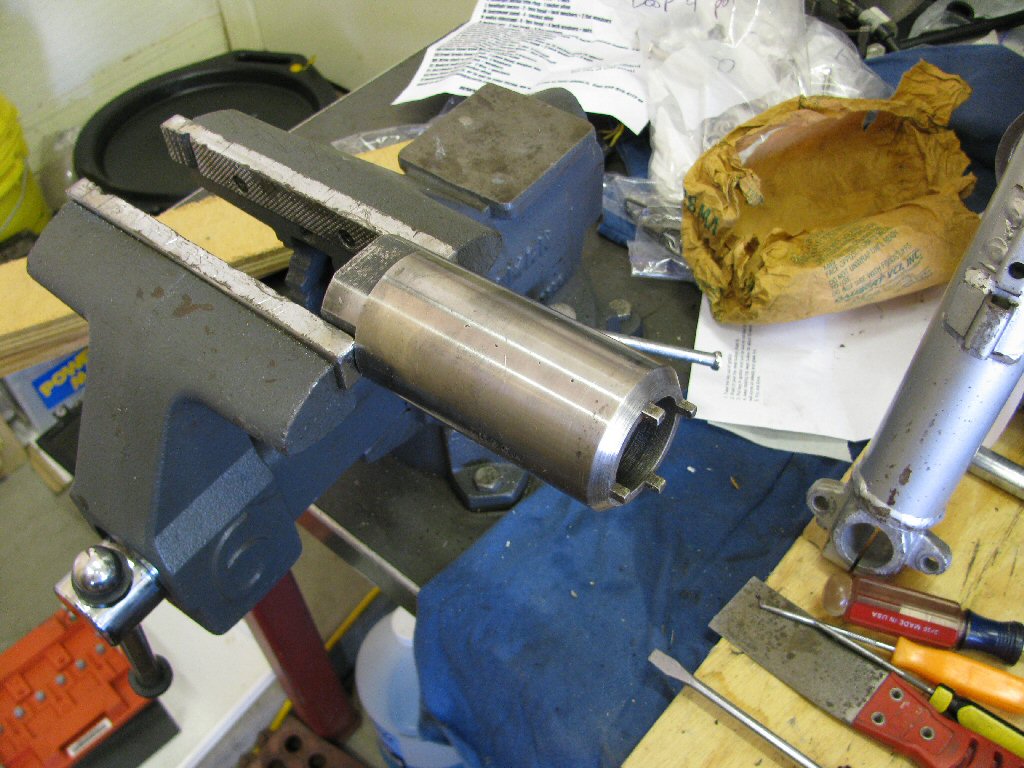
Photo courtesy of Gregory Bender.
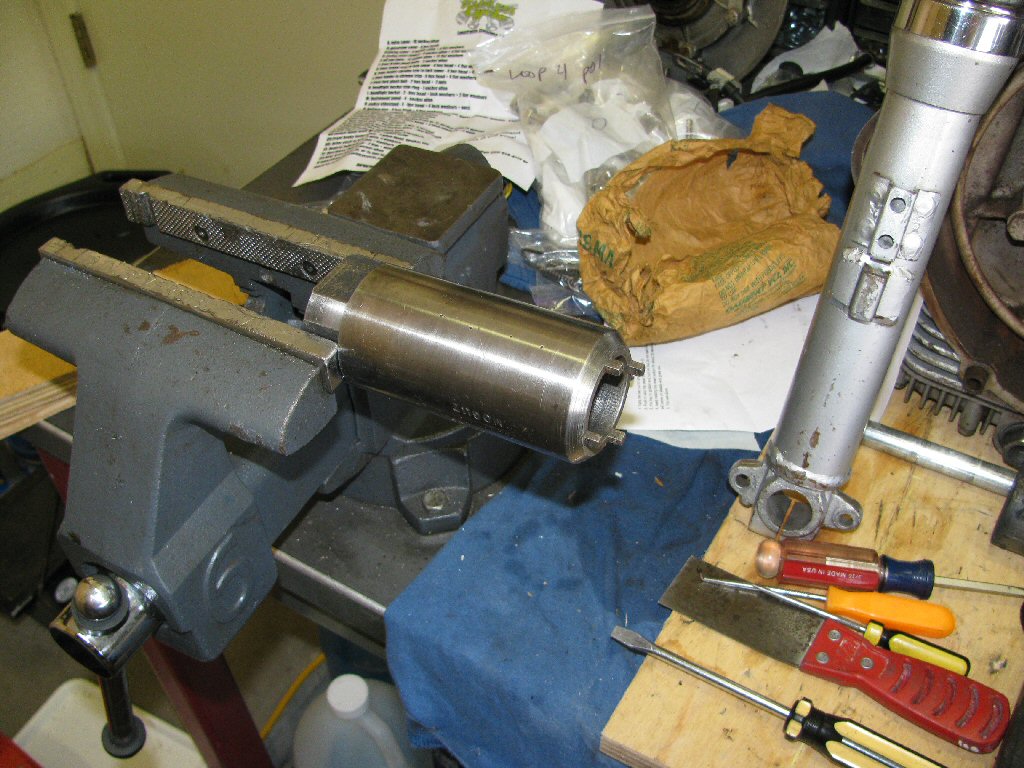
Photo courtesy of Gregory Bender.
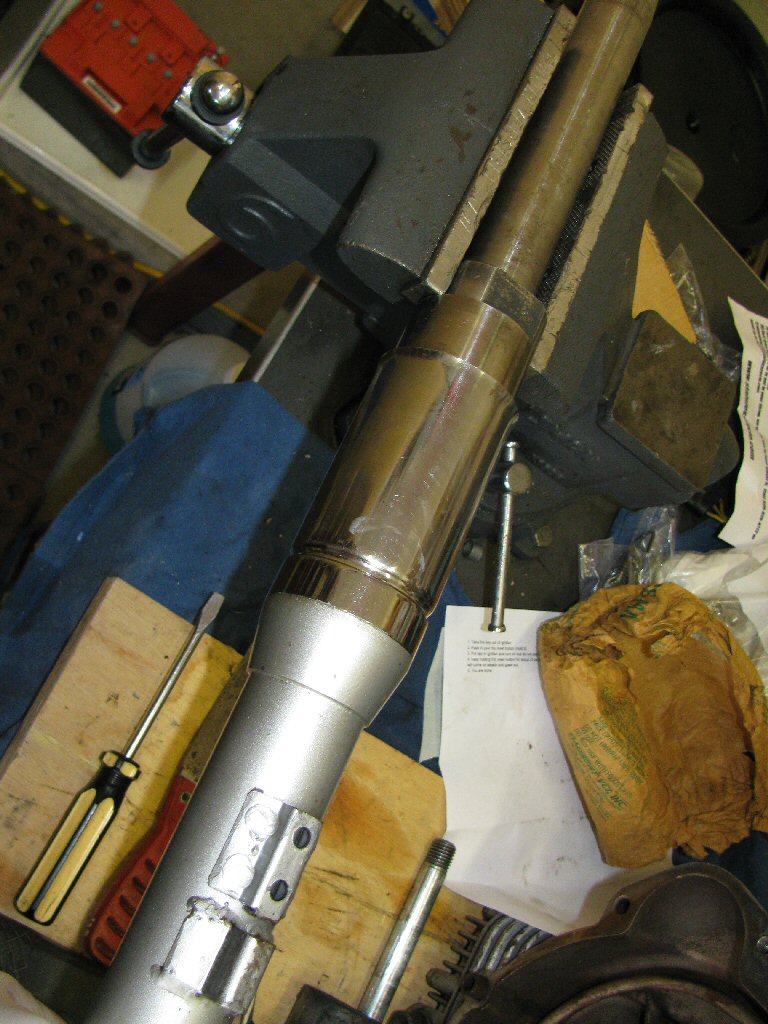
Photo courtesy of Gregory Bender.
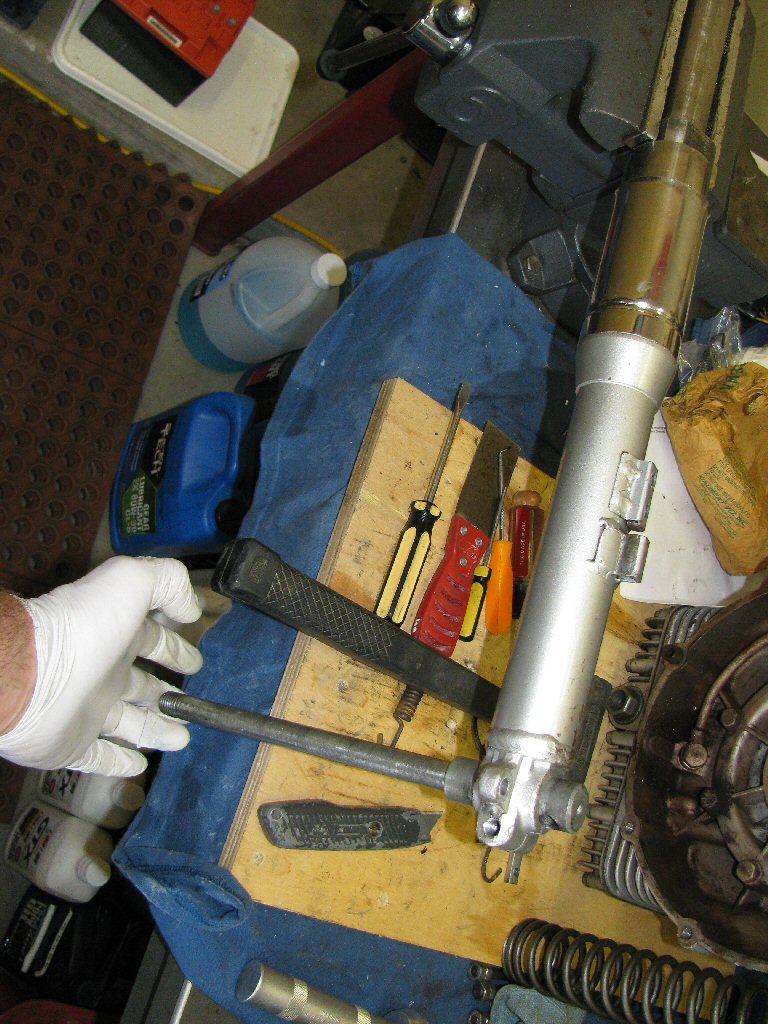
Photo courtesy of Gregory Bender.
Some people have had good luck using a simple strap wrench to remove the fork collar. Hayden sent me the following tip via email:
John Mee on the forum suggested a strap wrench to undo the housing. It slips so I taped a length of house wiring (lamp cord in the groove of the housing). Strap wrench on top of cord and it came straight off.
- Slide the fork collar off the fork tube.
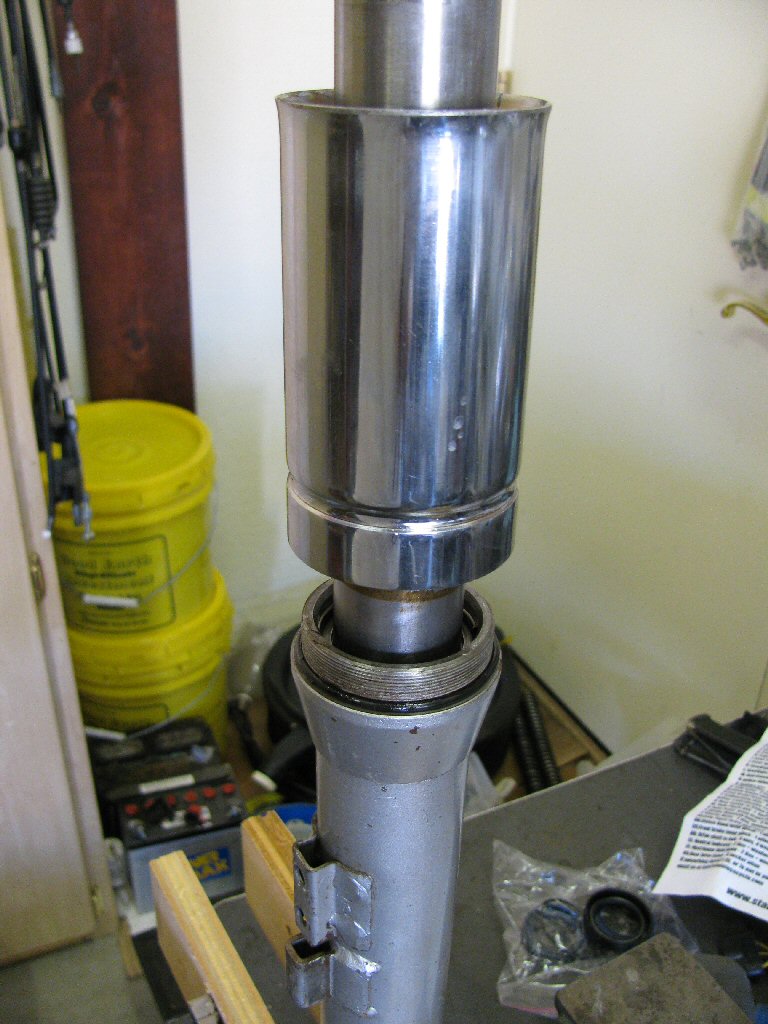
Photo courtesy of Gregory Bender.
- Using a punch, drive the seal out the bottom of the fork collar.
- Clamp the fork lower upright in a vice. I use two pieces of wood to protect the fork lower and clamp the flat area where the axle goes through.
- Remove the O-ring from the outside of the threads.

Photo courtesy of Gregory Bender.
- Carefully examine the threads in search of a tiny hole.
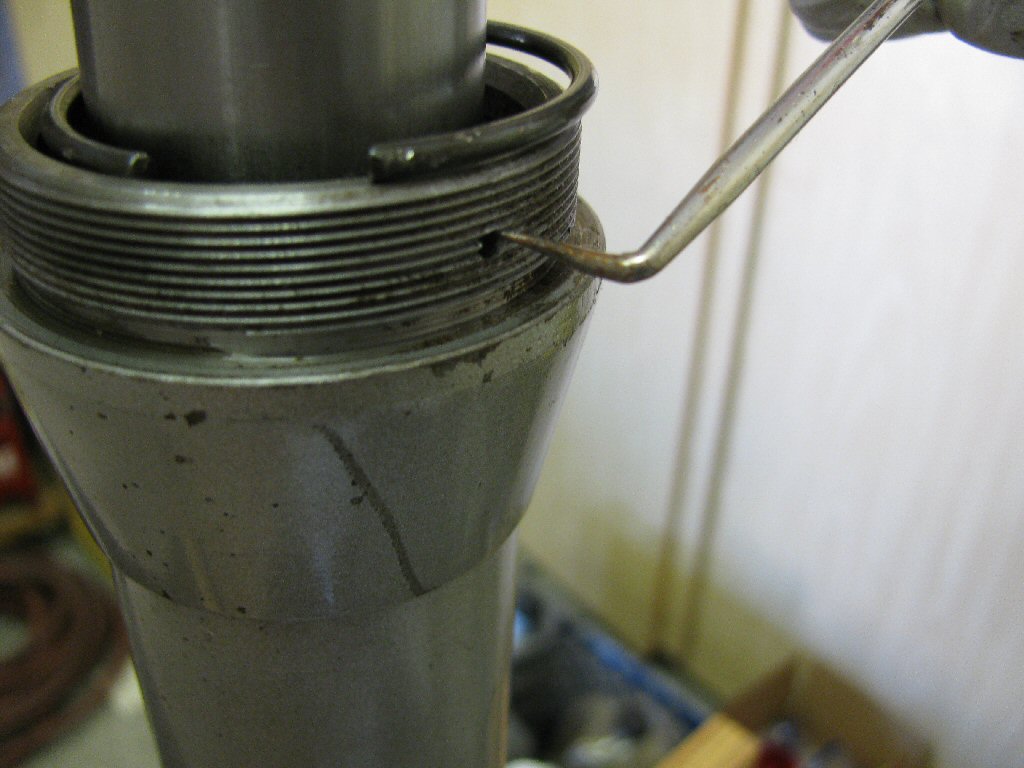
Photo courtesy of Gregory Bender.
- Put on your safety glasses.
- Use a small pick to push inward through the hole and push the inner retaining ring out of place. When you see the inner retaining ring move over, place the tip of a small screwdriver in there and pry it out of position. Note, this task is much easier if the end of the retaining ring is near the tiny hole. You may need to rotate the position of the ring using a small punch, etc.
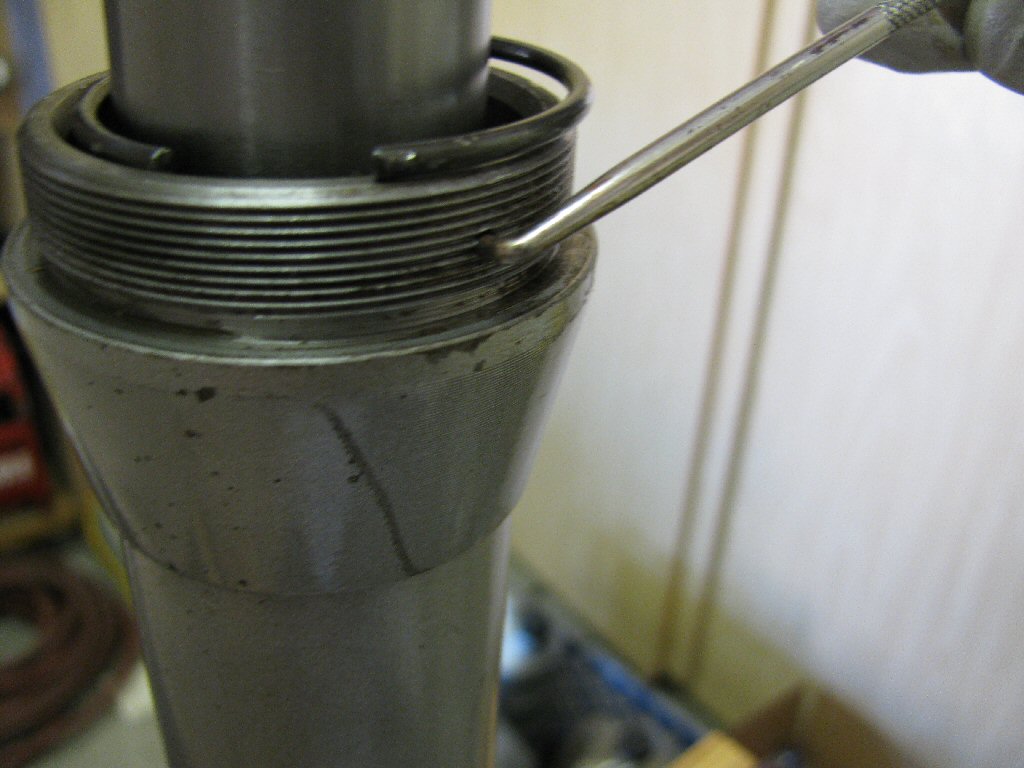
Photo courtesy of Gregory Bender.
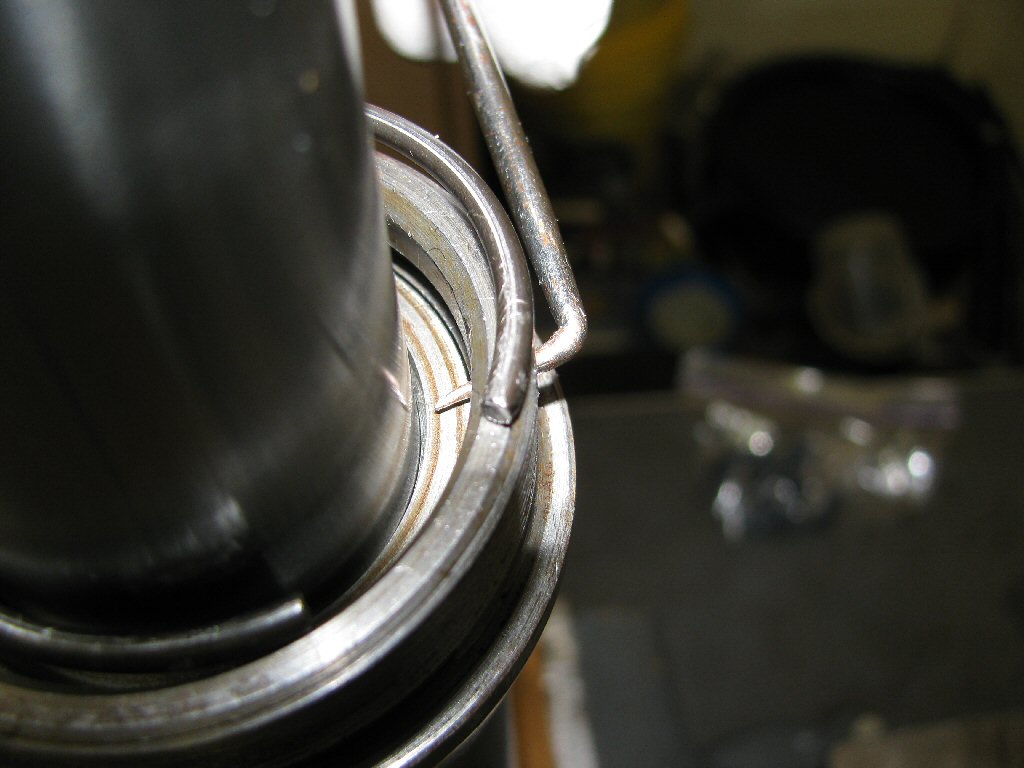
Photo courtesy of Gregory Bender.
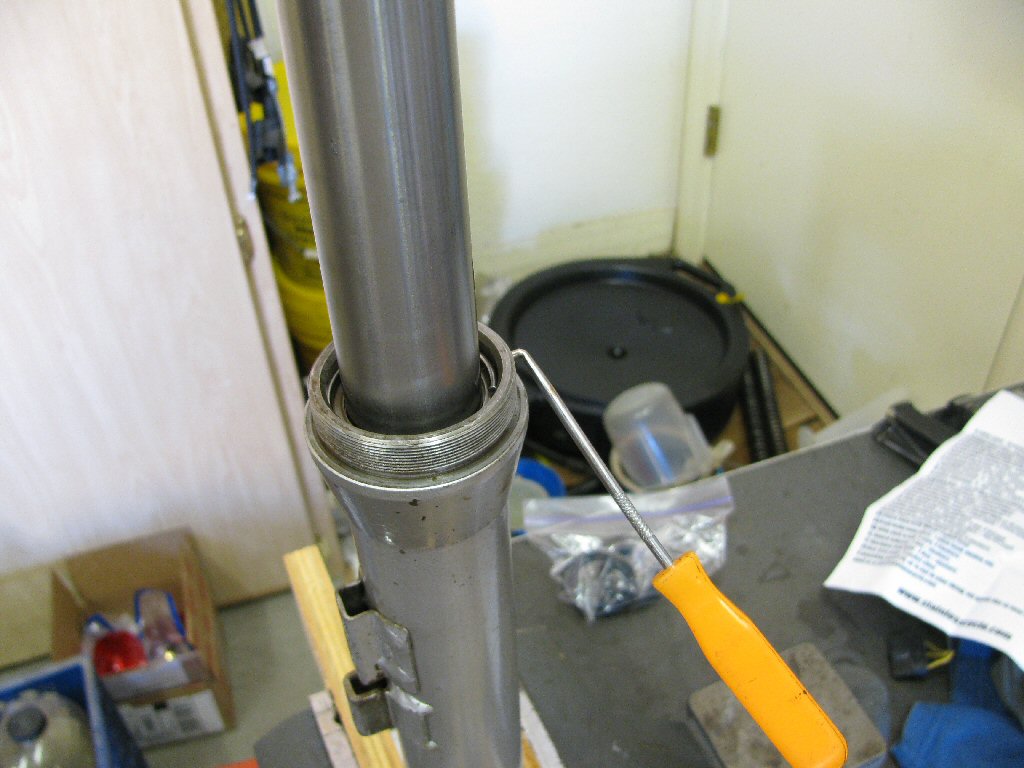
Photo courtesy of Gregory Bender.
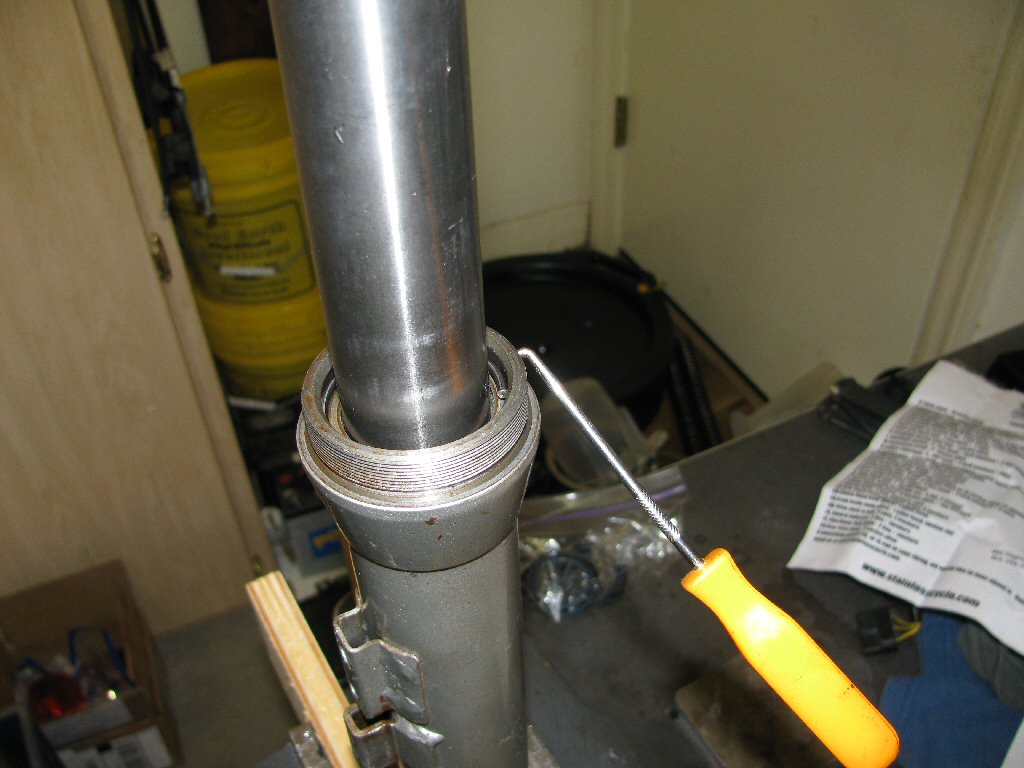
Photo courtesy of Gregory Bender.
Hayden sent me the following alternative to using a small pick:
I rounded off a spare allen key to fit inside the small hole. I also put a bevel on the end of the new key so when you push the key in, it pushes the circlip inwards and snaps upwards. The circlip stays up and no longer tries to push the pin back out. The clip comes out without a fight. The bend in the allen key makes it easy to push the key in by hand pressure only.
J.J.S. sent me the following alternative to using a small pick:
To remove the retaining rings, I used a 5⁄64 inch drill bit through the hole, holding the assembly in a vice and tightening the vice to press the end of the ring out of place to get the screwdriver in place to pull the ring out. Figured this out after bending the tips of two picks.
Worked with no fuss, though an extra set of hands would have made it even easier.

Photo courtesy of J.J.S..
- Remove your safety glasses.
- Pull up on the fork tube and remove it from the fork lower. The slider and shims will come along with it.
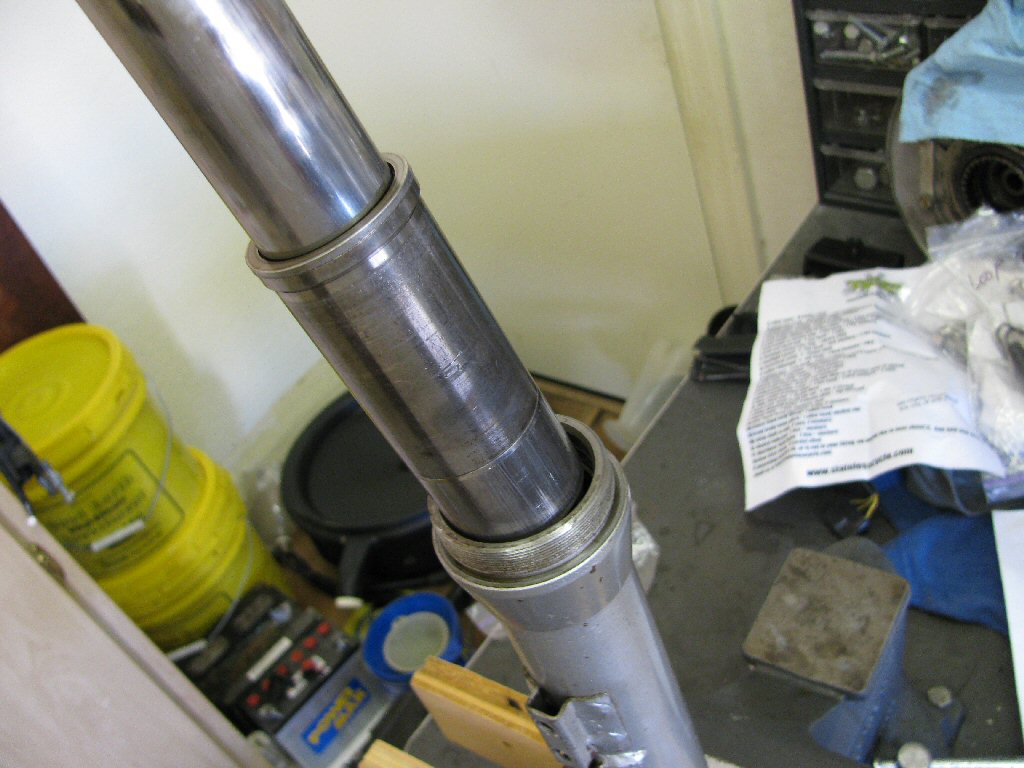
Photo courtesy of Gregory Bender.
- Once again ensure that the top of the fork tube is clean, we don't want to score the slider.
- Remove the slider and shims. Keep track of which shims and sliders go with each fork tube and fork lower. Don't swap around pieces and parts.
- OPTIONAL - Inspect the lower fork bushing. If it is excessively worn or beat up, it'll need to be replaced. You'll also need a special tool to remove it.
Clean clean clean
- Clean *ALL* the parts thoroughly with degreaser.
- Cleaning the inside of the fork tube and fork lower is the most difficult. I have shotgun/rifle cleaning brushes on long wires that I use.
- I inspect the inside with flashlight or good sunlight to see if I've gotten the insides clean enough.
- It can take a while to really get the insides clean. But, it is important to do so as the damping is solely dependent upon fluid flow from the fork lower into the fork tube (and back again). Any foreign material can block passages or prevent proper flow.
Inspection
Inspect all the parts for wear. Any original forks will show some wear after 30+ years of use or neglect. But, don't get carried away worrying about every little possible defect. Here are the big things to worry about:
- Is the fork tube bent? Pitch it or have it straightened. Probably cheaper to buy new, though.
- Does the fork tube show any signs of pitting or a great deal of wear from rubbing on the slider? If so, it is certainly a candidate for replacement. Why? Well, pits will leak oil and probably damage the new seal. Too much wear from rubbing on the sliders may lead to leaks, but more importantly will allow the fork tubes to slide up and down at an angle not parallel to the fork lowers...not good. Pitting would bother me quite a bit, but these forks are so rudimentary that a little extra wear doesn't seem to make that big of a difference.
- Likewise check the sliders for excessive wear or corrosion.
Fork assembly
- OPTIONAL - If you are replacing the lower fork bushing, do so now.
- Lubricate the fork tube with some fork oil.
- Slide the slider down over the fork tube along with the associated shims.
- Lubricate the outside of the slider with some fork oil.
- Insert the slider/fork tube into the fork lower.
- Fit the retaining ring into place. I always try to place one end of the ring near the hole in the threads for easier remove the next time around.
- Lubricate the fork collar O-ring with some fork oil and install on the fork lower.
- Install a new seal in the fork collar.
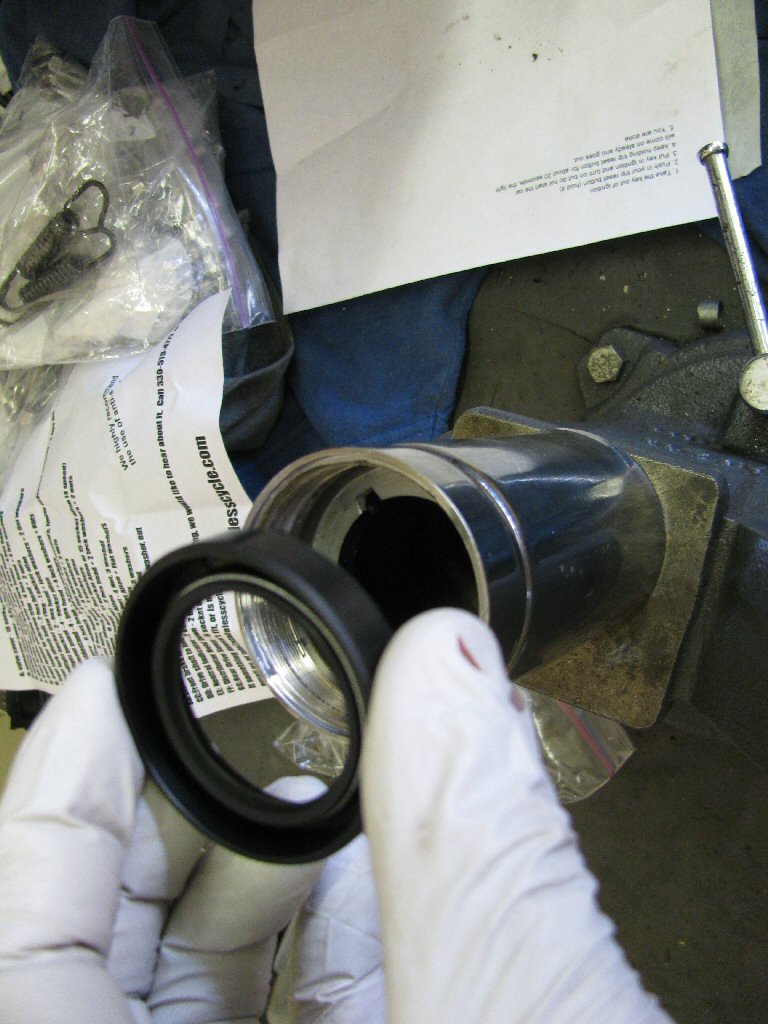
Photo courtesy of Gregory Bender.
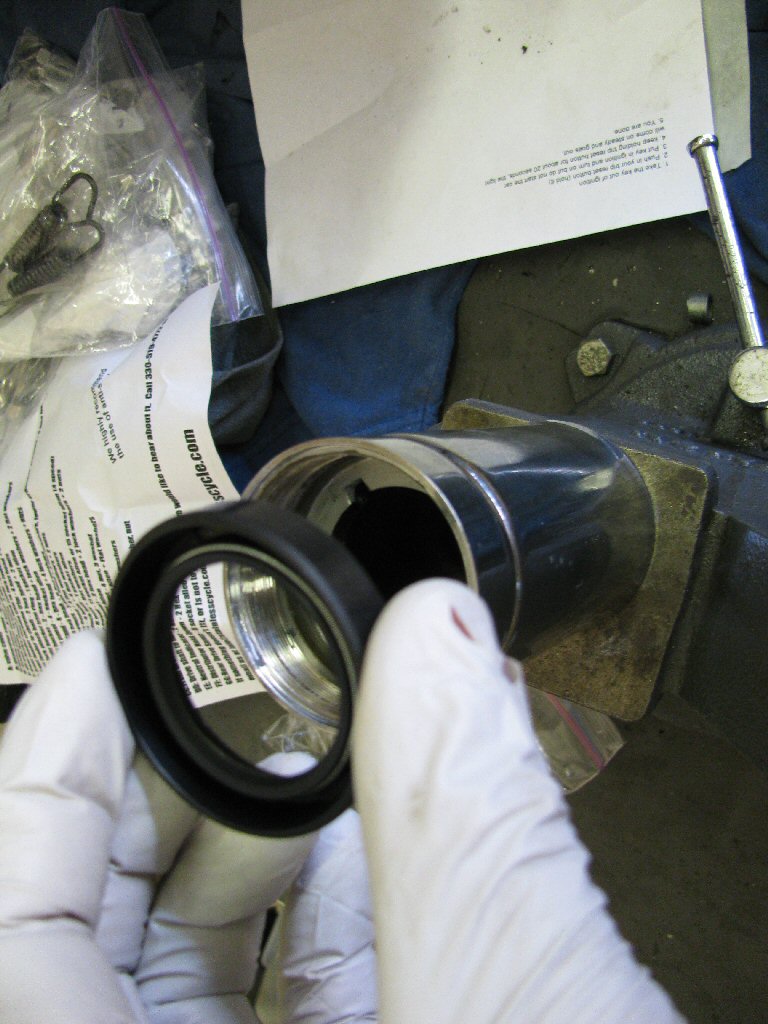
Photo courtesy of Gregory Bender.

Photo courtesy of Gregory Bender.
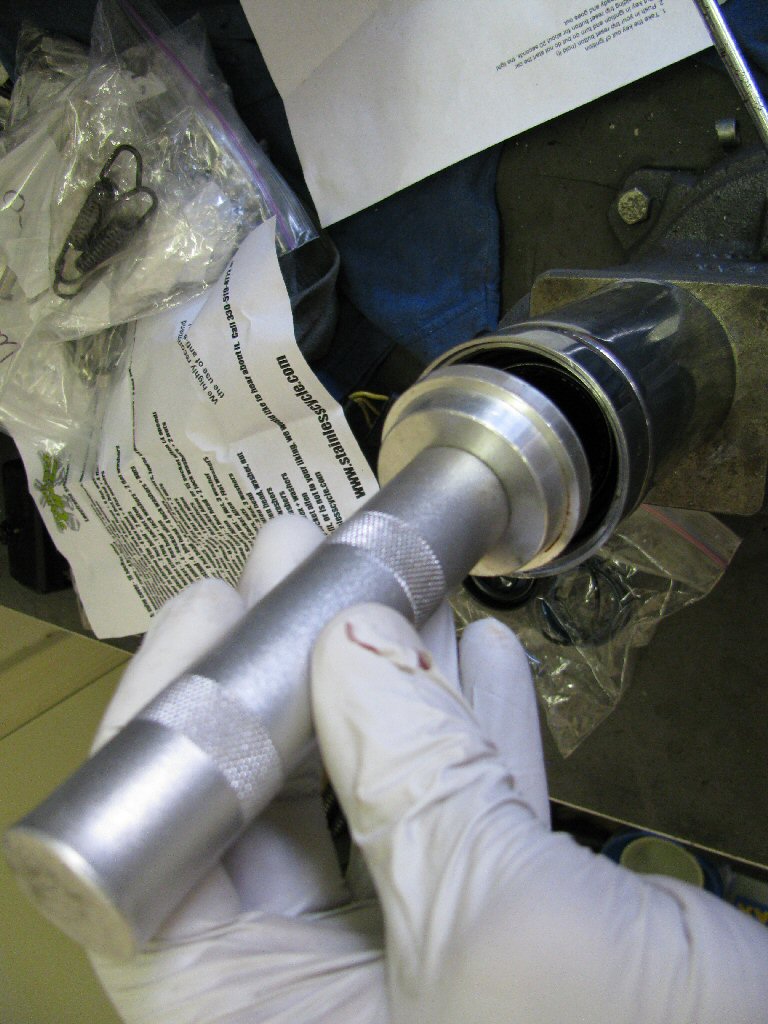
Photo courtesy of Gregory Bender.
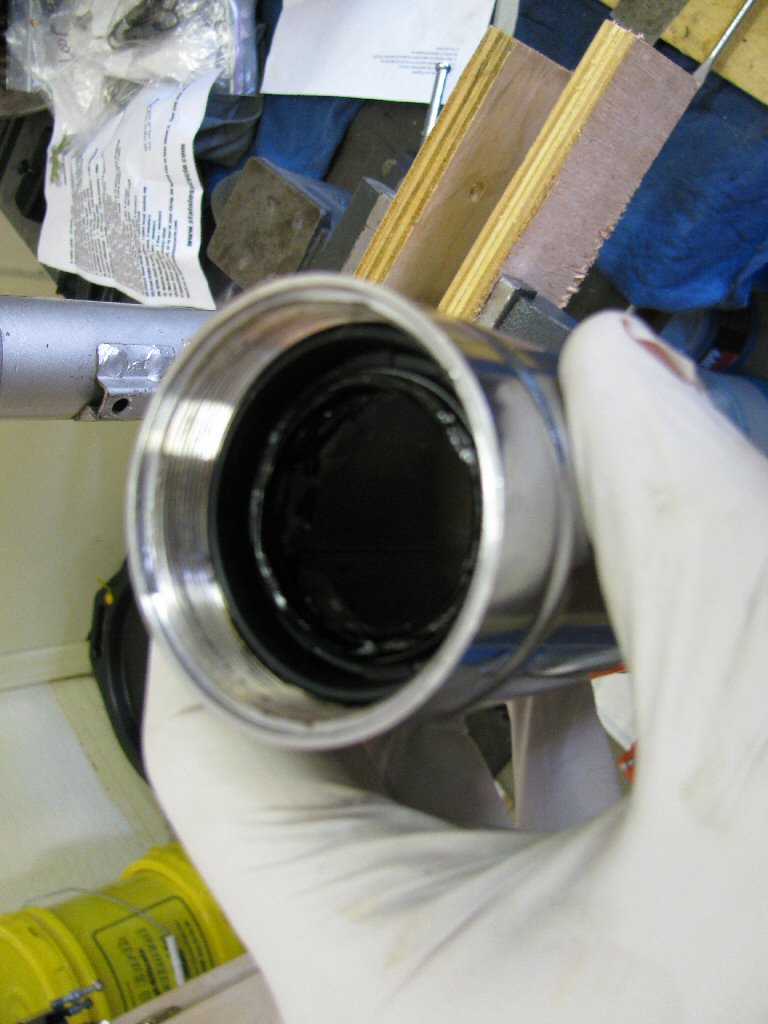
Photo courtesy of Gregory Bender.
- Lubricate the threads on the fork leg with some anti-seize.
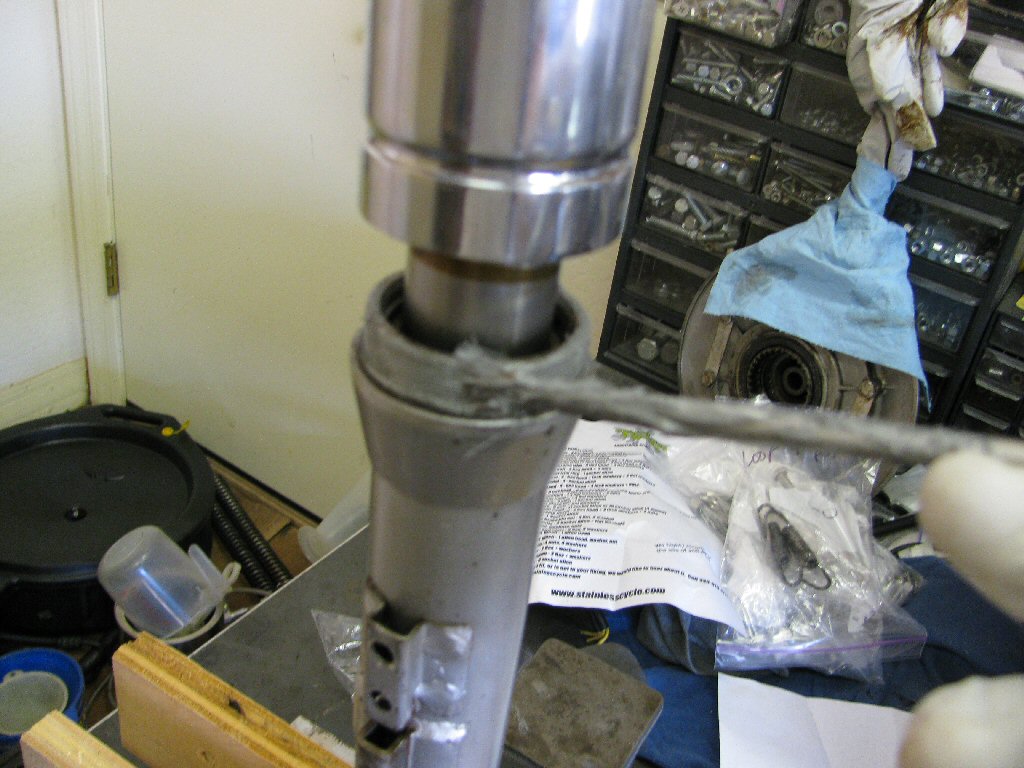
Photo courtesy of Gregory Bender.
- Fit the fork collar to the fork lower and tighten with the special tool.
- Lubricate the exposed portion of the upper fork tube with axle grease...no need to go below where the seal is.
- Lubricate the spring with axle grease and fit over the fork tube. Yep, it is messy but it is necessary to avoid rust and corrosion.
- Lubricate the O-ring for the 36 mm fork plug with some fork oil and fit to the fork plug.
Fork fitting
- Slide the fork leg up through the lower and upper triple tree plates. I have the special fork puller tool that I fit in place, which is a big aid to getting the fork tube pulled up fully into position.
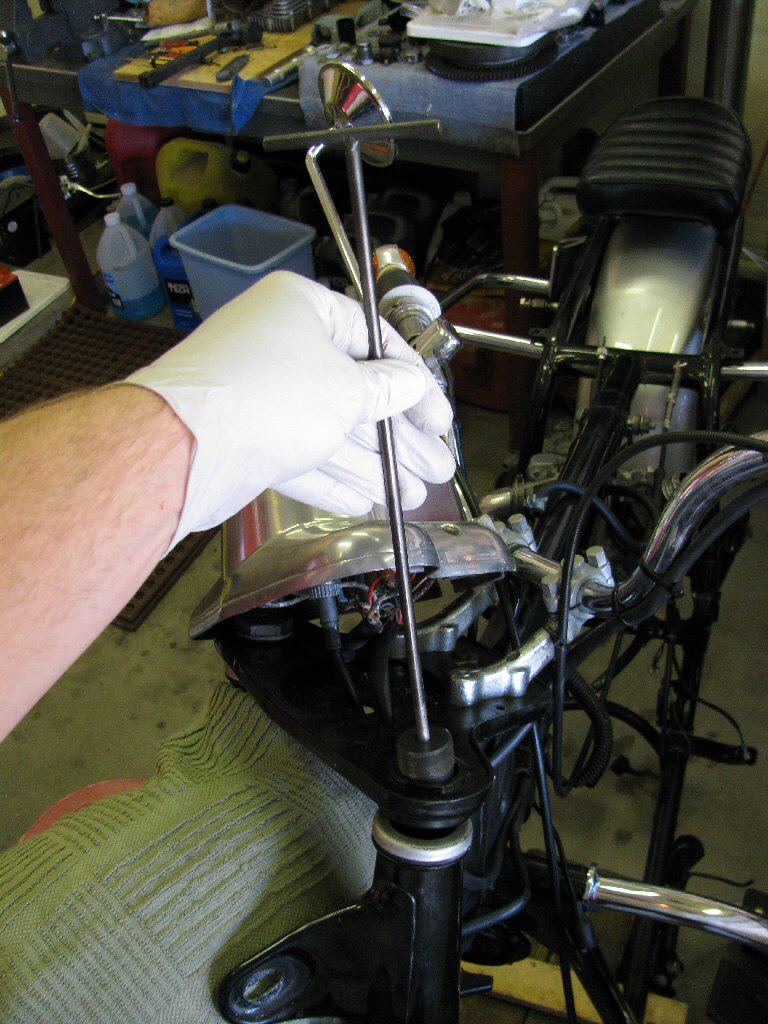
Photo courtesy of Gregory Bender.
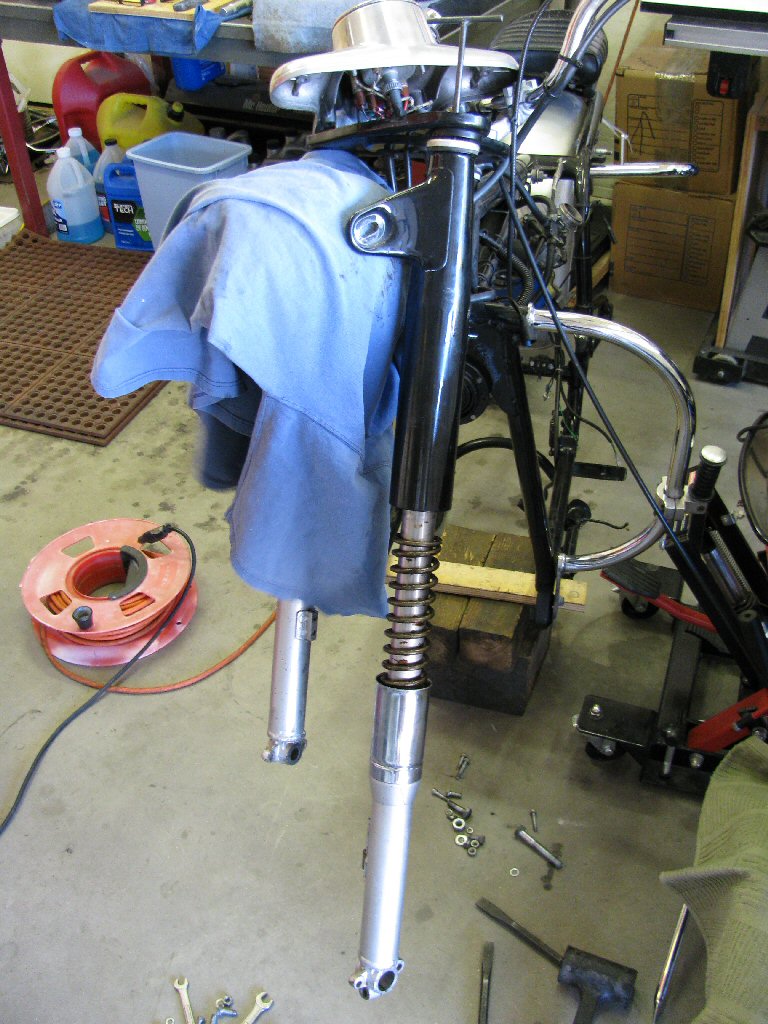
Photo courtesy of Gregory Bender.
- Fit the 36 mm fork plug and tighten finger tight.
- Tighten the pinch bolt on the lower triple tree.
- Fit the drain plug in place with a new washer. I strongly prefer fiber washers in this application.
- Remove the fork plug and fill the tube with the required measured amount of fork oil.
- Fit the 36 mm fork plug back into place.
- Tighten the 36 mm fork plug.
- Loosen the pinch bolt on the lower triple tree.
- Repeat the previous 3 steps until the 36 mm fork plug is nice and tight.
- Refit the dash.
- Refit the front fender, complete with both fender braces.
- Refit the front wheel.
- Lower the front end of the motorcycle and remove the jack.