Moto Guzzi V700, V7 Special, Ambassador, 850 GT, 850 GT California, Eldorado, and 850 California Police models
Updated:
Thanks to Tom Halchuk for sending me his description and photographs in a private communication. In Tom's own words:
I bought a sprung solo seat off ebay a couple of years ago. The seat had mounting hardware that bolted perfectly on my Eldo. The seat was made in Germany. As soon as I mounted the seat I was in complete riding bliss. No more body rattling jolts from crater sized bumps of frost heaves. The riding position also put me a little higher in the saddle. Which I liked because I have long legs. Then about 6 months after I noticed the seat pan had large pieces had broken off on the edges. There were cracks and splits. The pan was made out of a very light brittle plastic. I decide I would find a replacement. I looked everywhere and could not find a suitable replacement. So I decided to rebuild the seat pan out of fiberglass using the original as the model for the mold. The process was relatively easy, just time consuming and messy.
Materials
From marine supply store:
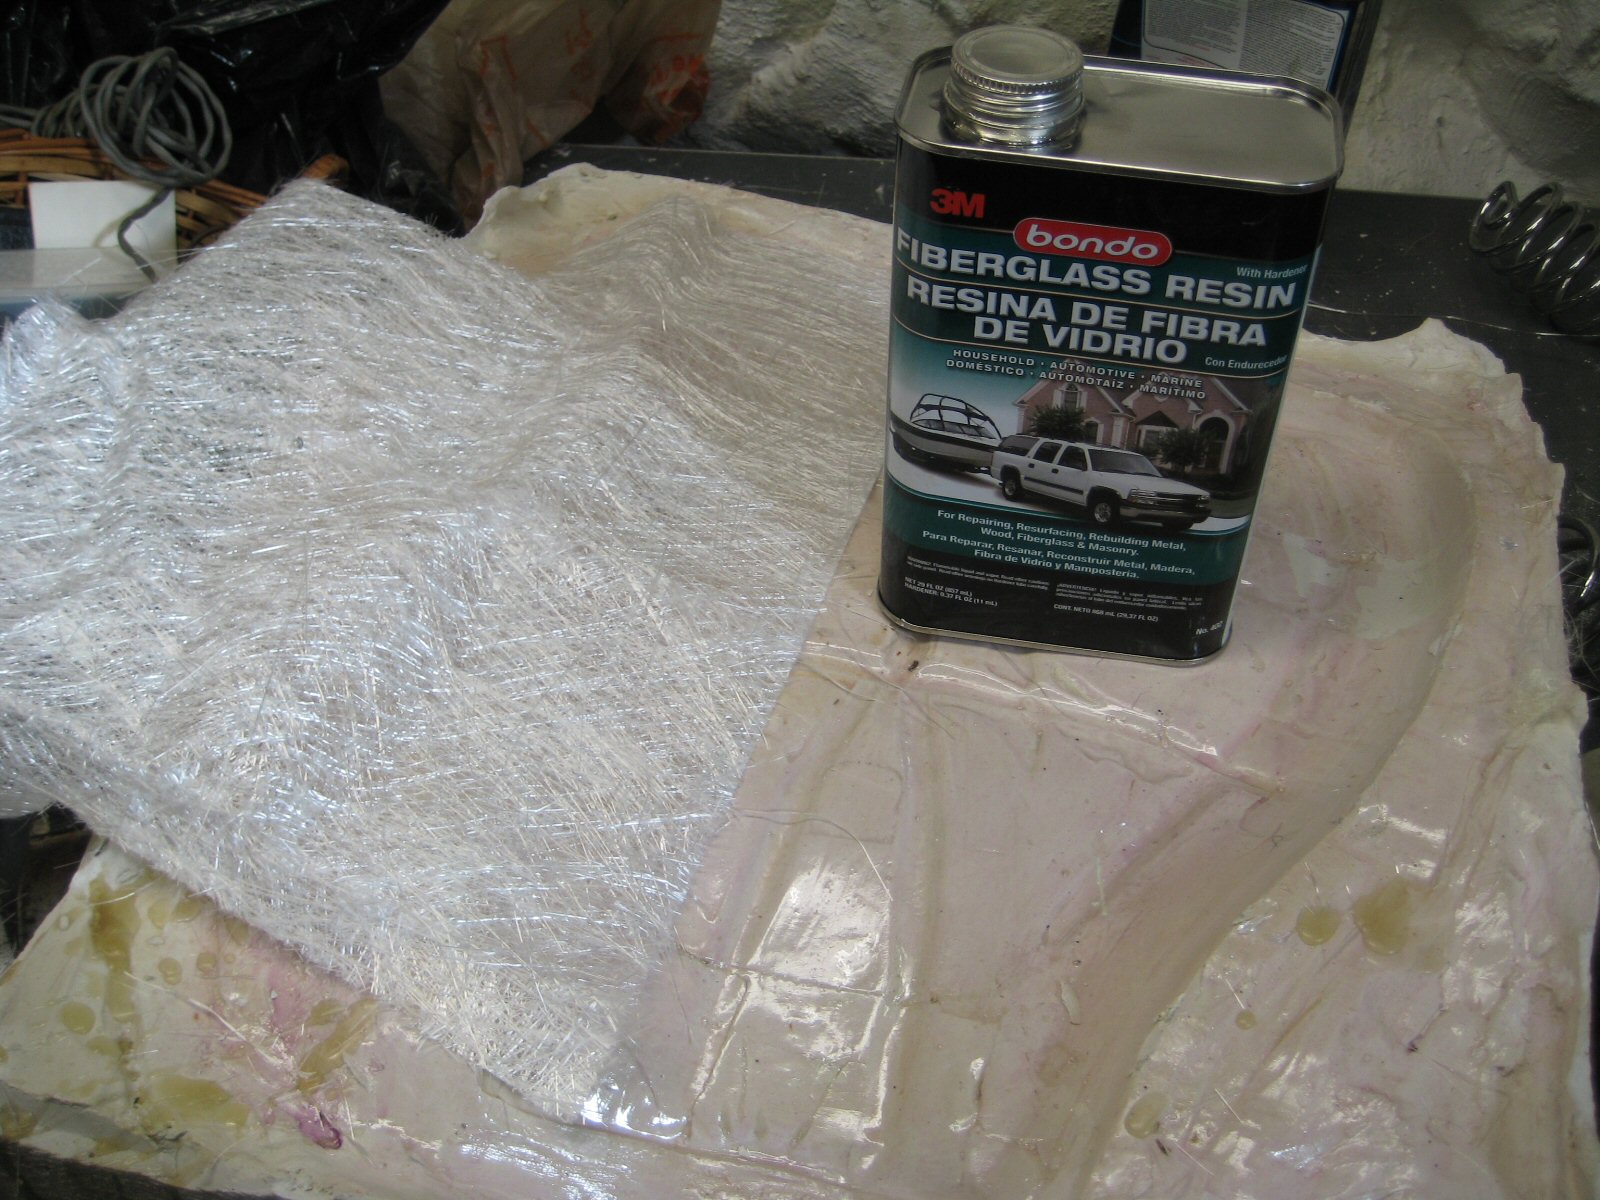
(2) qts of resin and catalyst
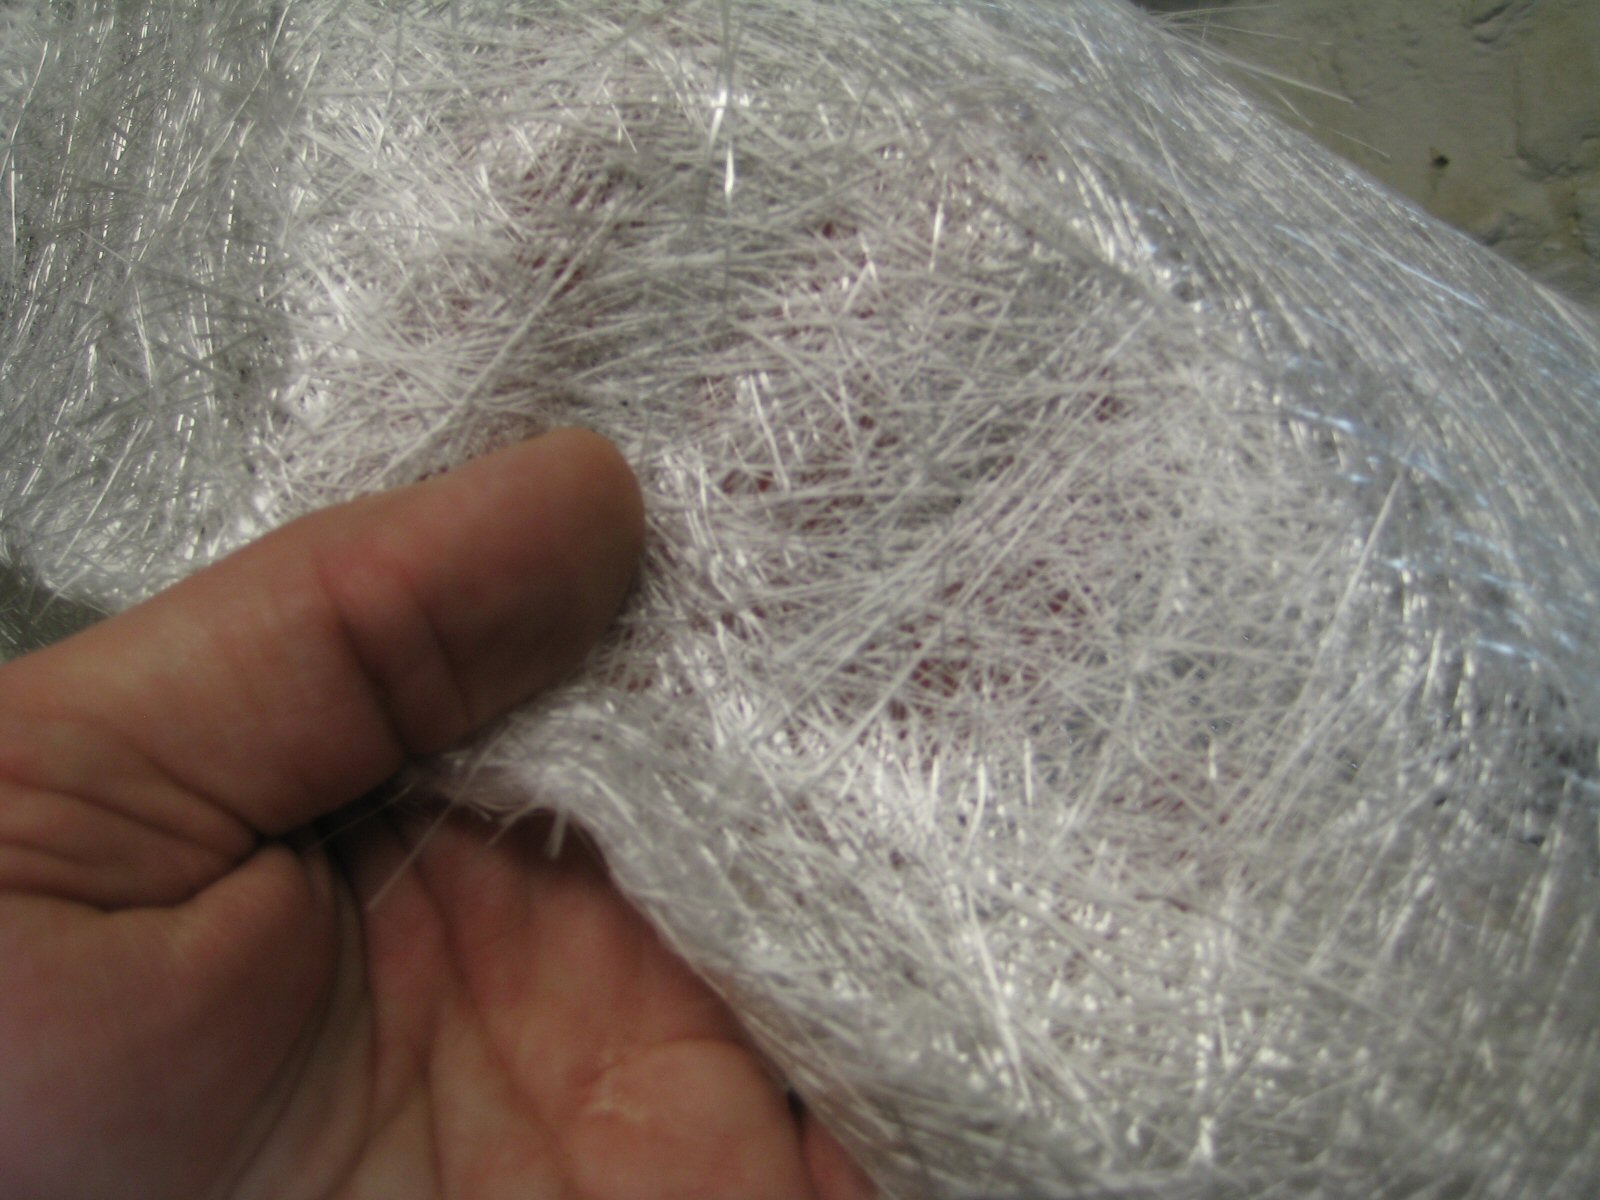
(2 pkgs) long strand fiberglass
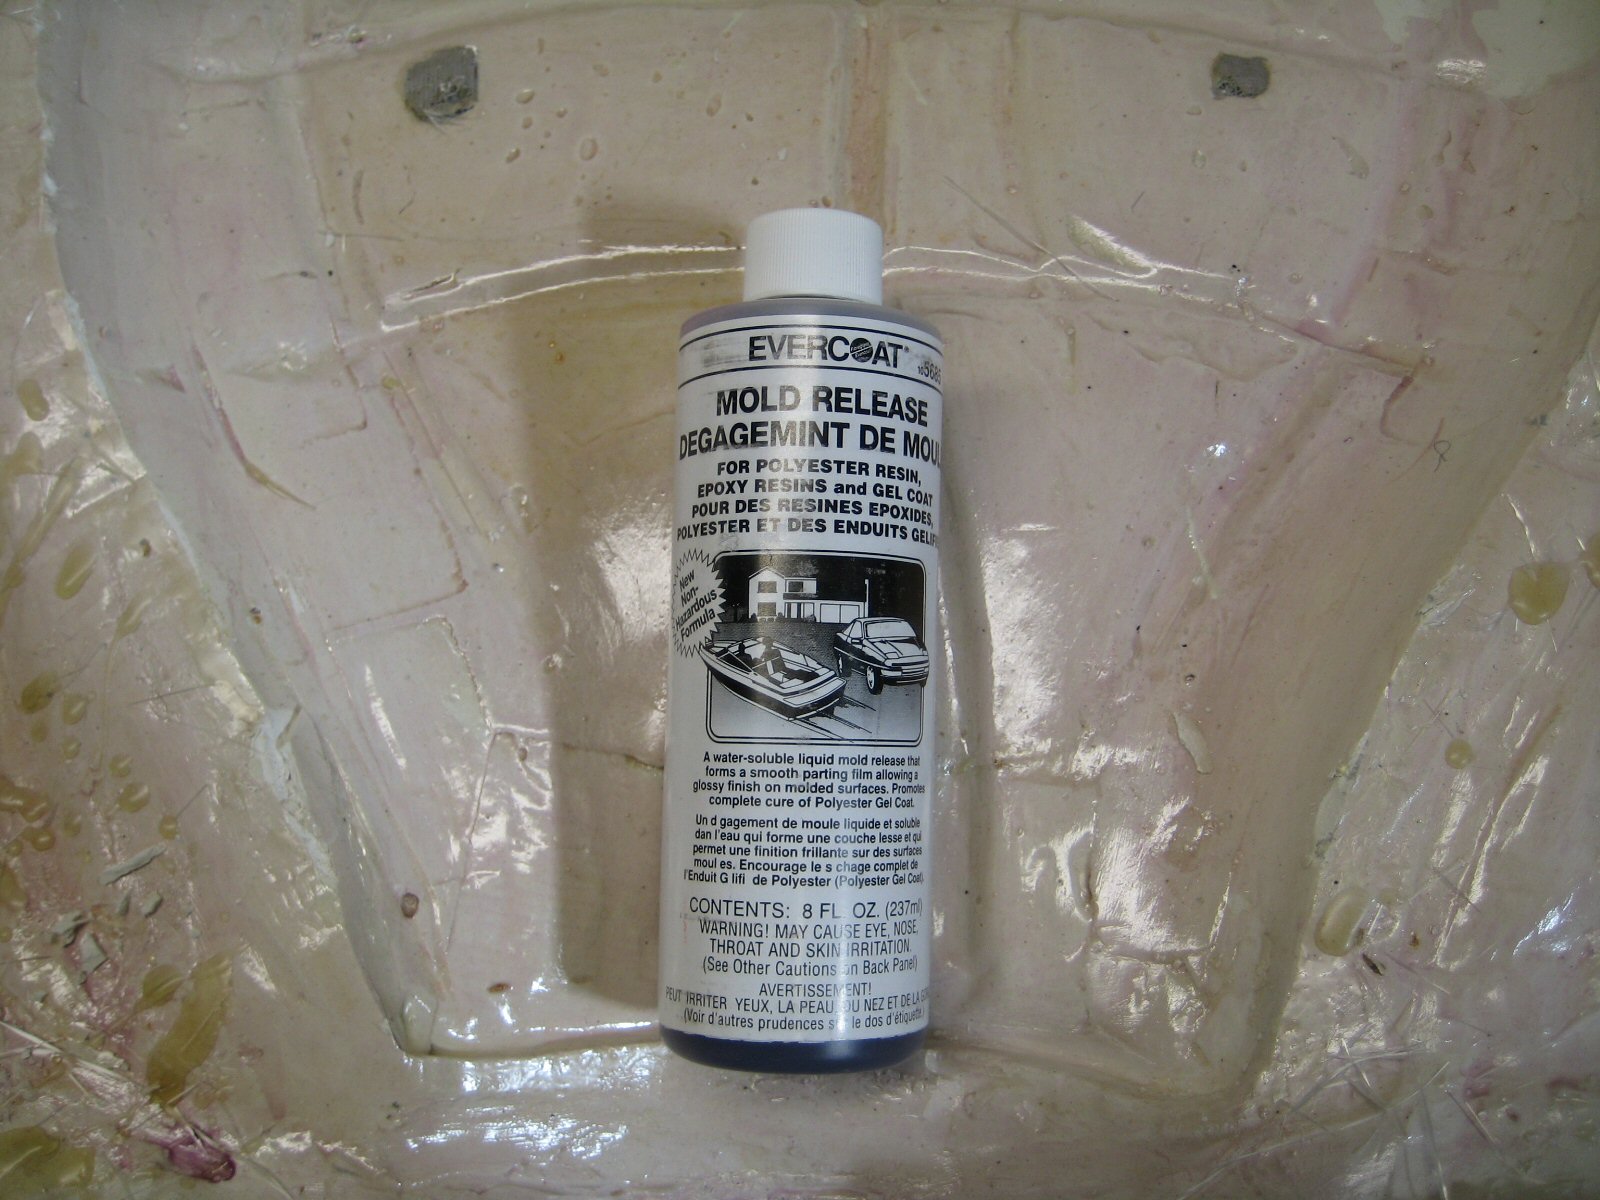
Mold Release - small bottle
Wood for open box:
(1) 2 ft × 2 ft × 1⁄4 inch plywood (bottom)
(1) 8 ft × 4 inch × 1⁄2 inch board or scrap wood
25# bag Plaster of Paris
(12) throw away 2 inch brushes
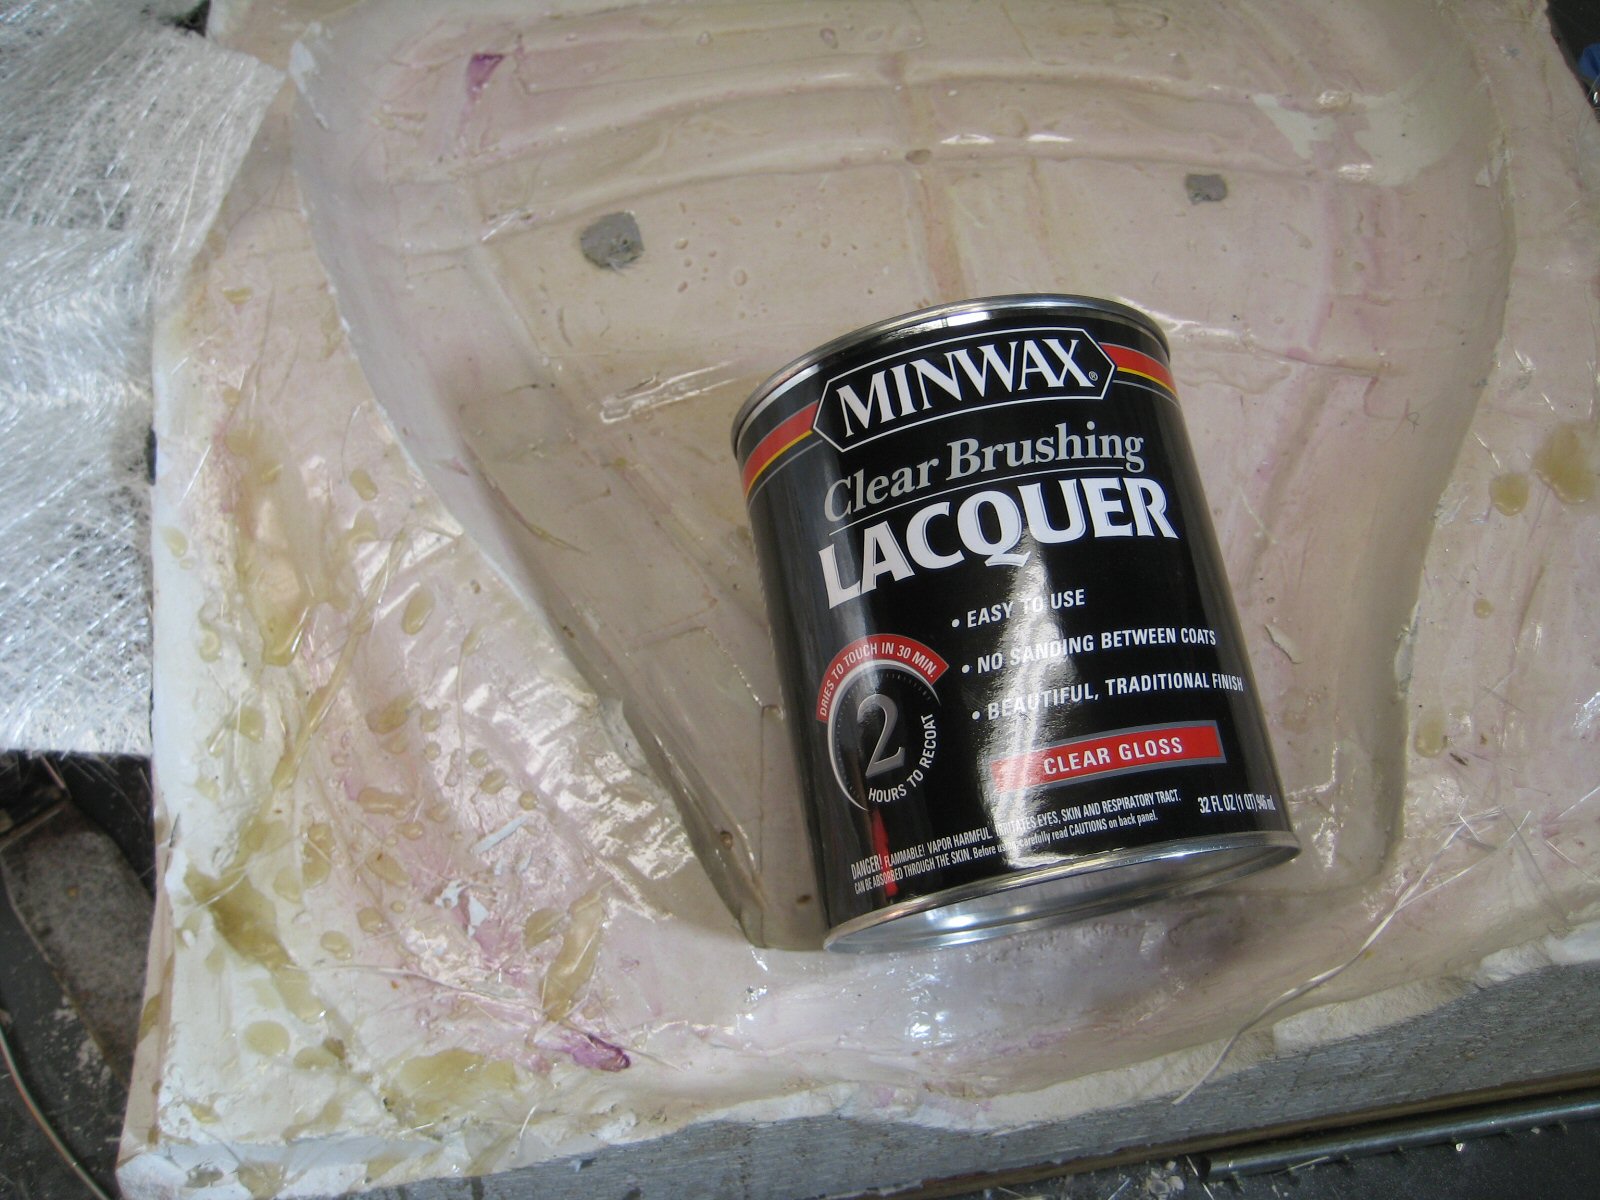
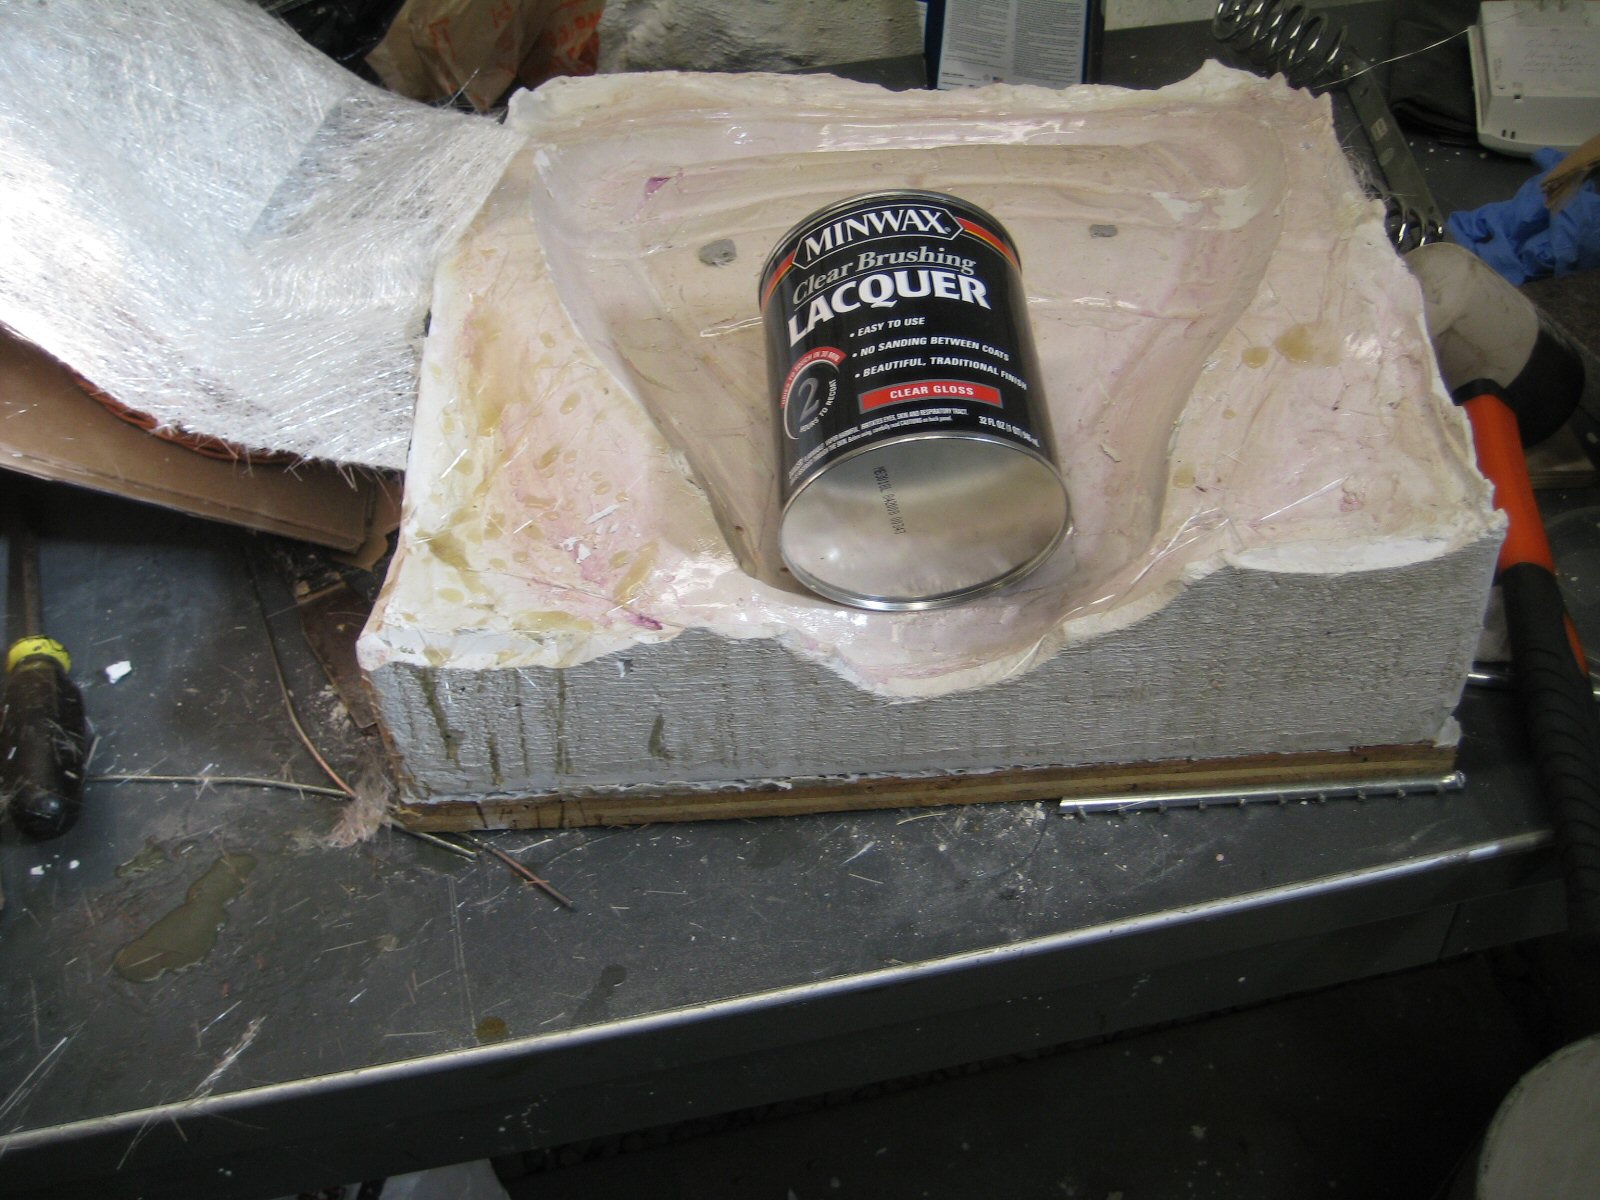
(1) pint of quick drying lacquer of acrylic sealer
(1) pkg of latex gloves
(1) 2 inch scraper
Instructions
Build an open framed box 4 inch deep and big enough to fit the seat pan. Make frame at least 4 inch thick for strength.
Ready the seat pan by taping over holes and taping cracks, broken pieces and edges. Taping the edges gives you a way to pull out pan and the ability to push the pan deeper into the plaster of paris.
Fill the box frame to within 1 inch of the top edge of frame. The higher the better.
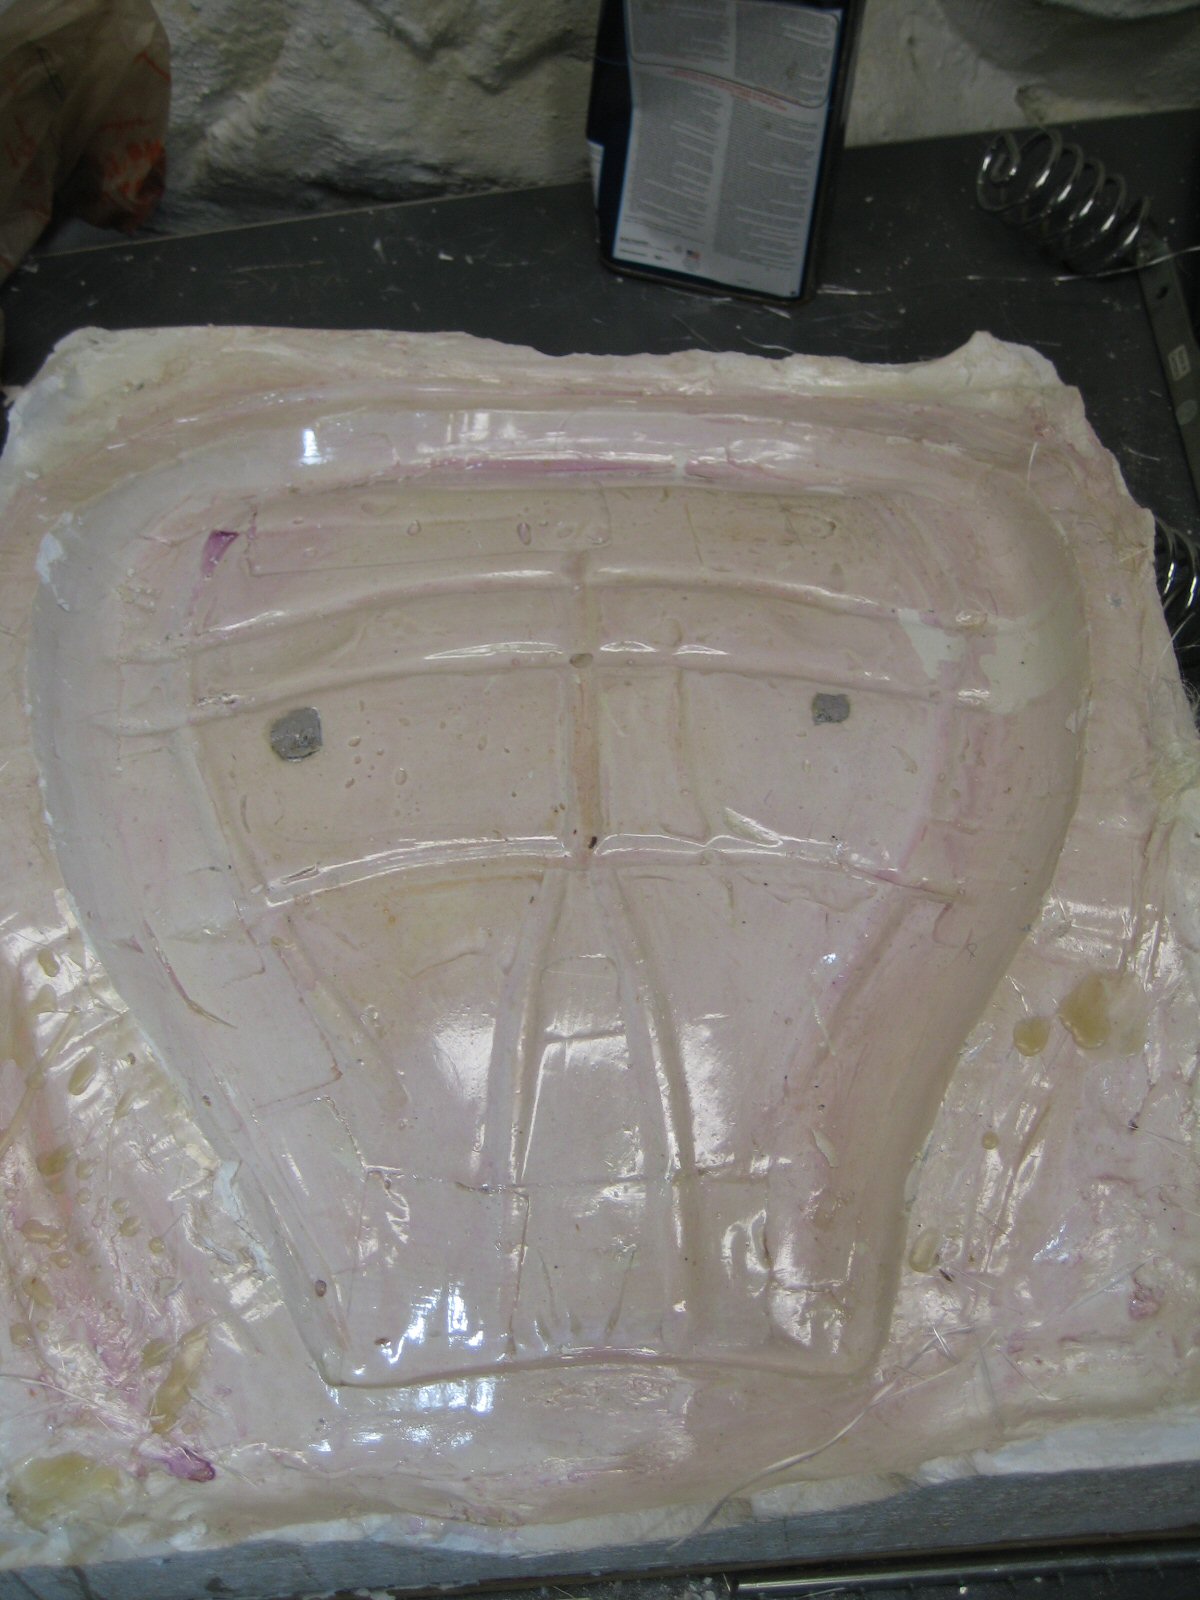
Push solo seat pan into plaster. Clean the edges as well as possible. The cleaning gets easier as plaster sets up.
Hold the solo seat pan down with a few bricks. As the plaster started to harden I used water and my finger to smooth out and clean up the mold.
Let the plaster dry completely. I left my mold sit for over a month. This is very important.
After mold is completely dry, remove the solo seat pan. Be gentle. You don't want to crack the mold.
Disassemble the wooden frame/box.
Clean up the edges where the frame and mold where in contact. Remove sharp edges. I found using a 2 in stiff scraper and taking my time with slow, deliberate movements worked best.
Clean up the edges where the seat pan and the mold were in contact. Use the scraper and a wet finger to smooth out any edges.
Clean up any deep holes in mold using quick drying spackle and a wet finger to smooth it out. Remember this surface is not going to be seen under the foam and cover.
Clean up any loose particles.
I used a quick drying lacquer to seal the mold. I put 4 coats on the mold using a sponge brush. I lightly sanded the second to last coating.
Using a release agent I put 3 coats on the mold.
Now the fun begins. Ventilate your working area. Wear latex, throw away gloves and throw away brushes.
Cut fiberglass bate to fit your mold.
To prevent wrinkles in fiberglass. slice the fiberglass bate perpendicular to the curve of the solo seat pan.
Cut enough for 2 layers. If you use strips make sure enough material is cut to overlap at seams. Additionally you want to crisscross the 1st and 2nd layers.
When you have the fiberglass cut to size, remove from the mold and go to next step.
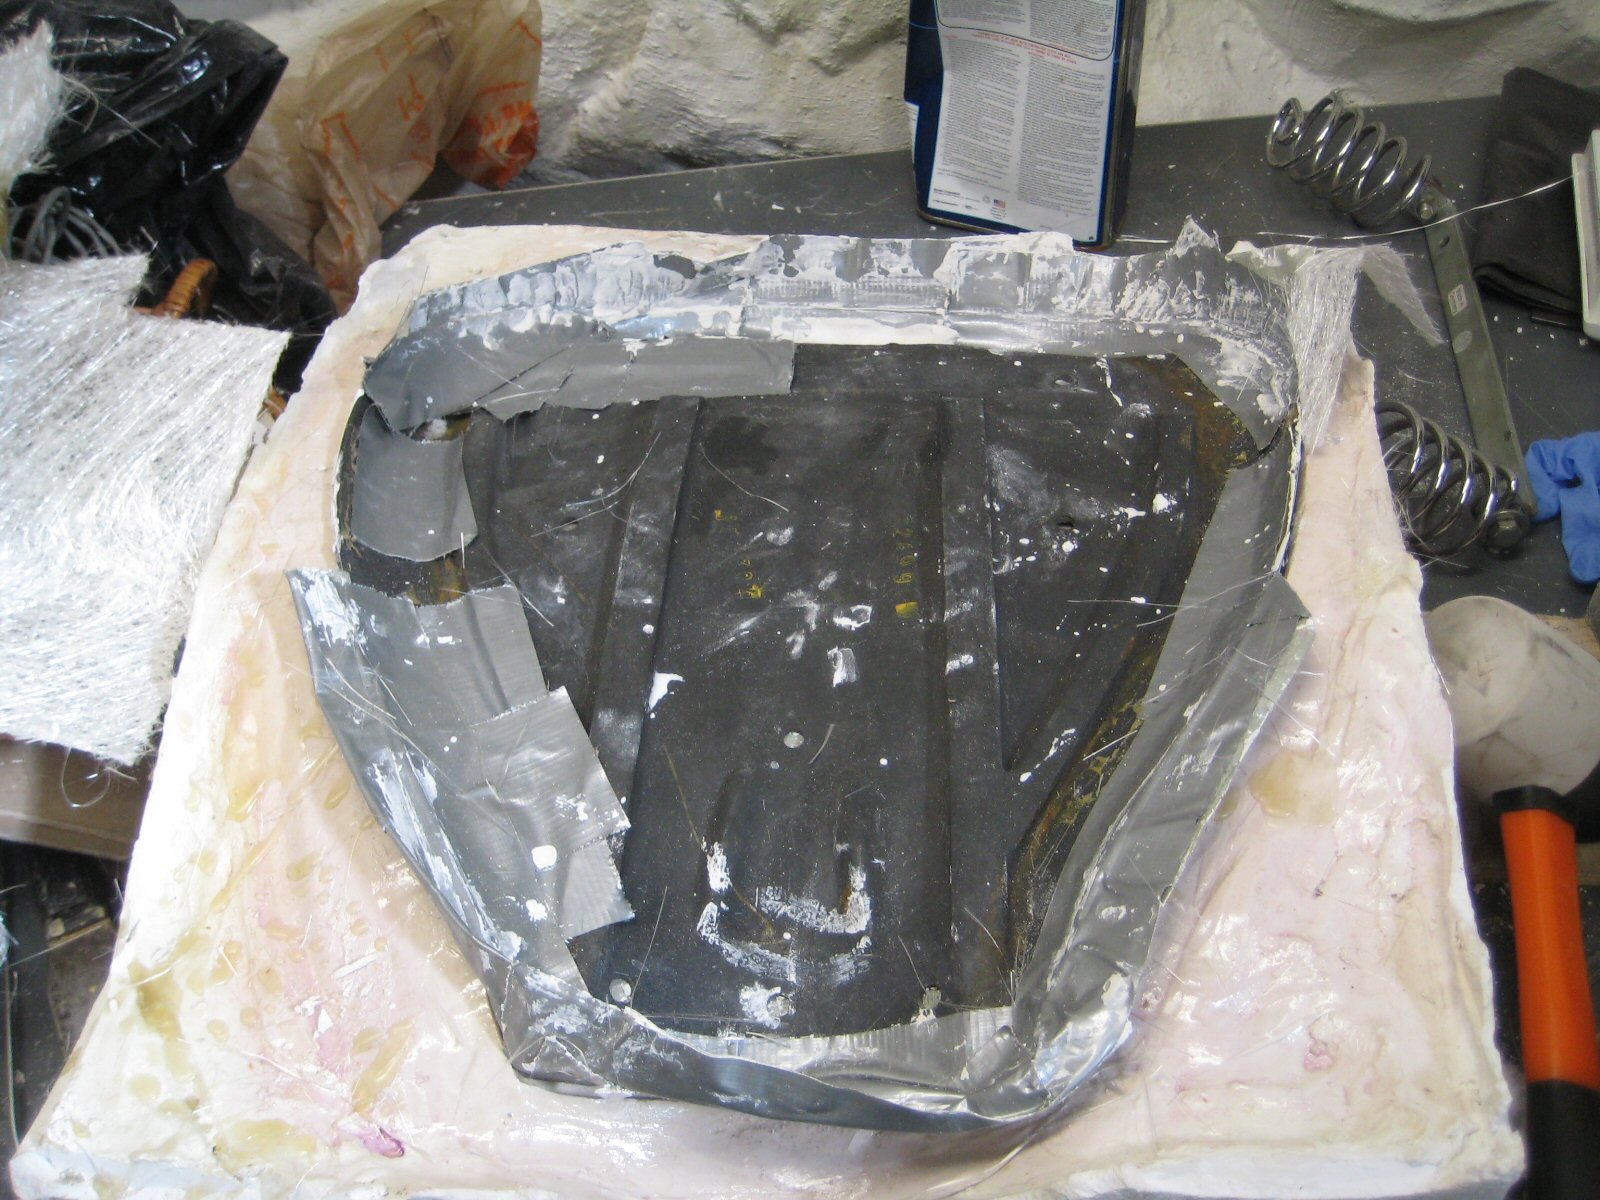
In an old 8oz plastic cream cheese container mix in resin and catalyst. Mix well. Paint on the bare mold. Lay the 1st layer of fiberglass bate down using wet brush to pat down fiberglass. Remove all air bubbles by working from center to the edges. Add resin as needed. Lay down the second layer, working out air bubbles. Paint the fiberglass up the edges at least 3⁄4 inch above edges on mold. This gives you room for error and something to grab when you release the final product. Keep vents going first two hours of drying time. Let dry 2 hrs or overnight.
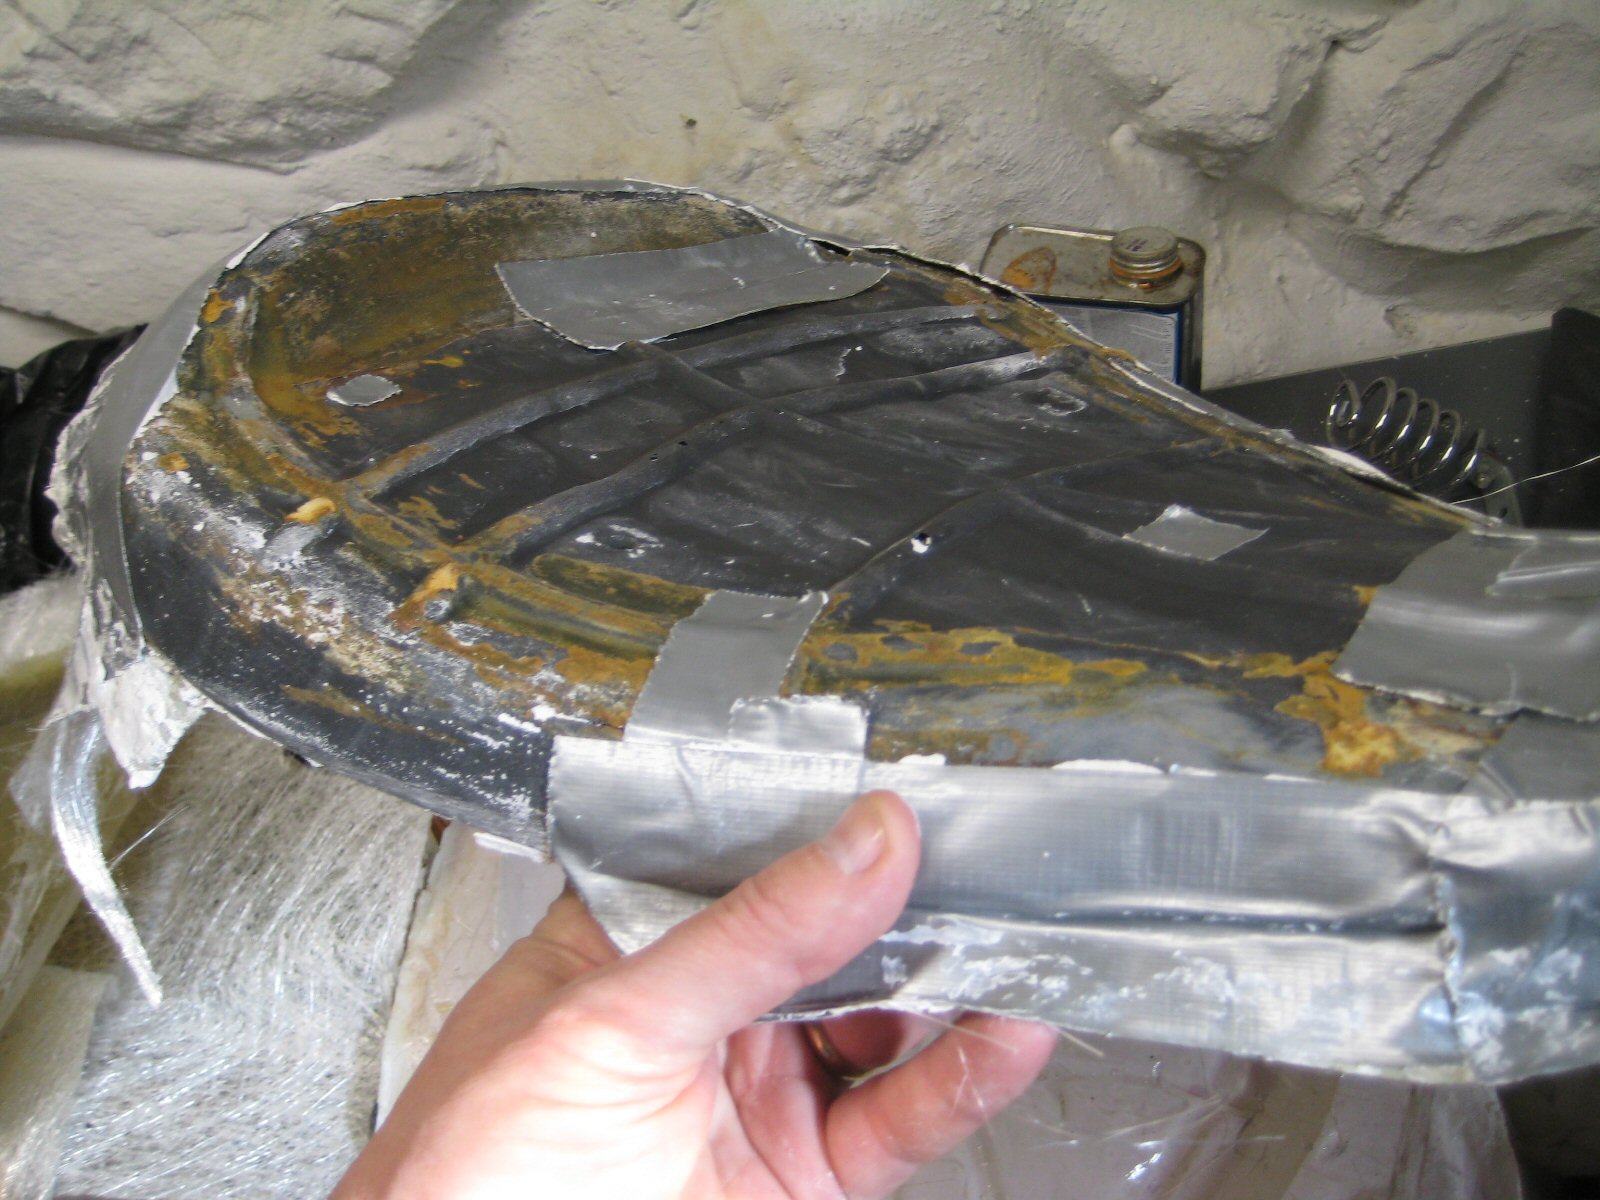
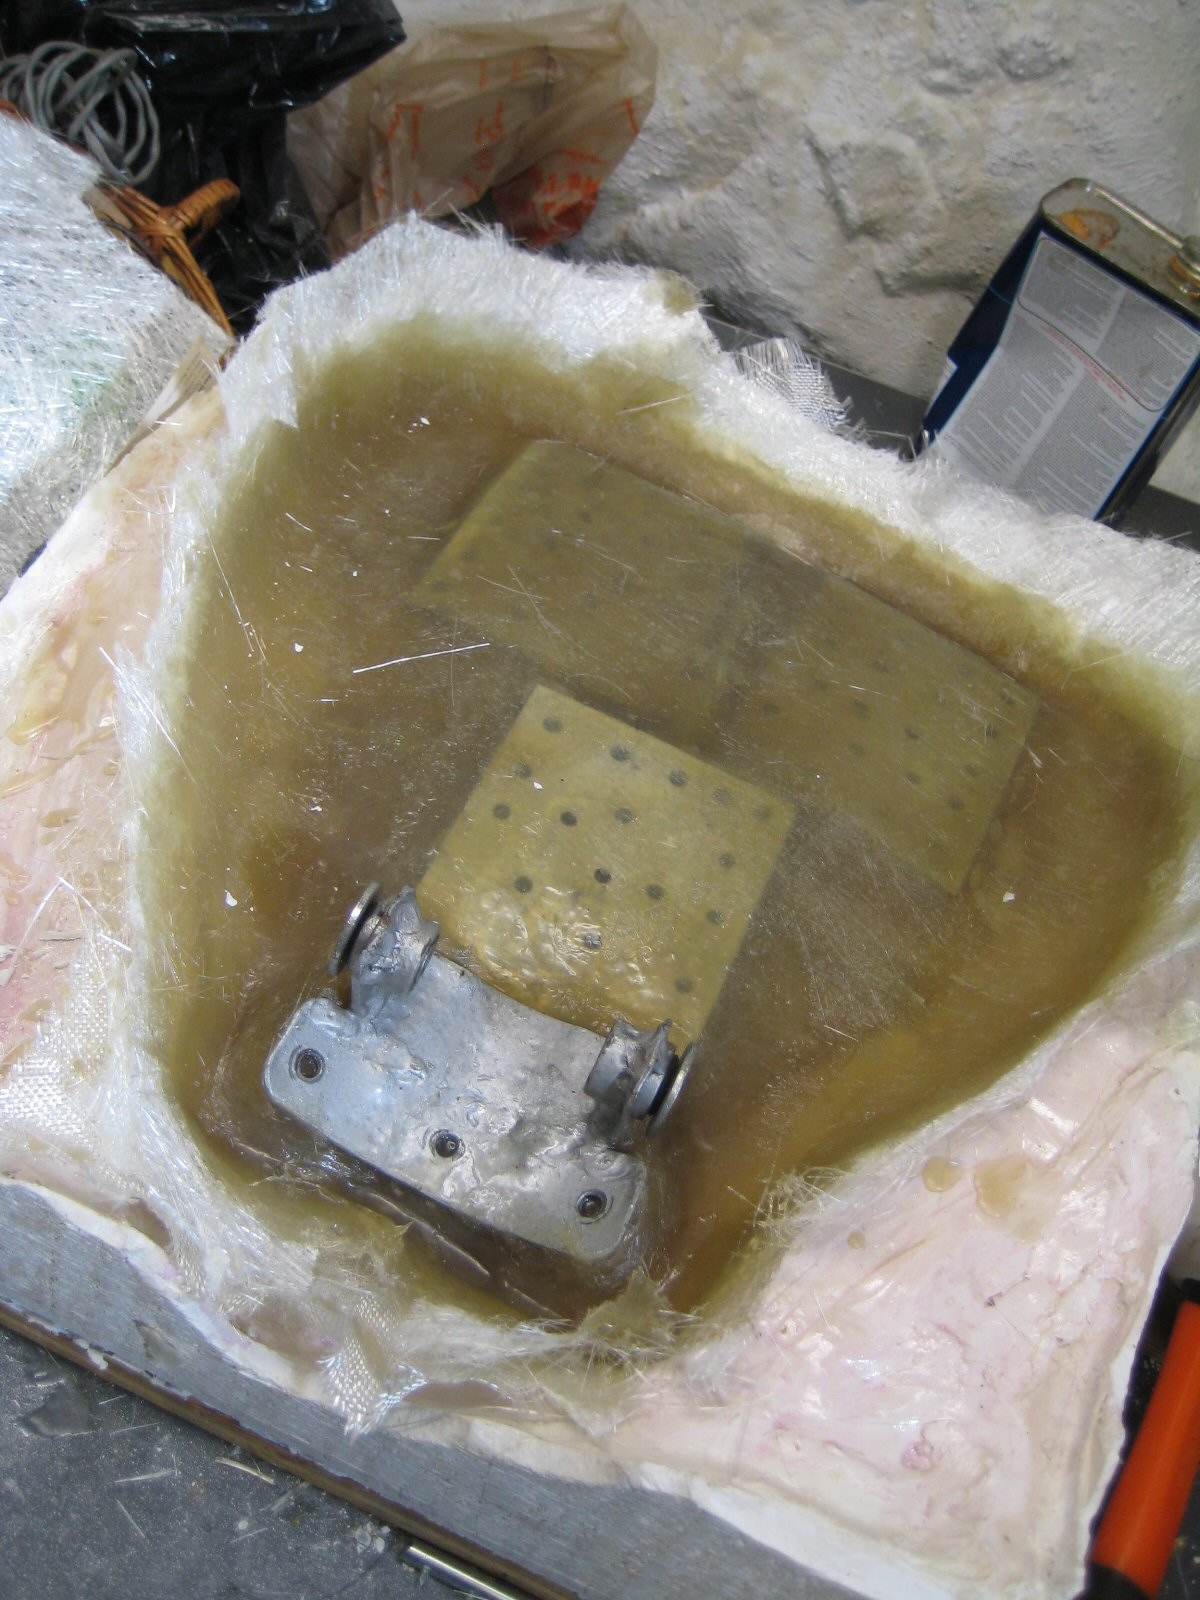
If you are going to stiffen the new seat pan now is the point to do it. I used pieces of 3⁄32 inch aluminum plate. I drilled holes in the plate for the resin to squeeze through. Then shaped the metal the best I could to fit areas that needed reinforcement. I cleaned the pieces with a wire wheel and acetone. Acetone dries in seconds.
After the first two layers of fiberglass has dried, usually 2 hr period, you are ready to add the reinforcing plates. Put gloves on. Cut the fiberglass bates to size. If you need to add any filler strips (usually 3-4 pieces) for under the plates now is the time to cut the bates. Mix the resin again in a clean container with new brush. Paint on mixed resin over whole mold. Lay down fiberglass to fill in under plates. Patting down and adding strips as needed. Lay down and align plates. Pushing down lightly. Coat with resin. Lay down next layer over whole mold. Then coat and layer down another layer. Let dry.
Cut some bates (3-4) to reinforce the plates you have put in new solo seat. Make sure the the pieces extend over at least 2 inch. Cut some pieces to wrap around and reinforce the curved edges. Lay down these pieces.
Finish the seat with an additional full sized layer or two. I have about 7-8 layers on my solo seat pan pictured.
Let the fiberglass unit dry for a day. Then slowly pull around the corners of the new seat. If hear a cracking move to another spot. Keep working around the fiberglass seat till it pops up.
When the new solo seat is out. Use the old seat to measure where to trim the new solo seat. Leave about 1⁄4 inch more than you need. (a small margin of error). A pair of scissors can be used to do an initial trim. A coping saw is then used to trim as close as possible to the finished product. Sand the sawn edges.
Mounting hardware will need to be custom made. There are springs available on ebay occasionally. The front bracket will have to by custom made or pulled from another seat.
A seat shop should be able to upholster and cushion your new pan. But get the hardware issues resolved first.